In Canada, Thanksgiving falls before Halloween which allows me to ease into the decor for the second half of the year. I’m huge into seasonal decor, but that’s for another post. In addition to the turkey adorned platters and squash shaped wine glasses that come out of storage, I like to integrate the year-round vibe of my home into my holiday decor.

Currently, my living room vibes are somewhere near eclectic, colour pop fusion. If that’s a thing. So while there is certainly opportunity to capitalize on the colour of the season, it can easily stretch beyond a sprinkle of festive and into Dr Seuss land.
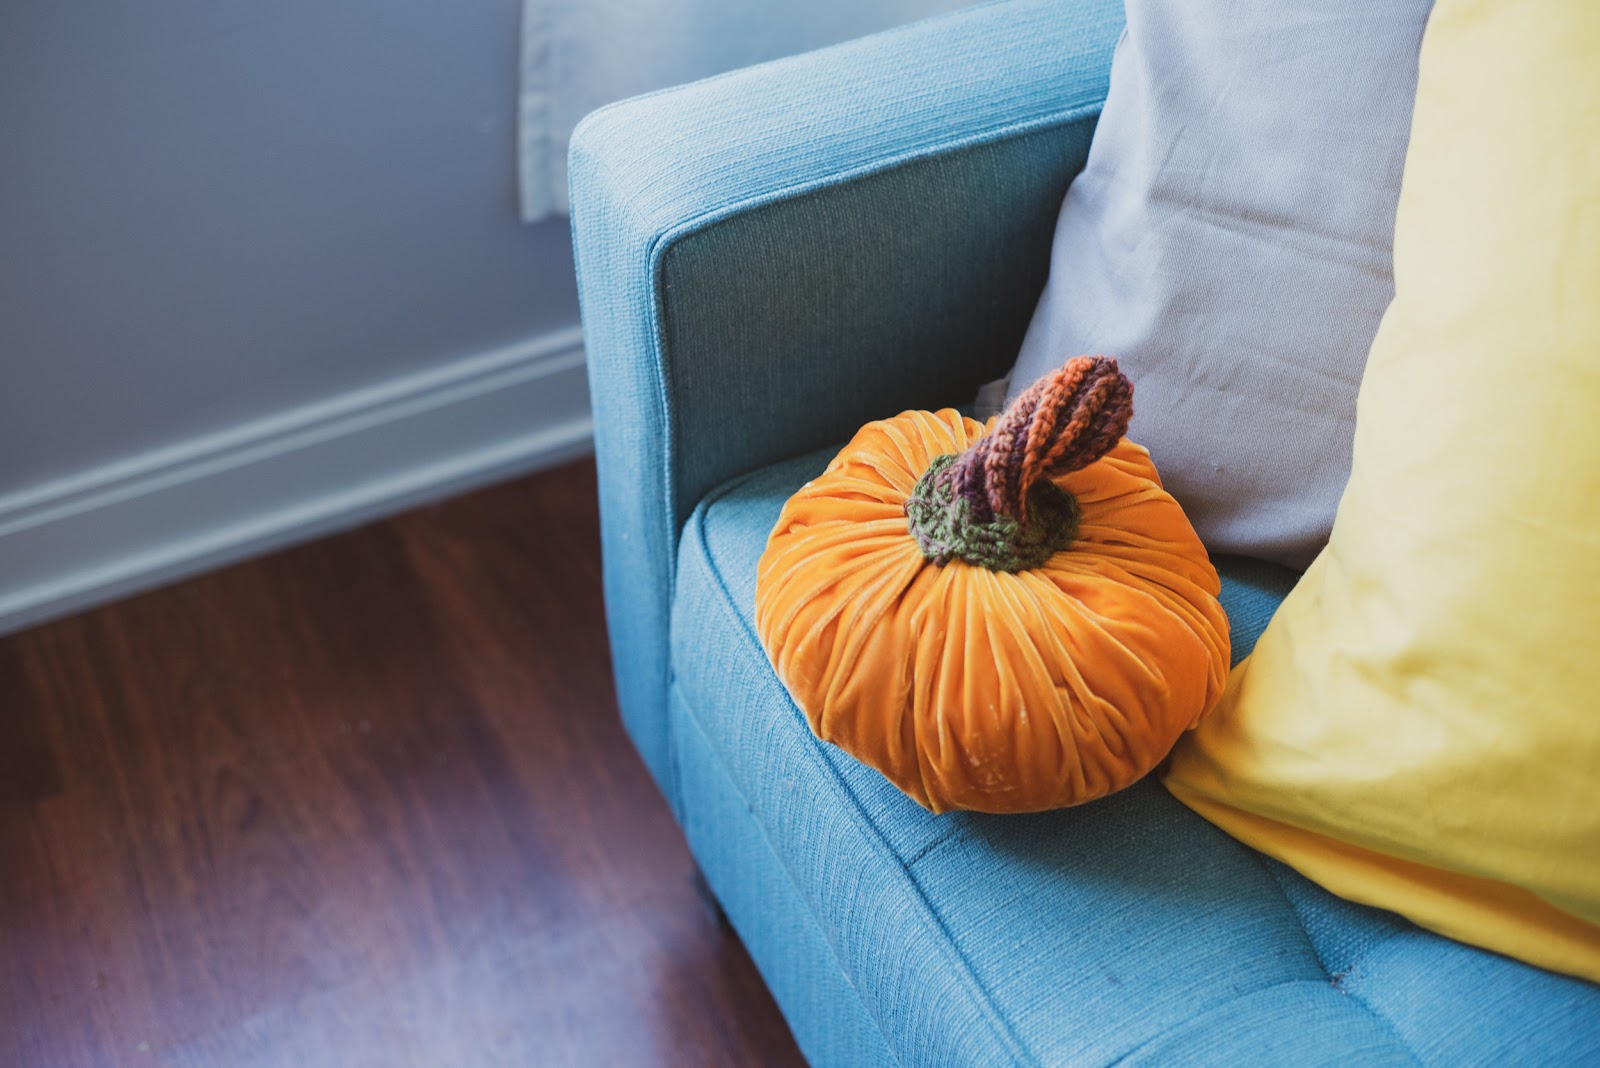
Velvet pumpkins are the elegant bridge between country porch and chic condo. However for budget starved people like myself, I’ve had to forgo the hundred dollar Etsy options and create my own. So now I’m sharing it with you!
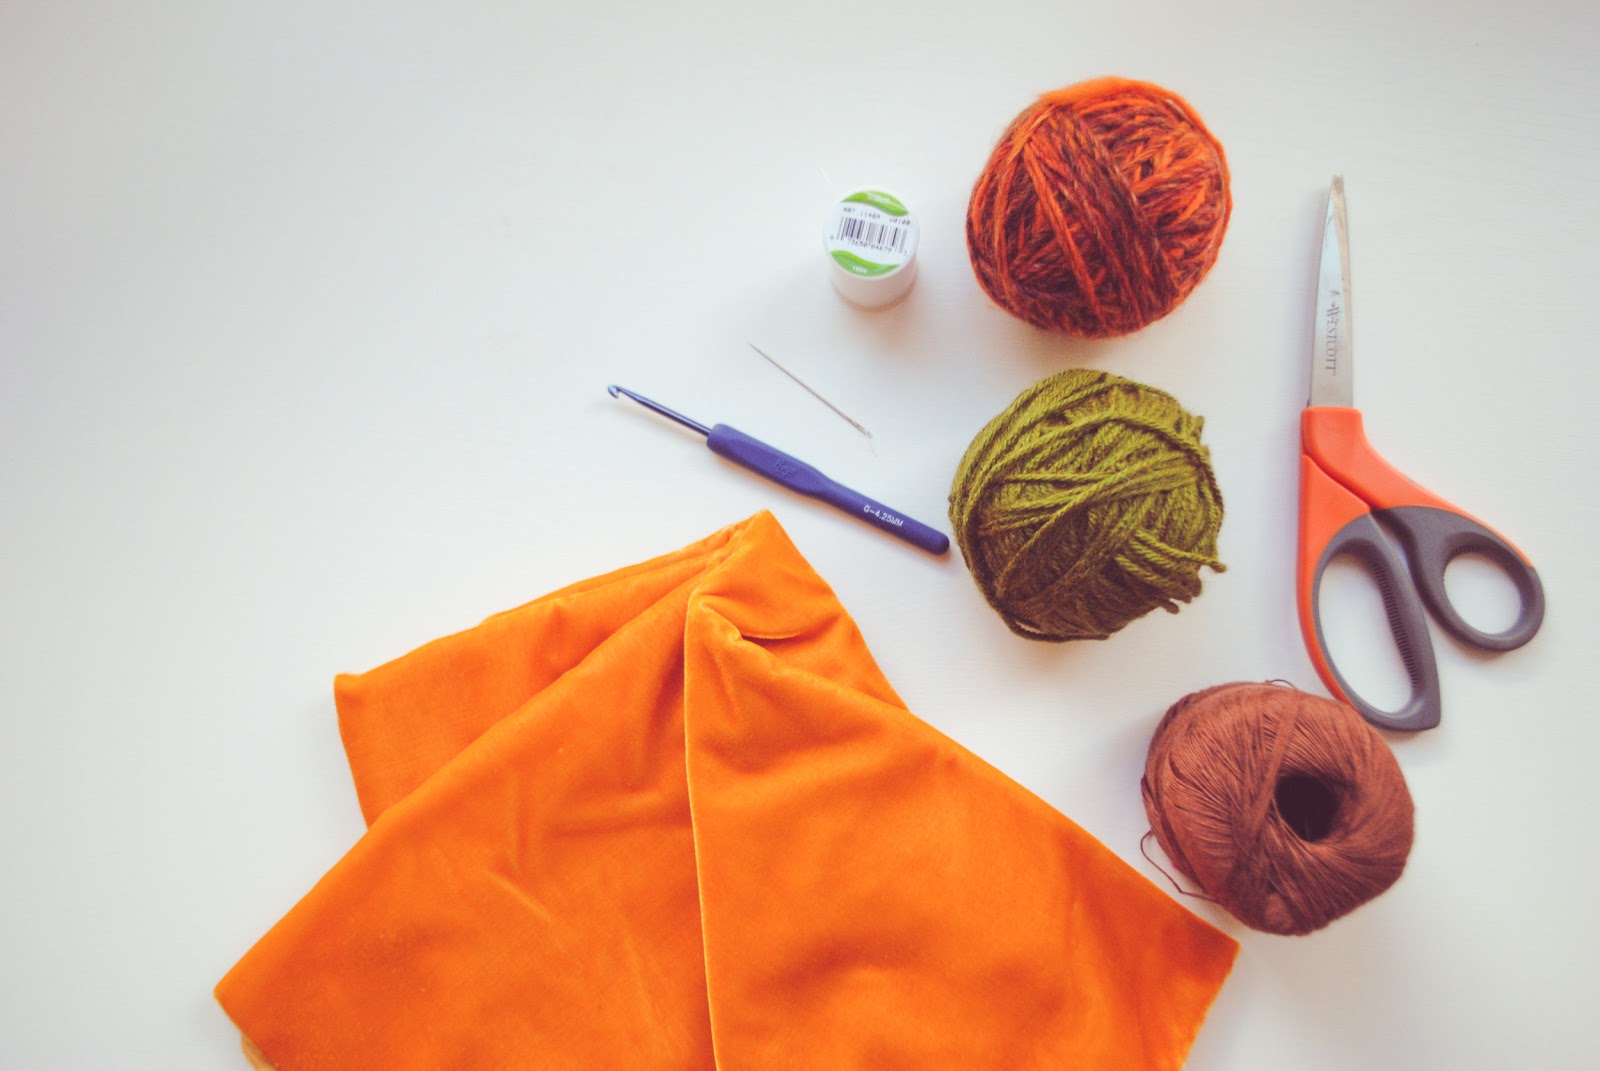
Step 1: Prepare Your Fabric
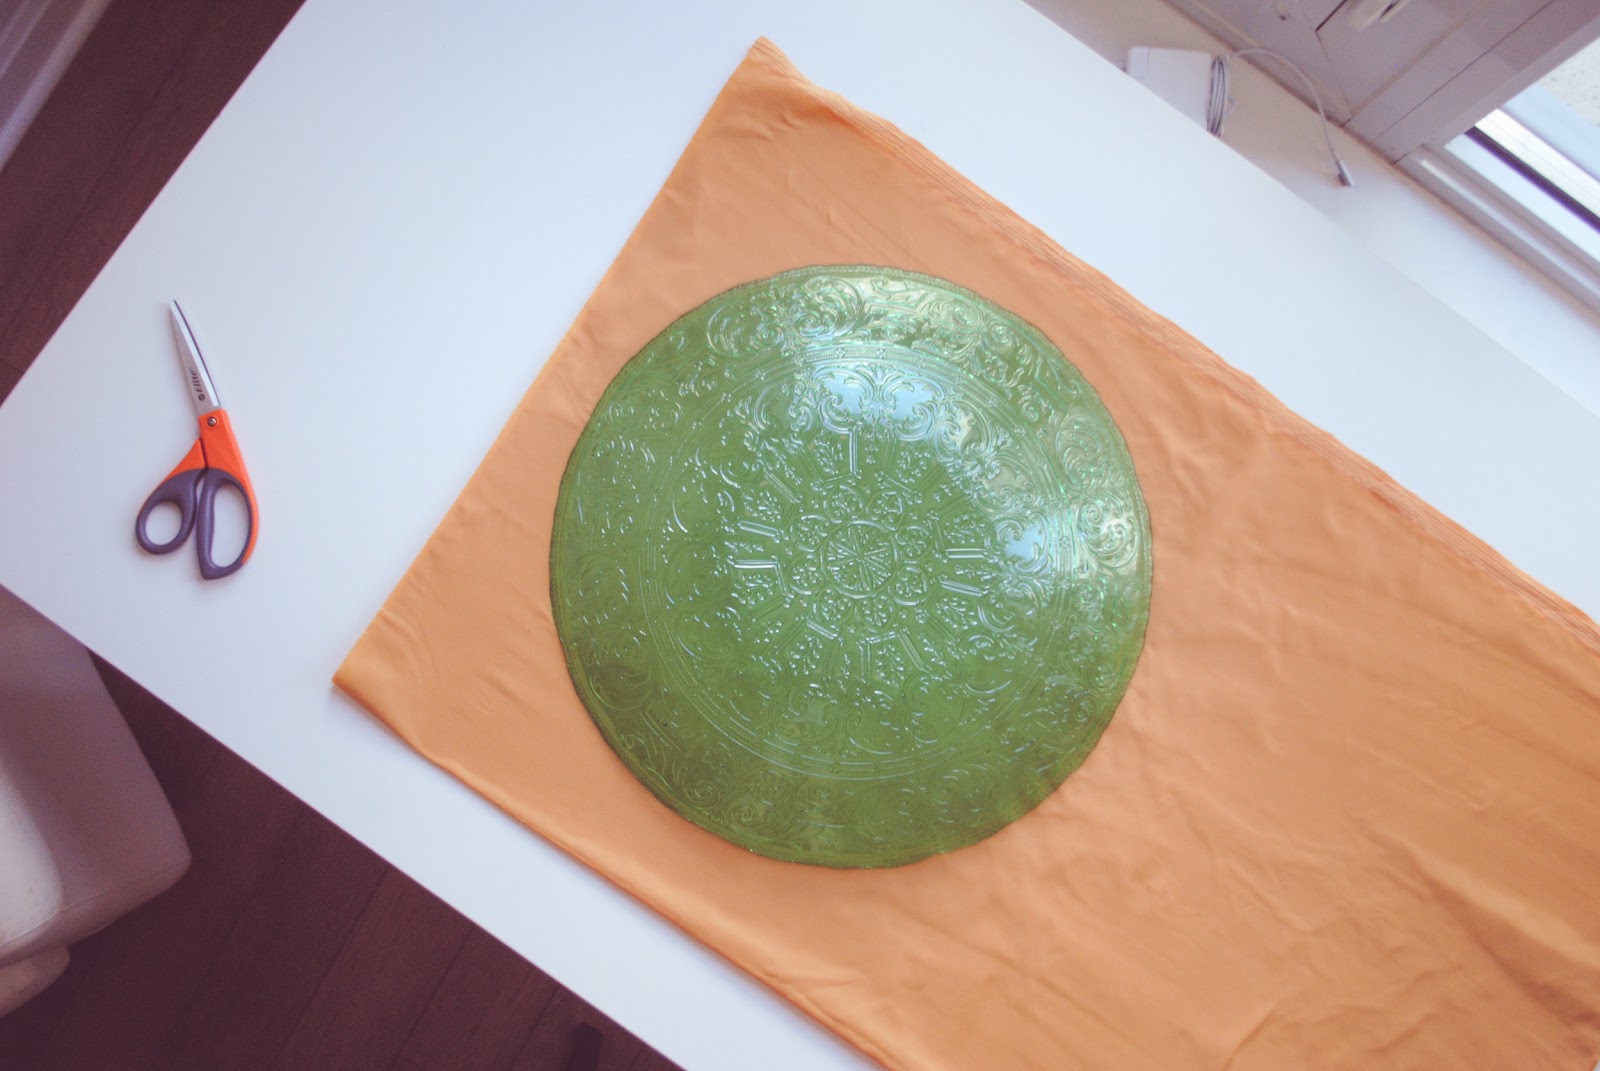
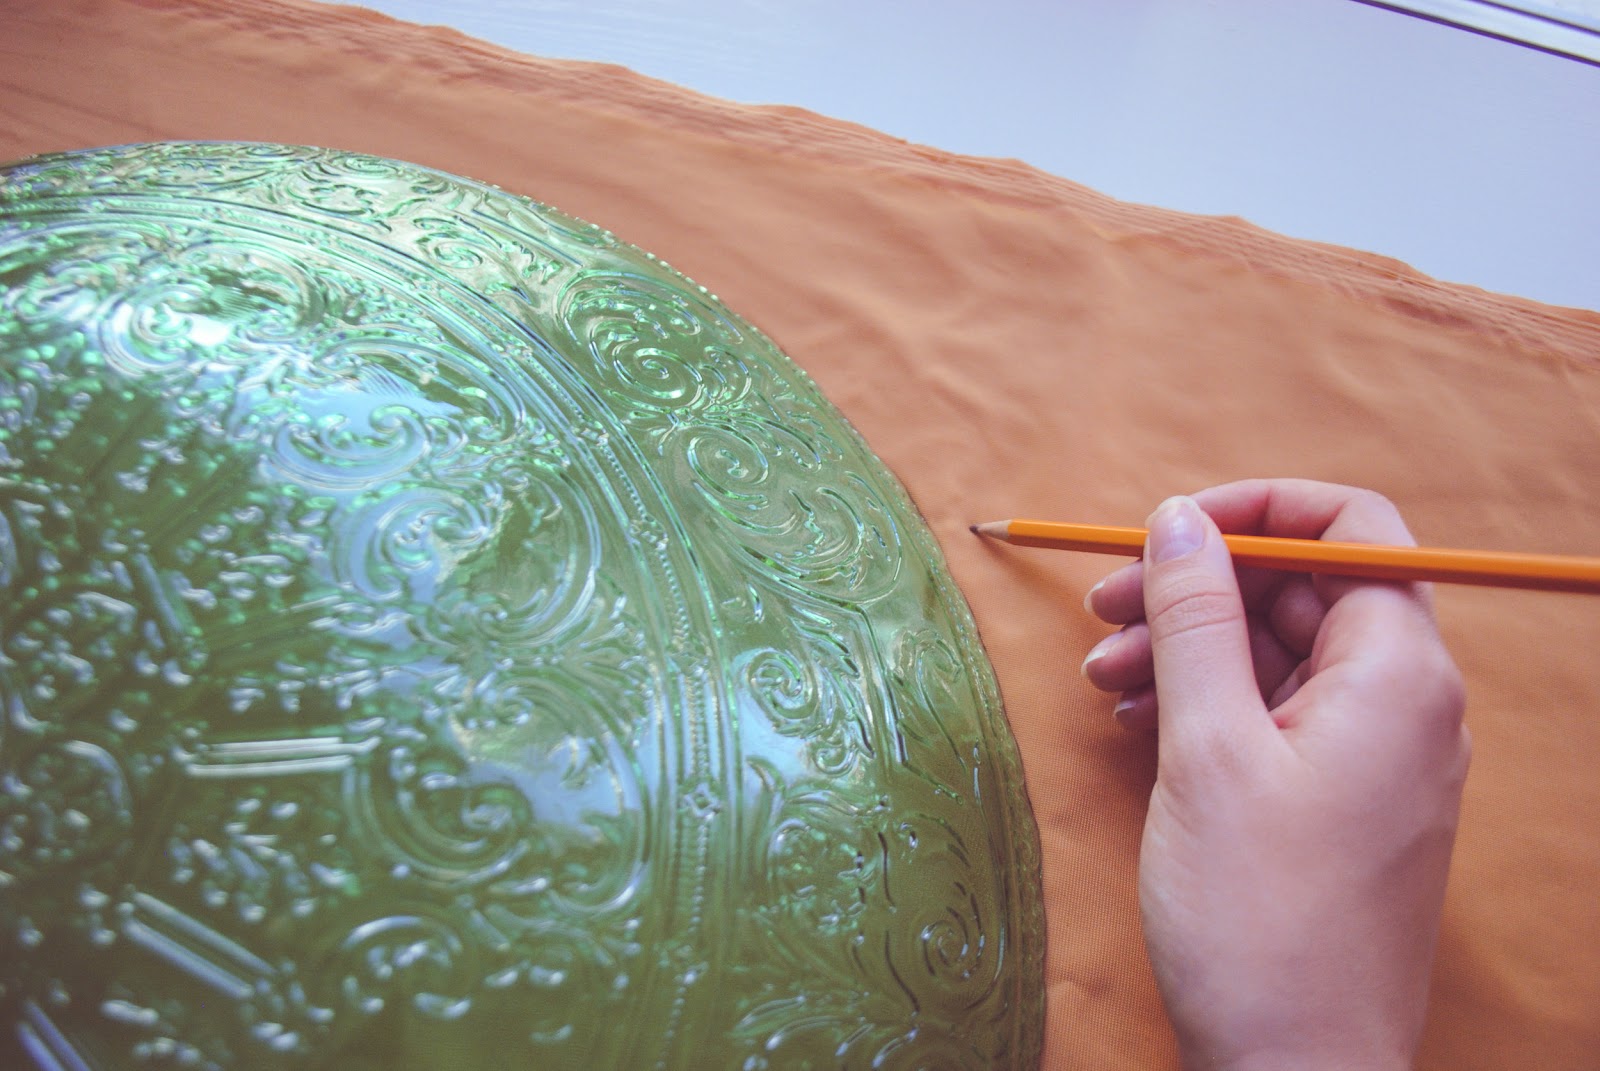
Keeping in mind that the size of your circle will determine the size of your pumpkin, start bigger than you think you need. To draw a circle, you can trace something large (like a bistro table). I recommend using light pencil strokes to make your outline, then erase after cutting.
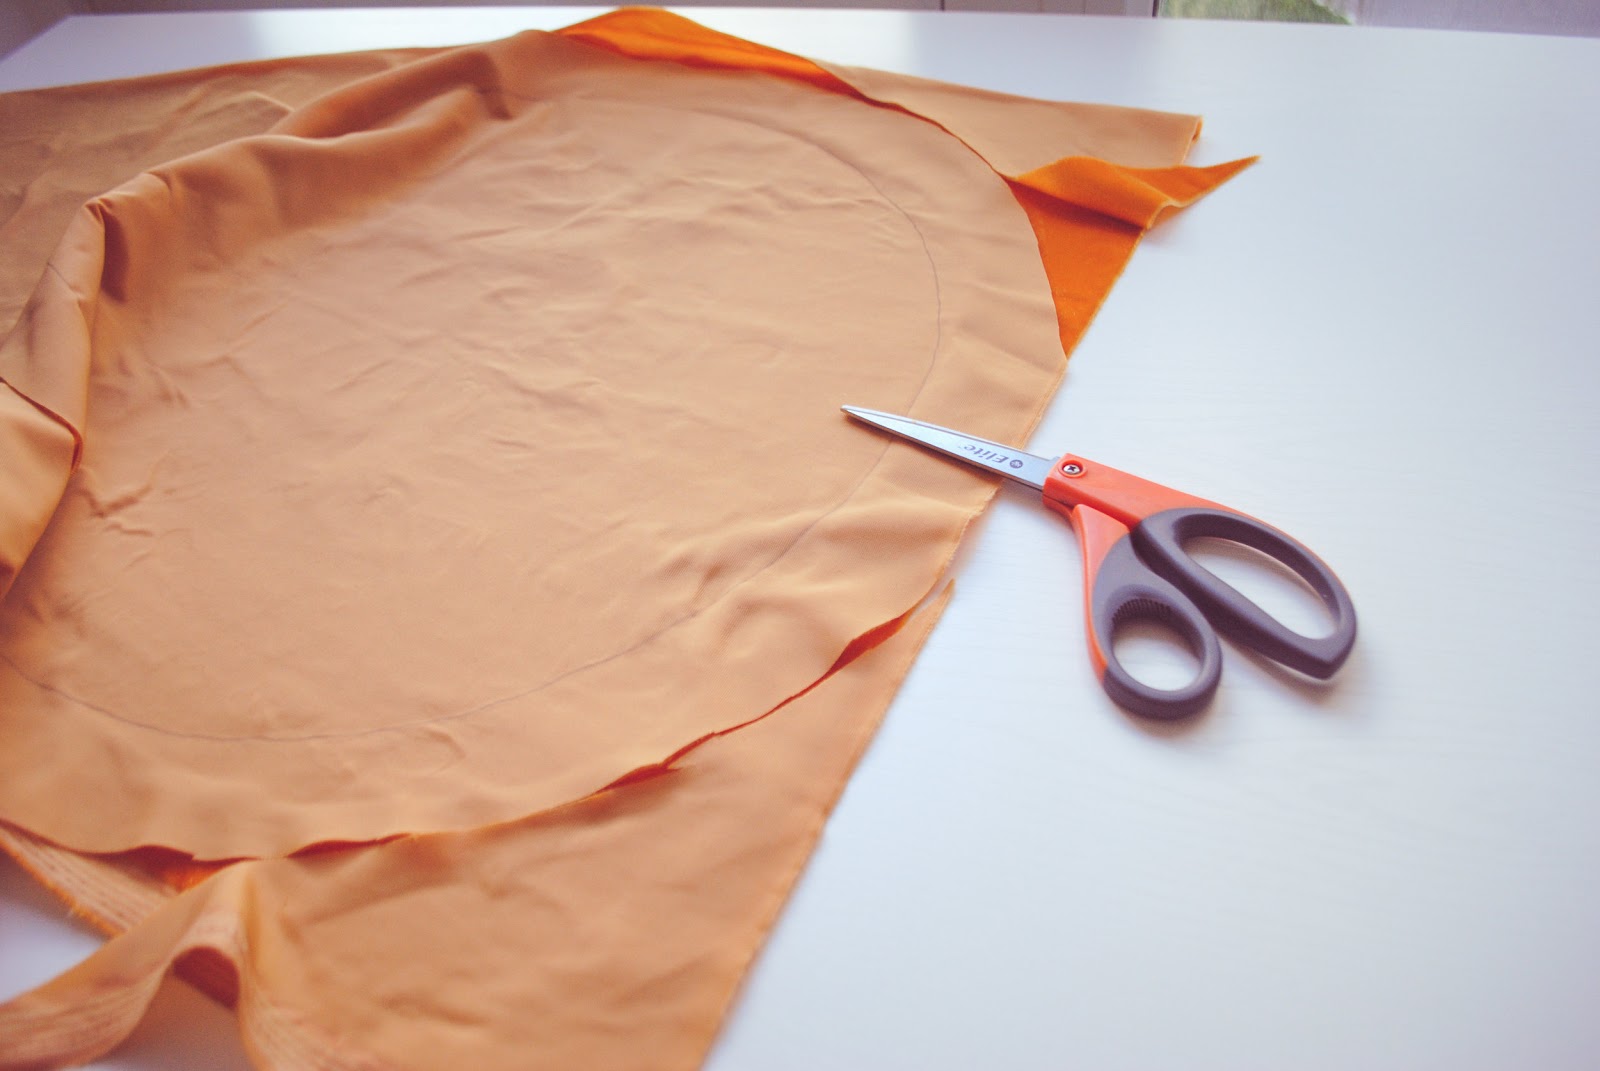
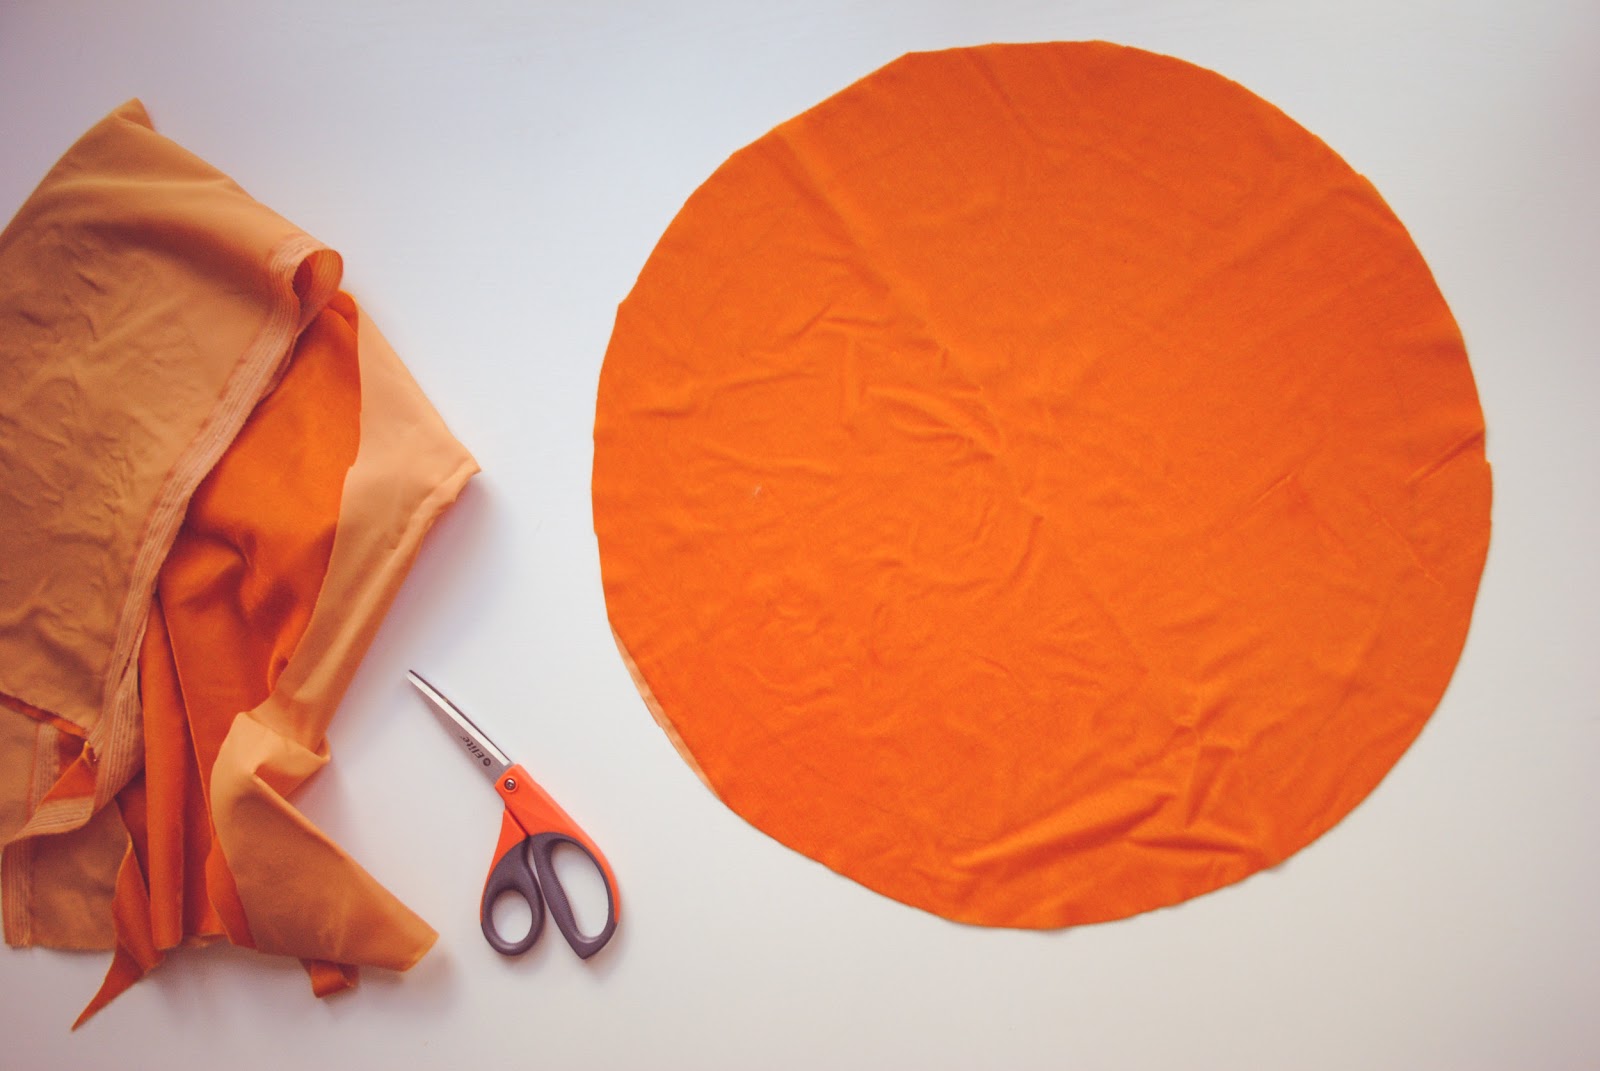
Once you have your outline, cut your shape and set the remaining fabric aside. You may be able to squeeze another pumpkin out of it later, so don’t discard quite yet!
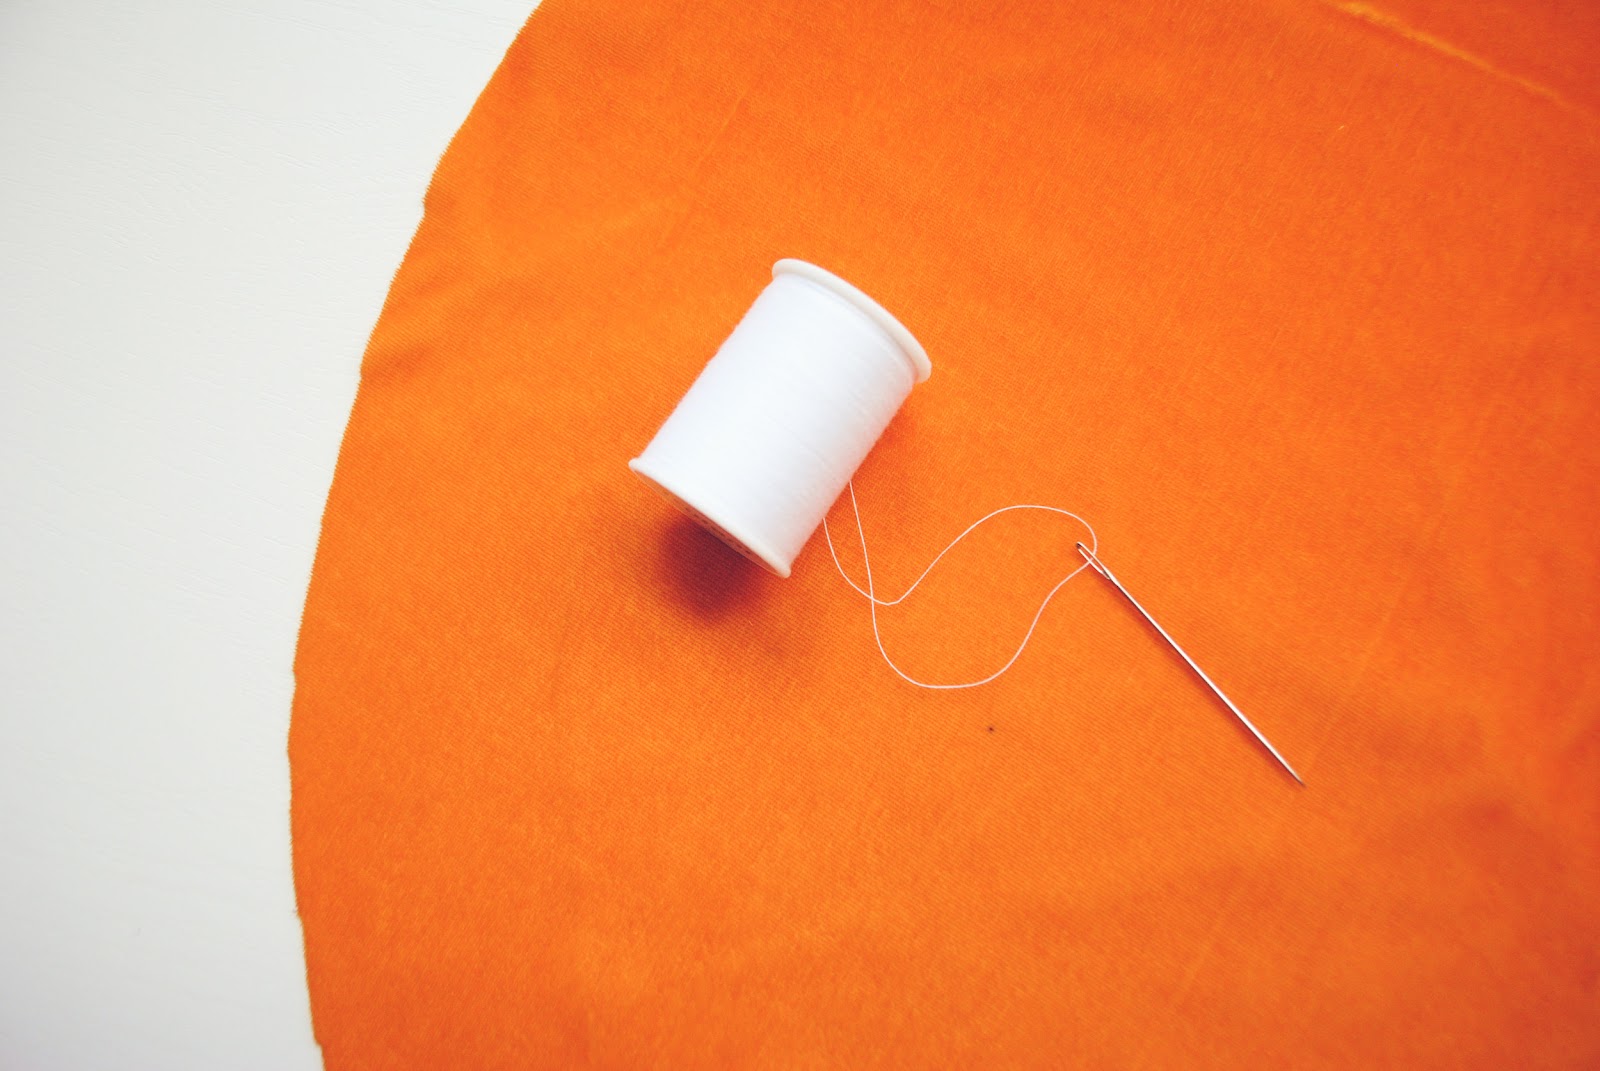
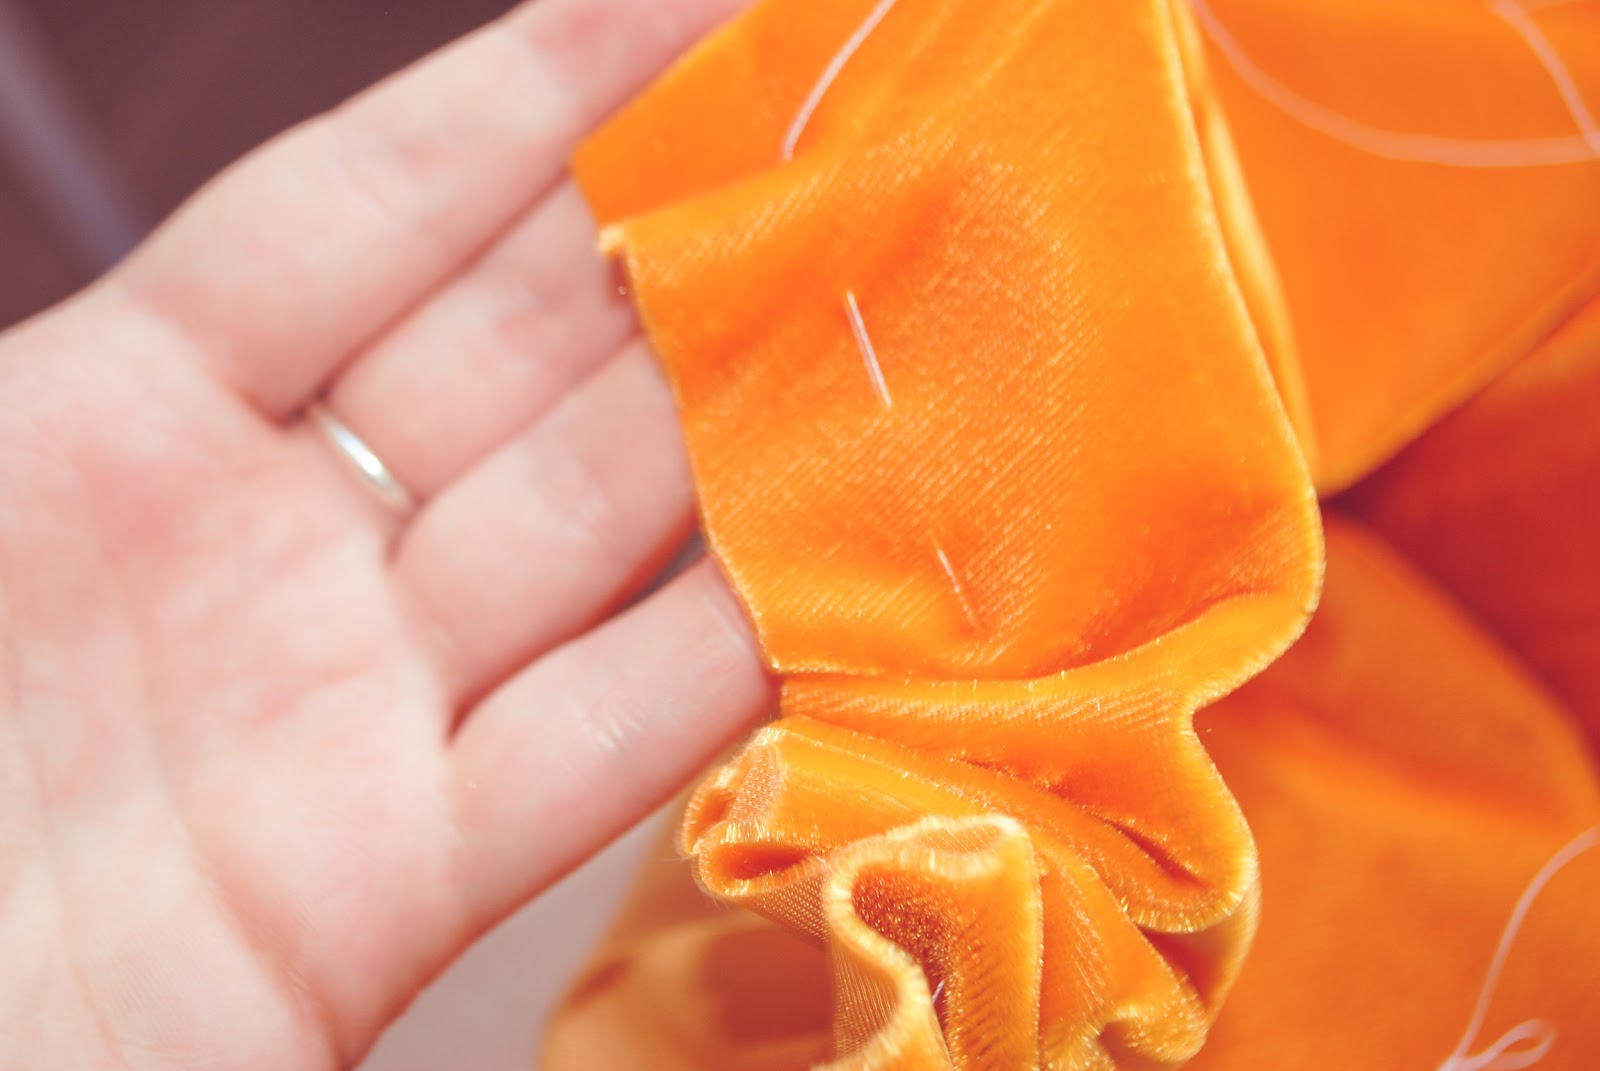
Step 2: Baste Stitch the Perimeter
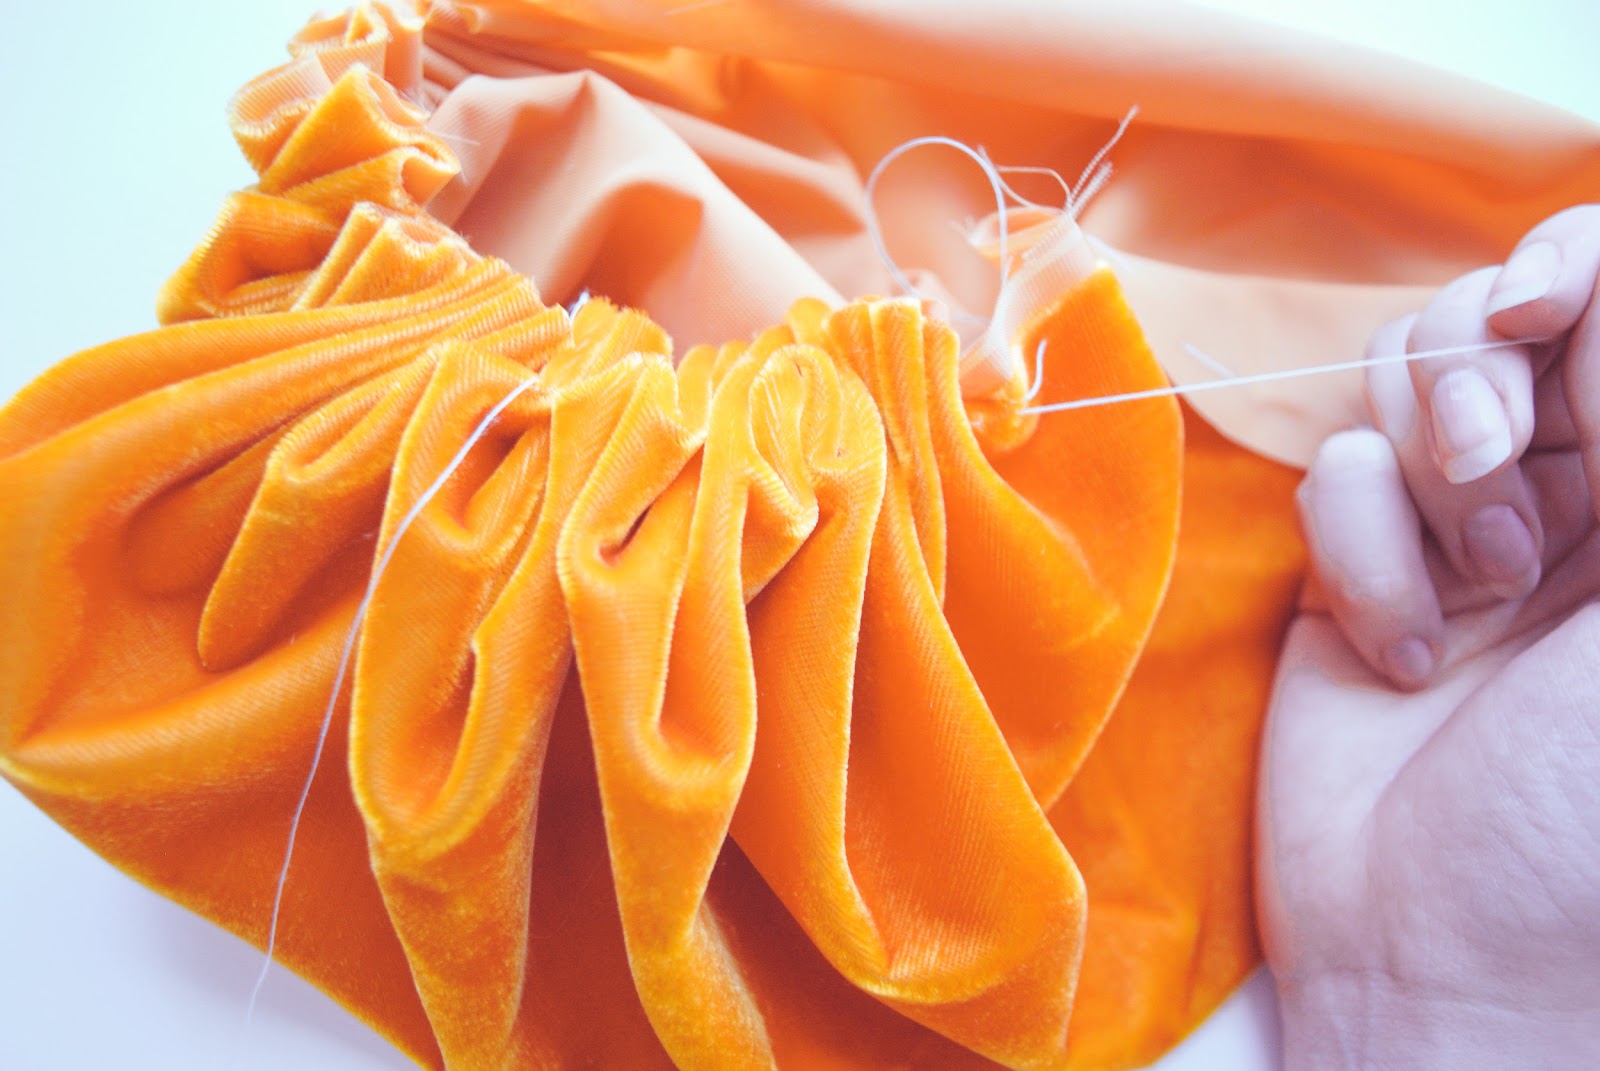
Using a sewing needle, and a yard or so of thread, baste stitch (turkey pun unintended) the perimeter of the circle. Then pull the thread and gather the fabric to bunch heavily. You may opt to combine the basting and bunching. Do what feels right.
Keep the thread and needle attached for the next step.
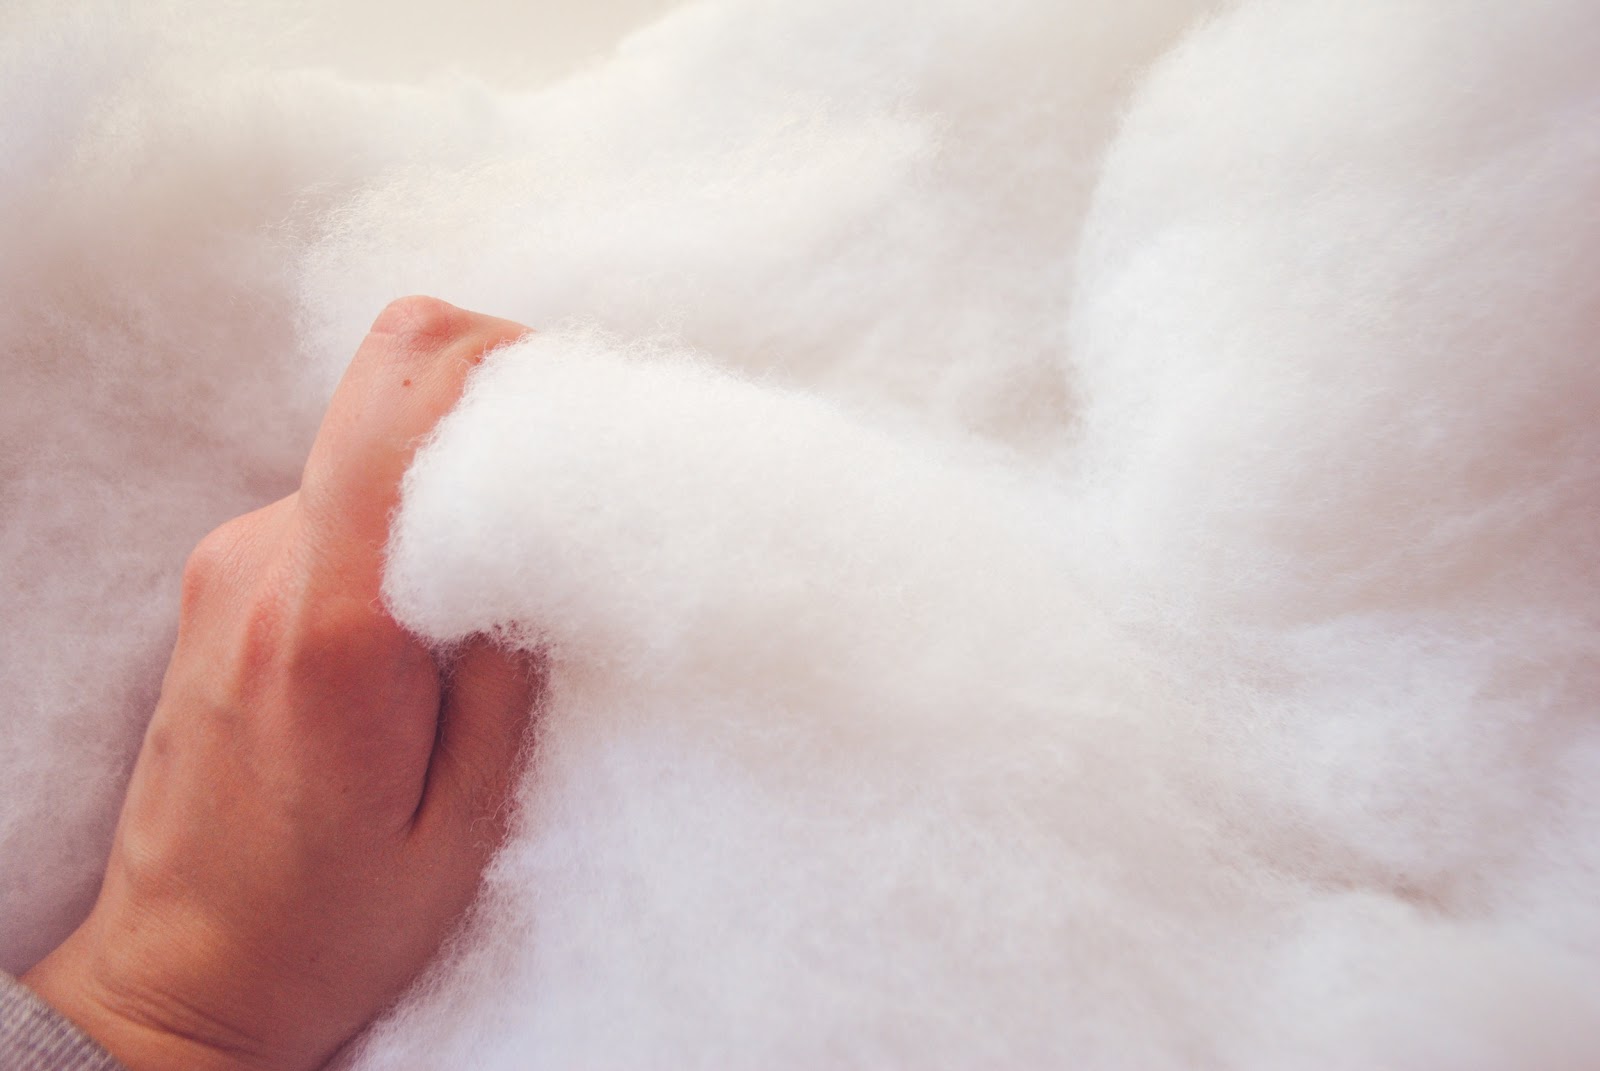
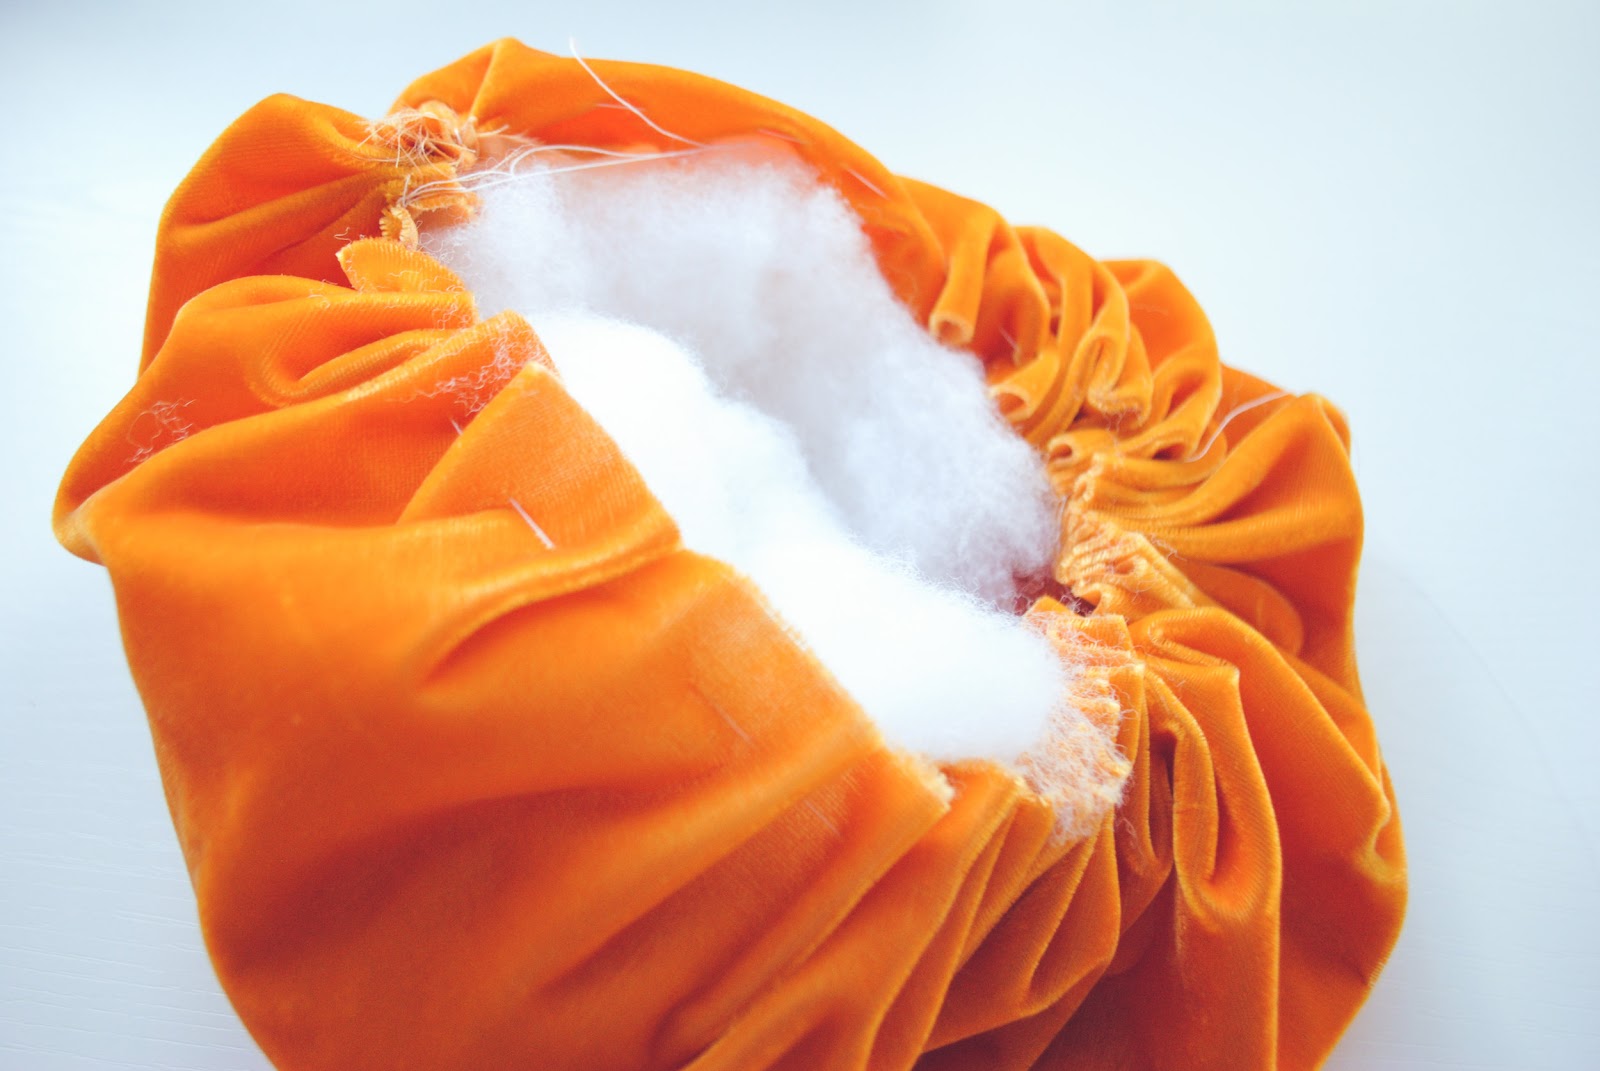
Step 3: Stuff the Pumpkin
Now that you have a pumpkin pocket, you’ll need to fill it with fibre fill. Depending on your fabric choice and pumpkin size, you will need to stuff you faux squash to the point of firm but still plush. Ripe, if you will.
PRO TIP: If you have old, flat pillow forms hanging around, these can be cut into, refluffed and used for stuffing the pumpkin. Reduce your waste and reuse what you can to save not only on cost, but help out the environment too.
Step 4: Close the Gap
Using the still attached needle and thread, scrunch the top together and see closed. The best method to do this is to sew the opposite sides and wrap the thread around the scrunched top, then knot a few times. Sort of like tying hair, without the needle of course.
Using the already threaded needle, sew a small cross into the bottom of the pumpkin. This will keep the top and bottom close together, ensuring the pumpkin shape stays when it’s picked (up). See what I did there?
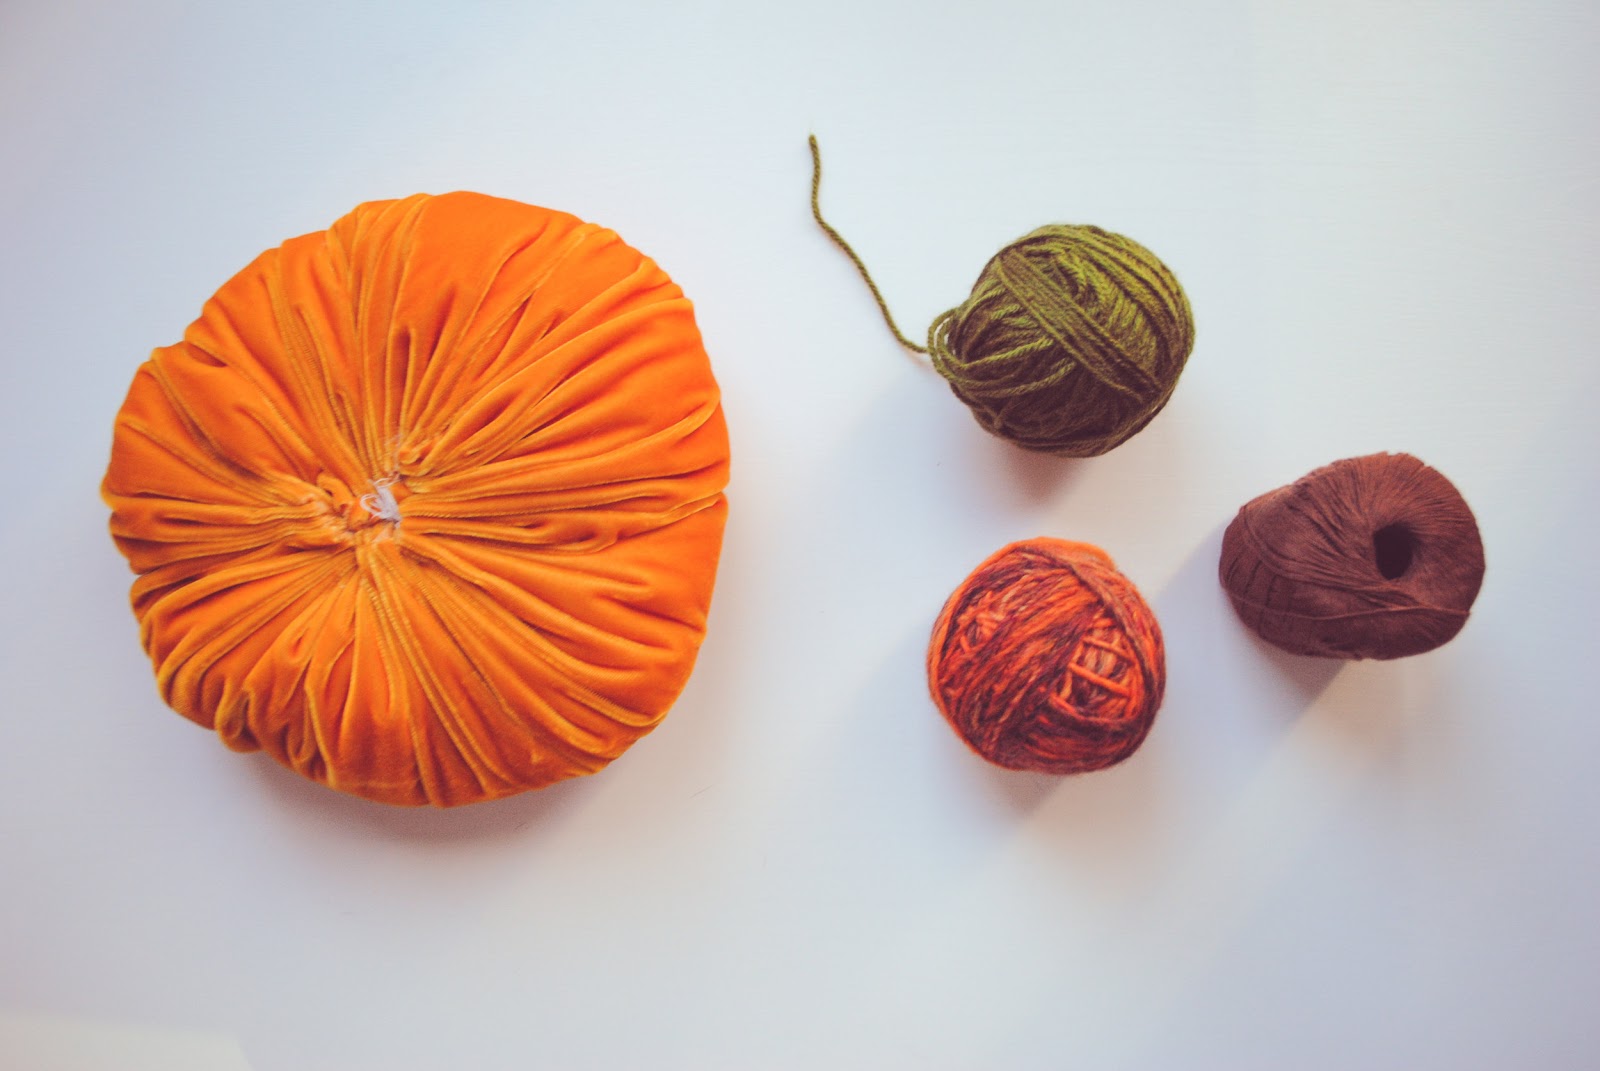
Step 5: The Stem
Really, there are two main options for your stem:
- dried (or faux), which isn’t great for couch lounging
- yarn, crocheted or knitted
Personally, since my pumpkins were going to live on the couch during October, I wanted something plush and malleable. And because the stems are relatively small, odd bits of leftover yarn worked perfectly for this project.
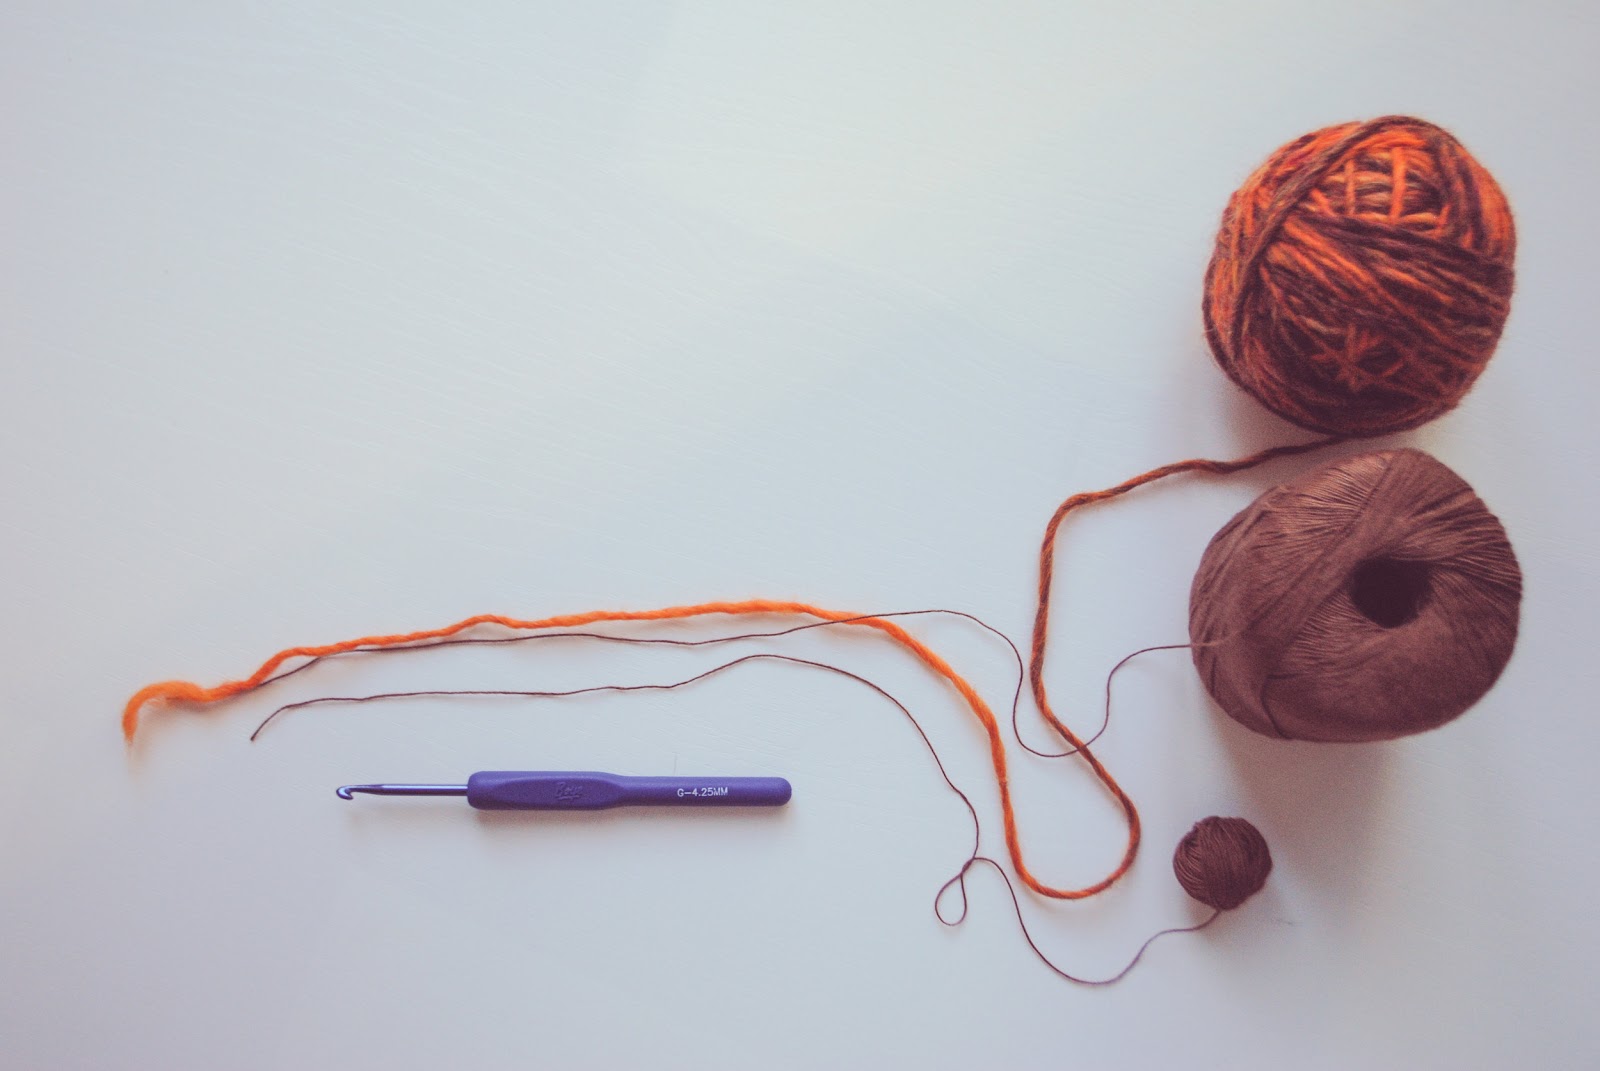
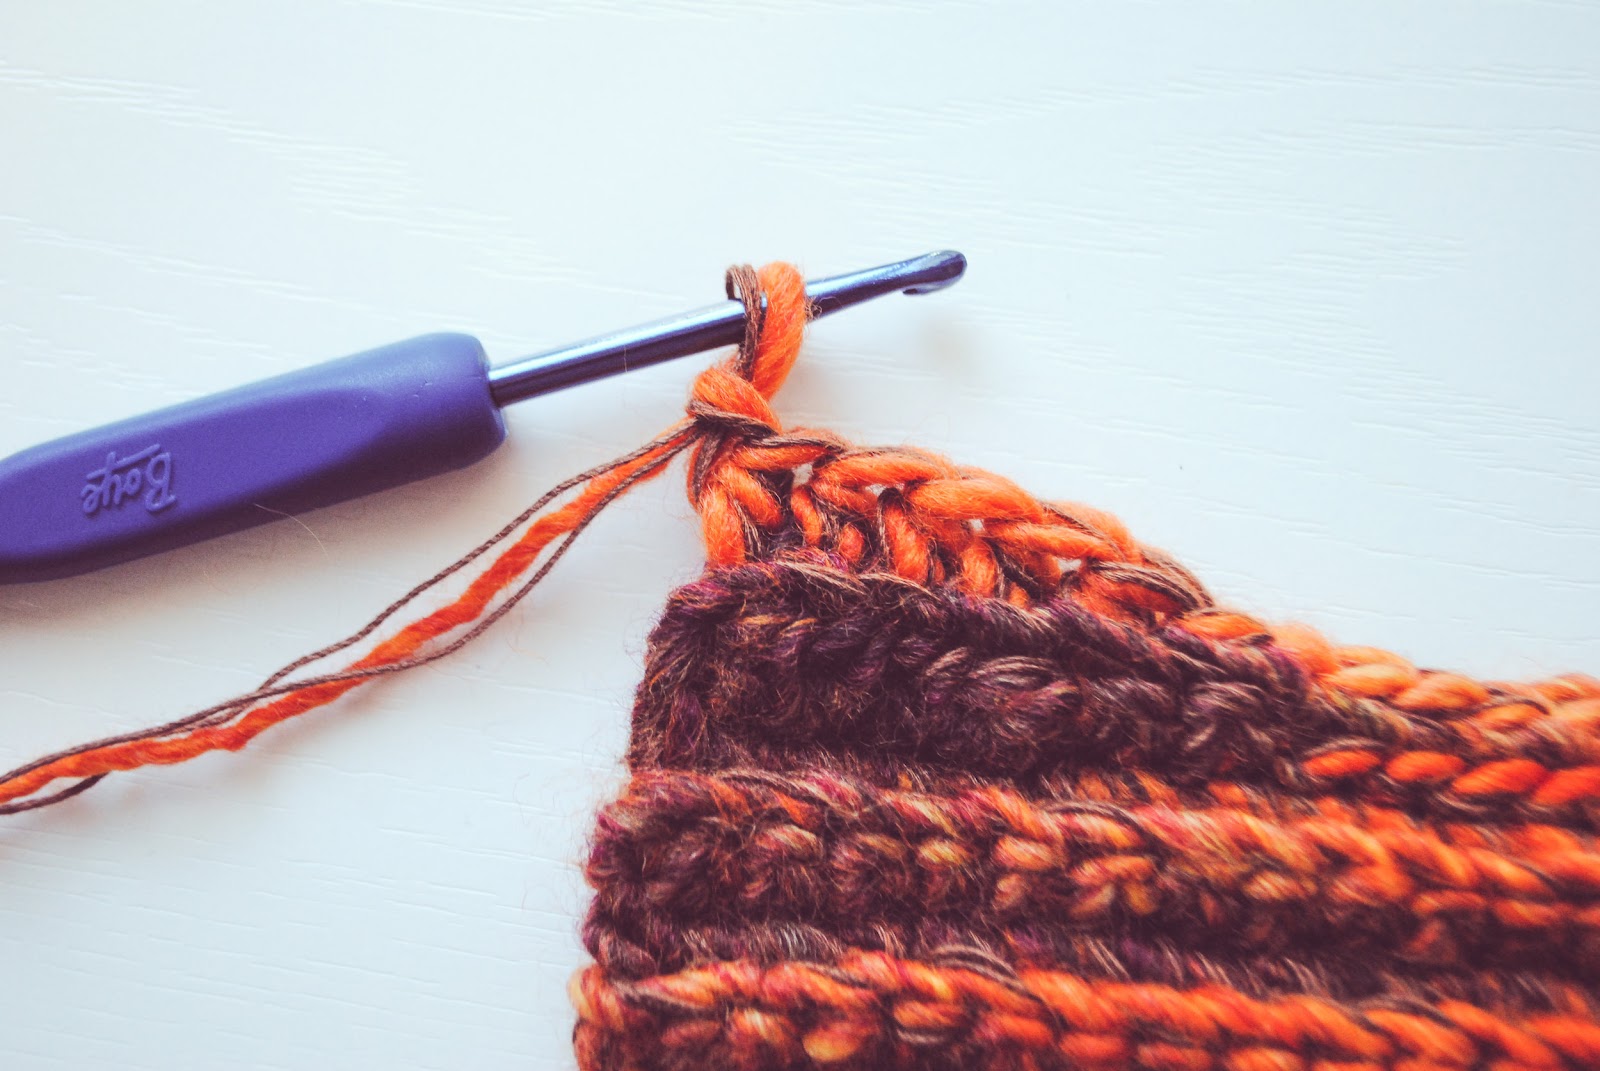
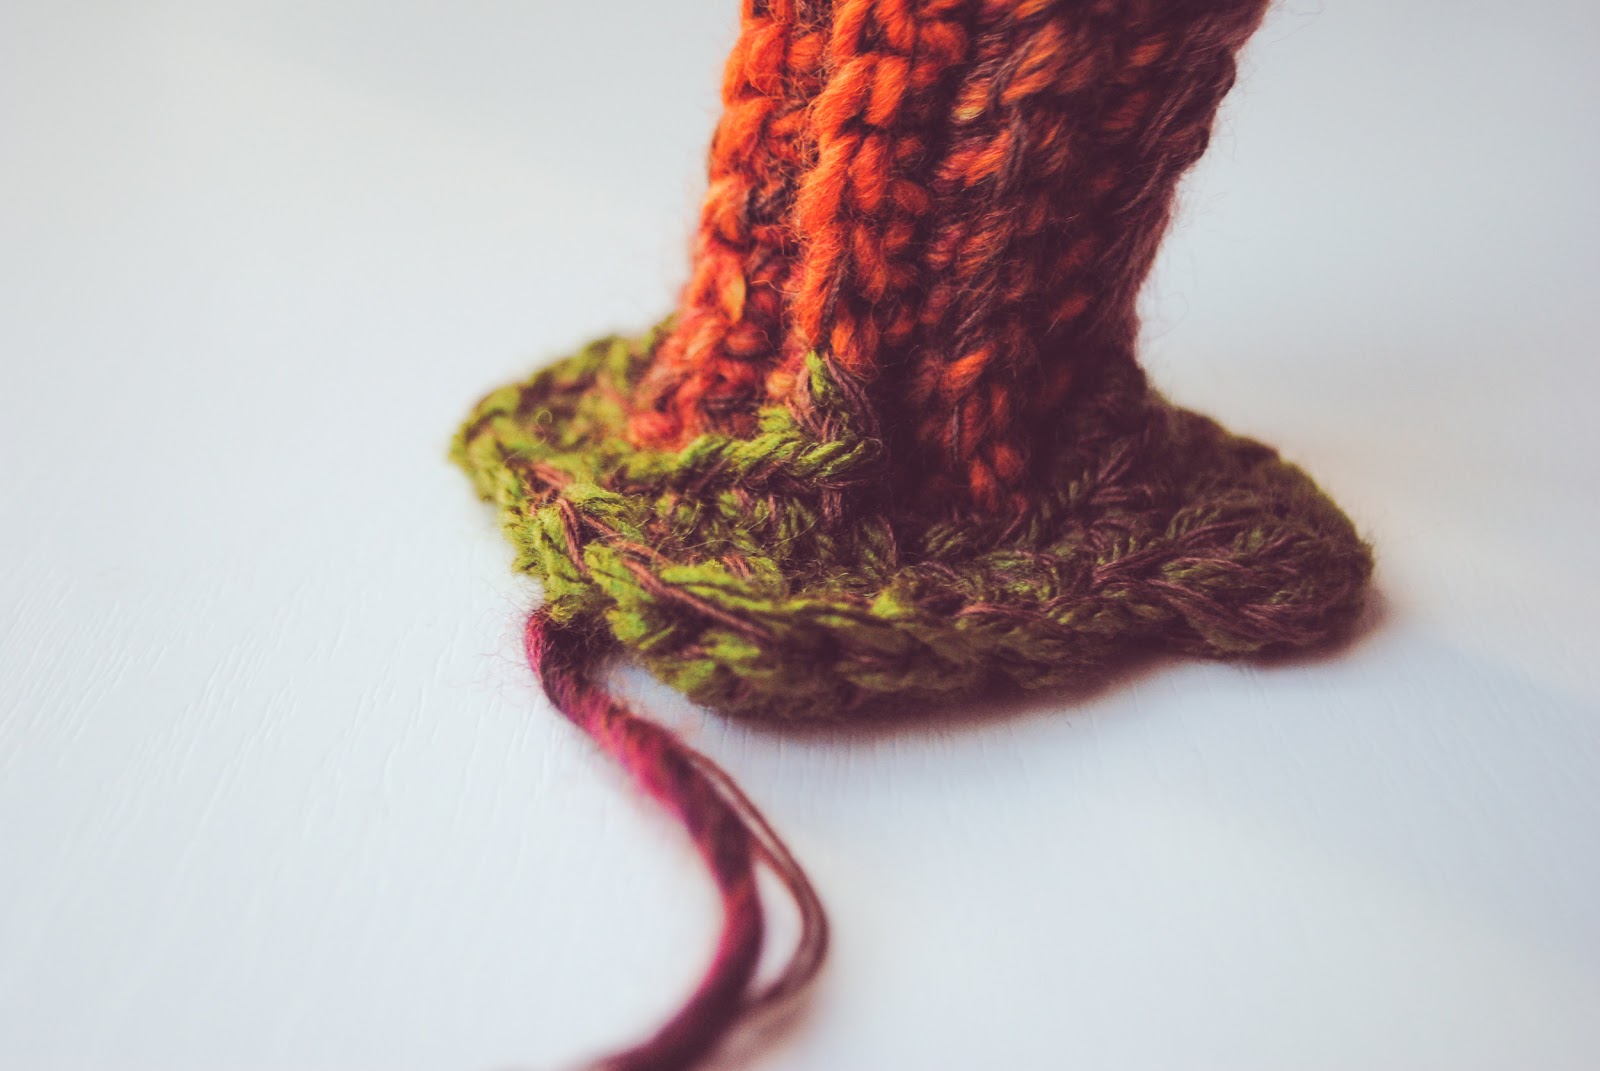
Either attach your dried or faux pumpkin with fabric glue, overlapping into your fabric. If you’ve chosen the yarn route, sew the bottom perimeter of the stem onto the pumpkin. Whichever method you’ve chosen, be sure to avoid gaps. Otherwise, your pumpkin fluff will be subject to fingers plucking at it.
And that’s it! You have yourself a velvet pumpkin, no gardening necessary.