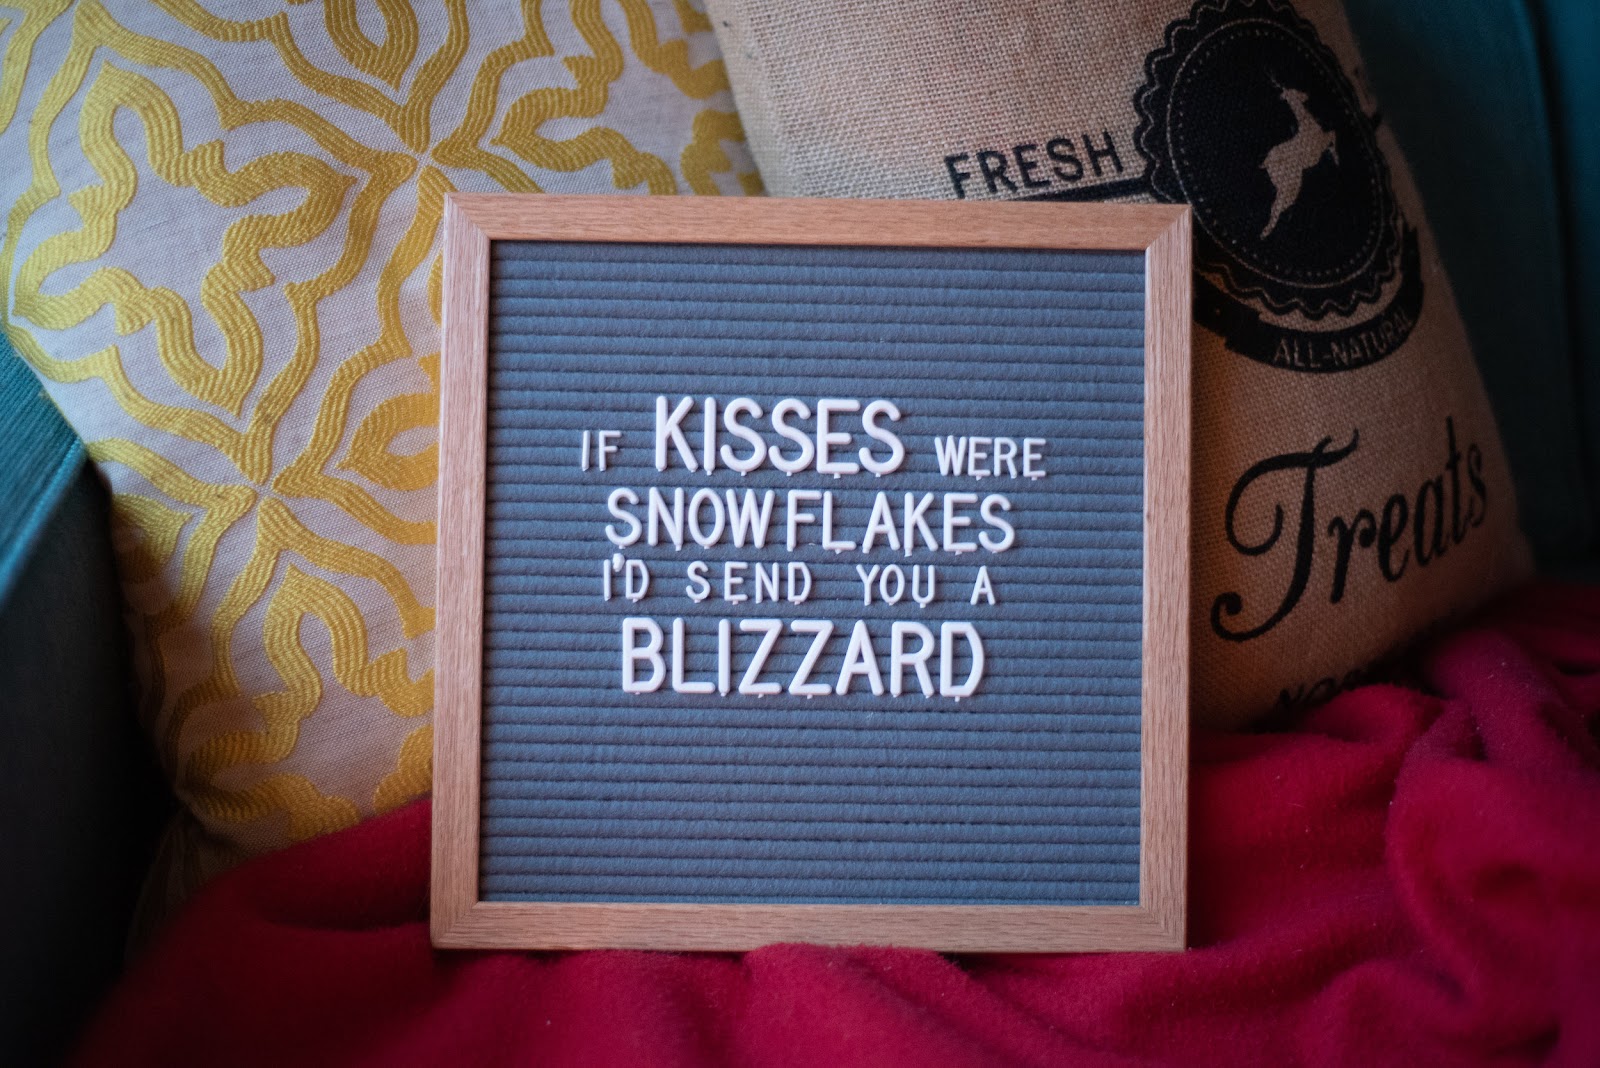
Aren’t letterboards adorable? The vintage feel. The customization. They’re top notch. But those plastic letters are prone to getting lost and as beautiful as expensive organizers are, the diy version is just as functional.

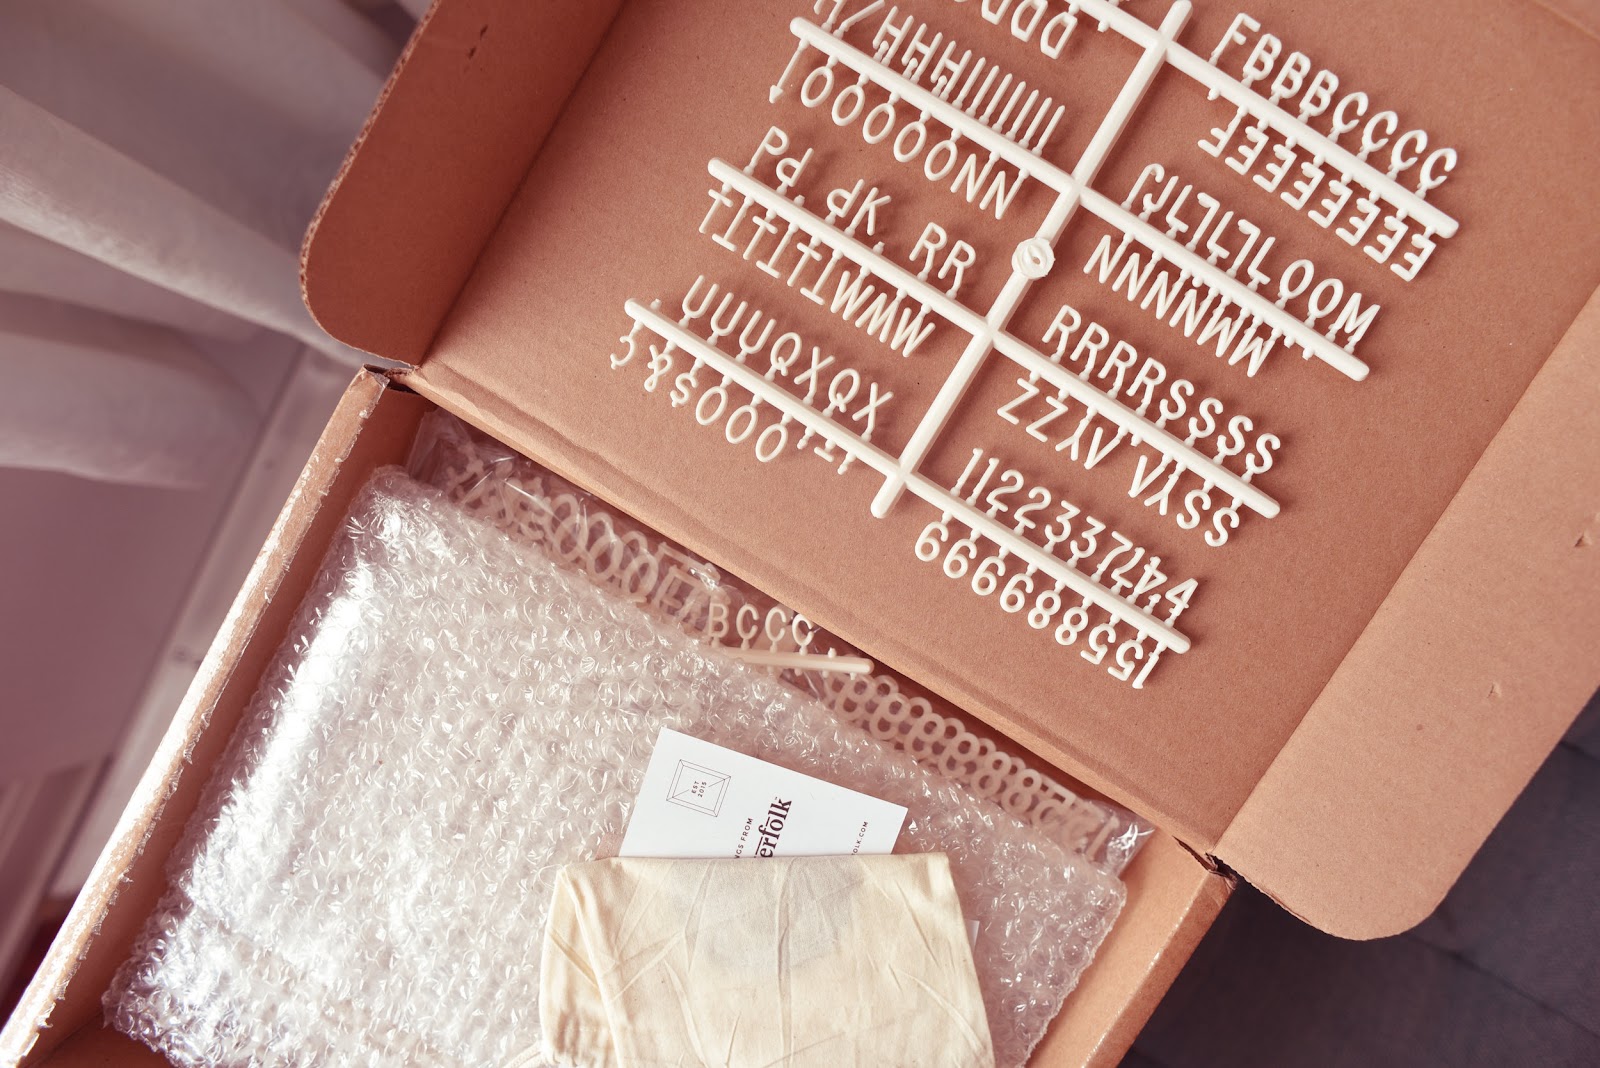
When I bought this super cute, square letterboard from Letterfolk, I went a but ham on the letter options (in addition to the medium letters that come with the board, I also got tiny and large. But I didn’t realize the responsibility that would be required to keep track of a thousand of these plastic bits. And when I went online to order the beautiful oak and glass organizer box, I pulled my head back down from the clouds and stepped back to realize that I needed to get a hold of this spending. But the need to keep things organized remained, so an idea came to mind.
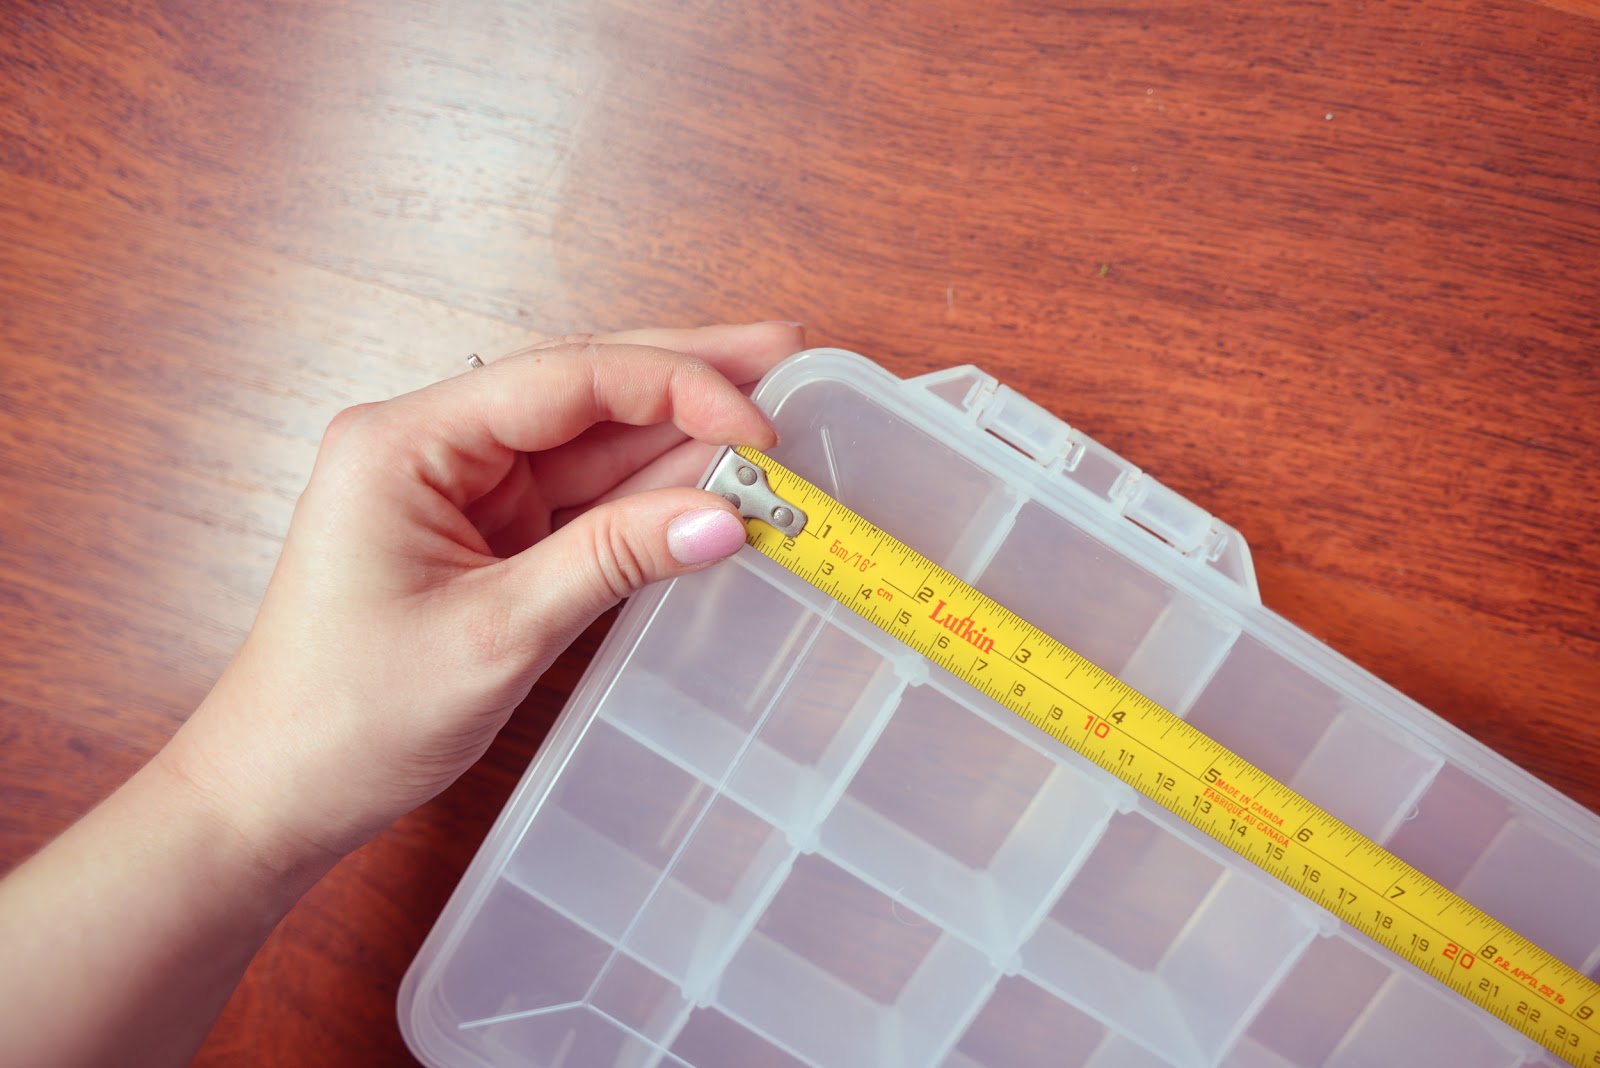
While shopping the isles of Walmart before a camping trip this summer, I spotted the perfect solution. A tackle box organizer that was begging me to give it a more glamorous task. So, for a mere $6, I brought it home to give it a makeover.

Turning to my Cricut, I wanted to create some letters for my letters. These would go on the front of the tackle box, so that letters could be found at a glance. But as I thought of the font I wanted to use, I realized the textured areas that lay on top of the lid and I knew that this would cause issues in trying to add nice symmetrical labels for each compartment. Instead, I opted to stick the letters on the underside of the lid. A seemingly simple yet tricky task.
What You’ll Need
- Plastic tackle box with at least 20 compartments
- Cricut, Silhouette Cameo or similar machine
- Adhesive vinyl in the colour of your choosing
- Transfer tape
- Scissors (always have scissors when you’re doing projects)
Directions
To figure out the letter spacing if the letters, you’ll need to measure the surface of the box. My box too was 13.5″ x 7″, with 6 compartments horizontally and 4 down. Depending on which program you’re using to create the letter template (other than Cricut Design Space), make a table with the same number and rows at the same size as your box. Align the text to centre, middle within each cell. Type out your organization system by letter (I’ve done 2 per cell, but wish I could have done each letter/number in its own box).
Make sure that the cells line up where you want them in the box (ei. Align with the top and not the centre)
Next save your template as a png (transparent) to upload to design space. This will help make the cut file conversion easy. Save as a cut file and import into a new project.
NOTE: you can use the magic eraser tool to remove the table before saving the cut file, however sizing will have to be adjusted.
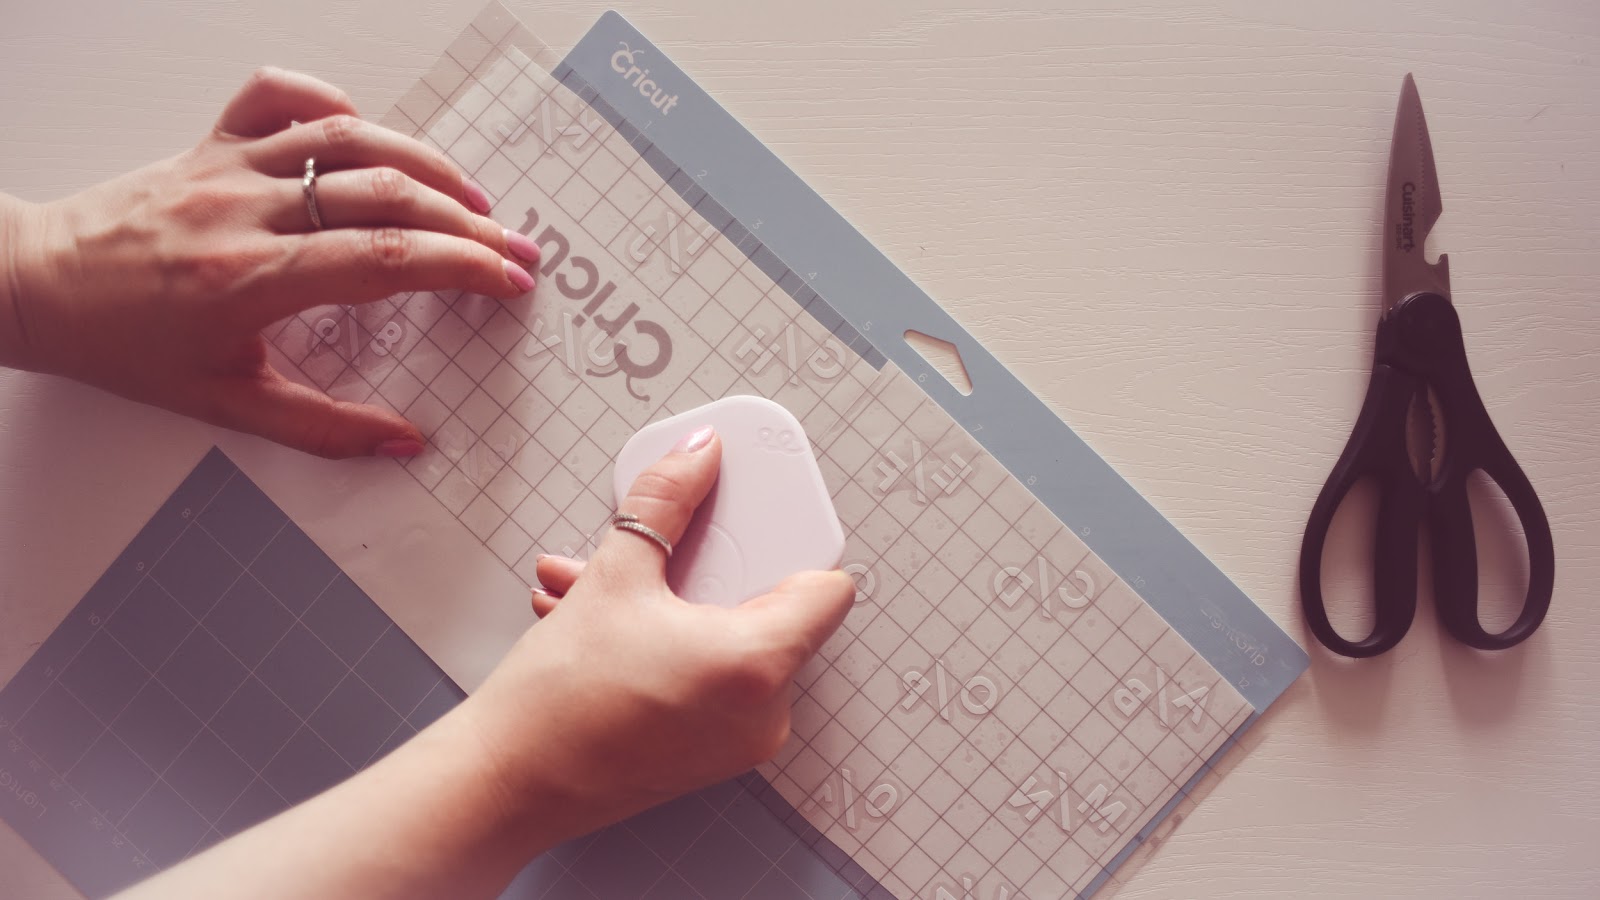
Load an adhesive craft vinyl onto your Cricut mat of choice. For whatever reason, Design Space doesn’t save the right dimensions when importing projects, so be sure to adjust the image to the right size of your box (the size of the original document). This way you’ll avoid having to re-cut multiple times and waste precious vinyl!
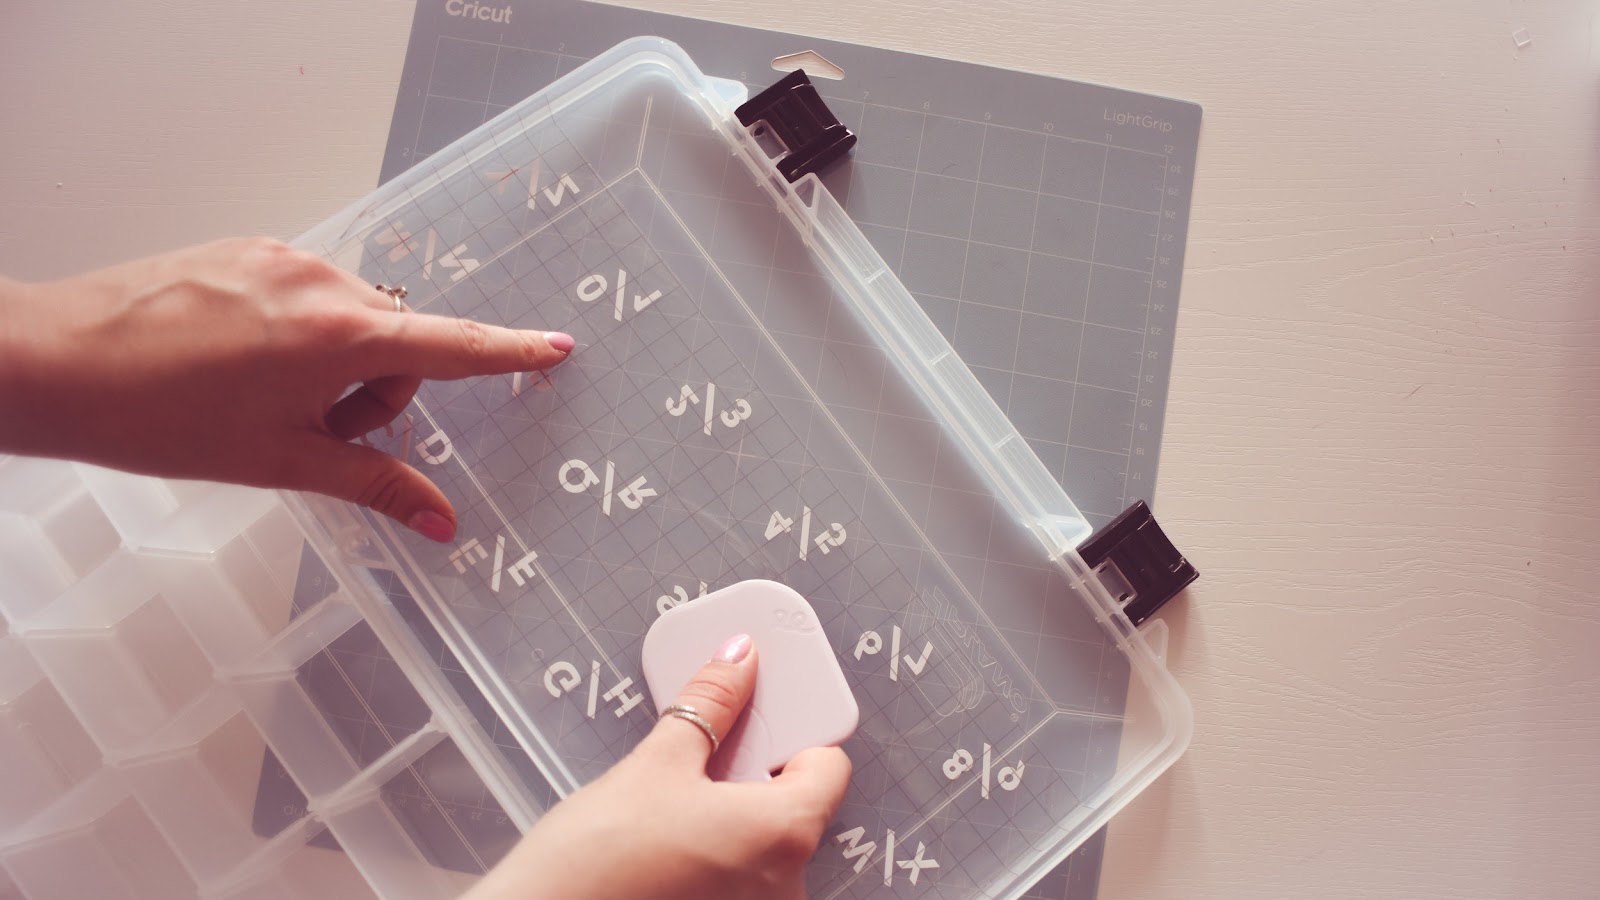
The top of my organizer wasn’t smooth, it has these tiny raised lines all around the edges, so I wanted to stick my letters on the under side of the lid. If you also want to stick your letters on the underside of the lid to keep the top smooth, you’ll need to mirror cut before you set your Cricut to cut the letters. This way the sticky part of the vinyl will essentially be on the front of the letters.
Set your Cricut to the right material and cut the file. Weed the excess vinyl and be extra careful not to remove letters, as I had to fish a few letters out from my massive, vinyl crumple. Not an easy task. At this point weed away the table, as you won’t need it on the actual organizer.
Using transfer tape, pickup your design and open the lid for the organizer box. When you set the vinyl, be sure to align to the bottom (when it’s open) so that it’s actually aligned to the top when it’s closed. This seems strange, but it will work out. Try to align the letters in the centre of the cell, cut the transfer tape into vertical strips of absolutely necessary. Using a scraper, be sure to stick all the vinyl down firmly and carefully peel back the transfer tape.
TIP: Save your transfer tape for another project by placing it back on to the backing. I generally use mine multiple times before discarding. It’s super sticky stuff.
Add your letters to your organizer. This is by far the longest step, but I highly recommend turning on Netflix and just powering through an hour long letter removal session. I have 3 sizes of letters (tiny, medium and large), which consisted of I think 1000 letters to be cut.
Now you’ll be able to easily update your letter boards as often as you like with a systemized letter box.