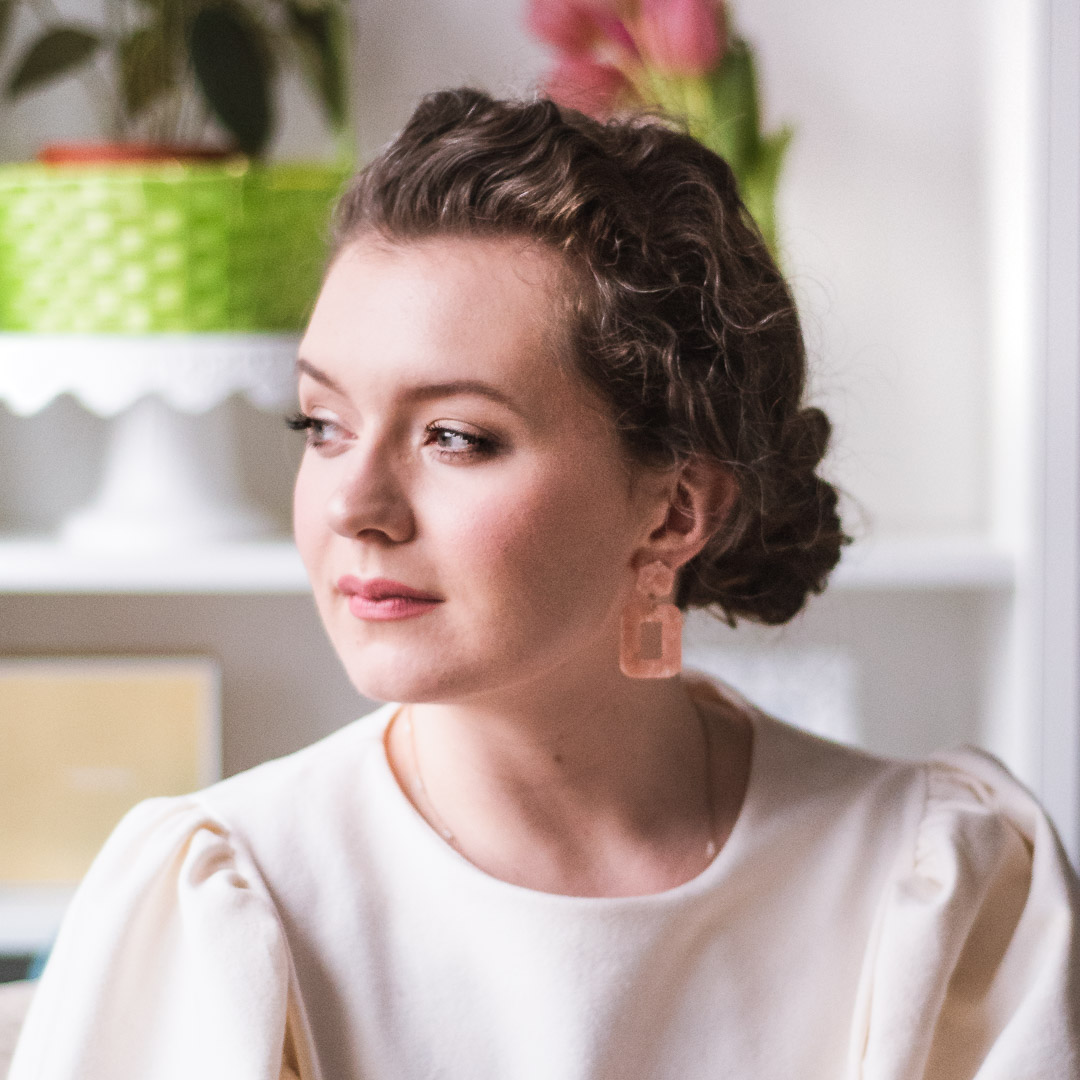
At all of my themed events, I go the extra mile to embody the theme. Sometimes, I mascarade as a decoration. When I decided on a Tacos y Tequila theme for a recent event I planned, I naturally drew to a Frida Khalo-esque flower crown.
Unbeknownst to me, the outdoor venue would experience some pretty serious “force majeure,” event speak for terrible weather. Who knew wind could become such an issue and eventually blow the entire decorative landscape away? I was left with nothing but a DIY photobooth and flower wall at the venue. Luckily, my flower crown and I were there to make up for things.
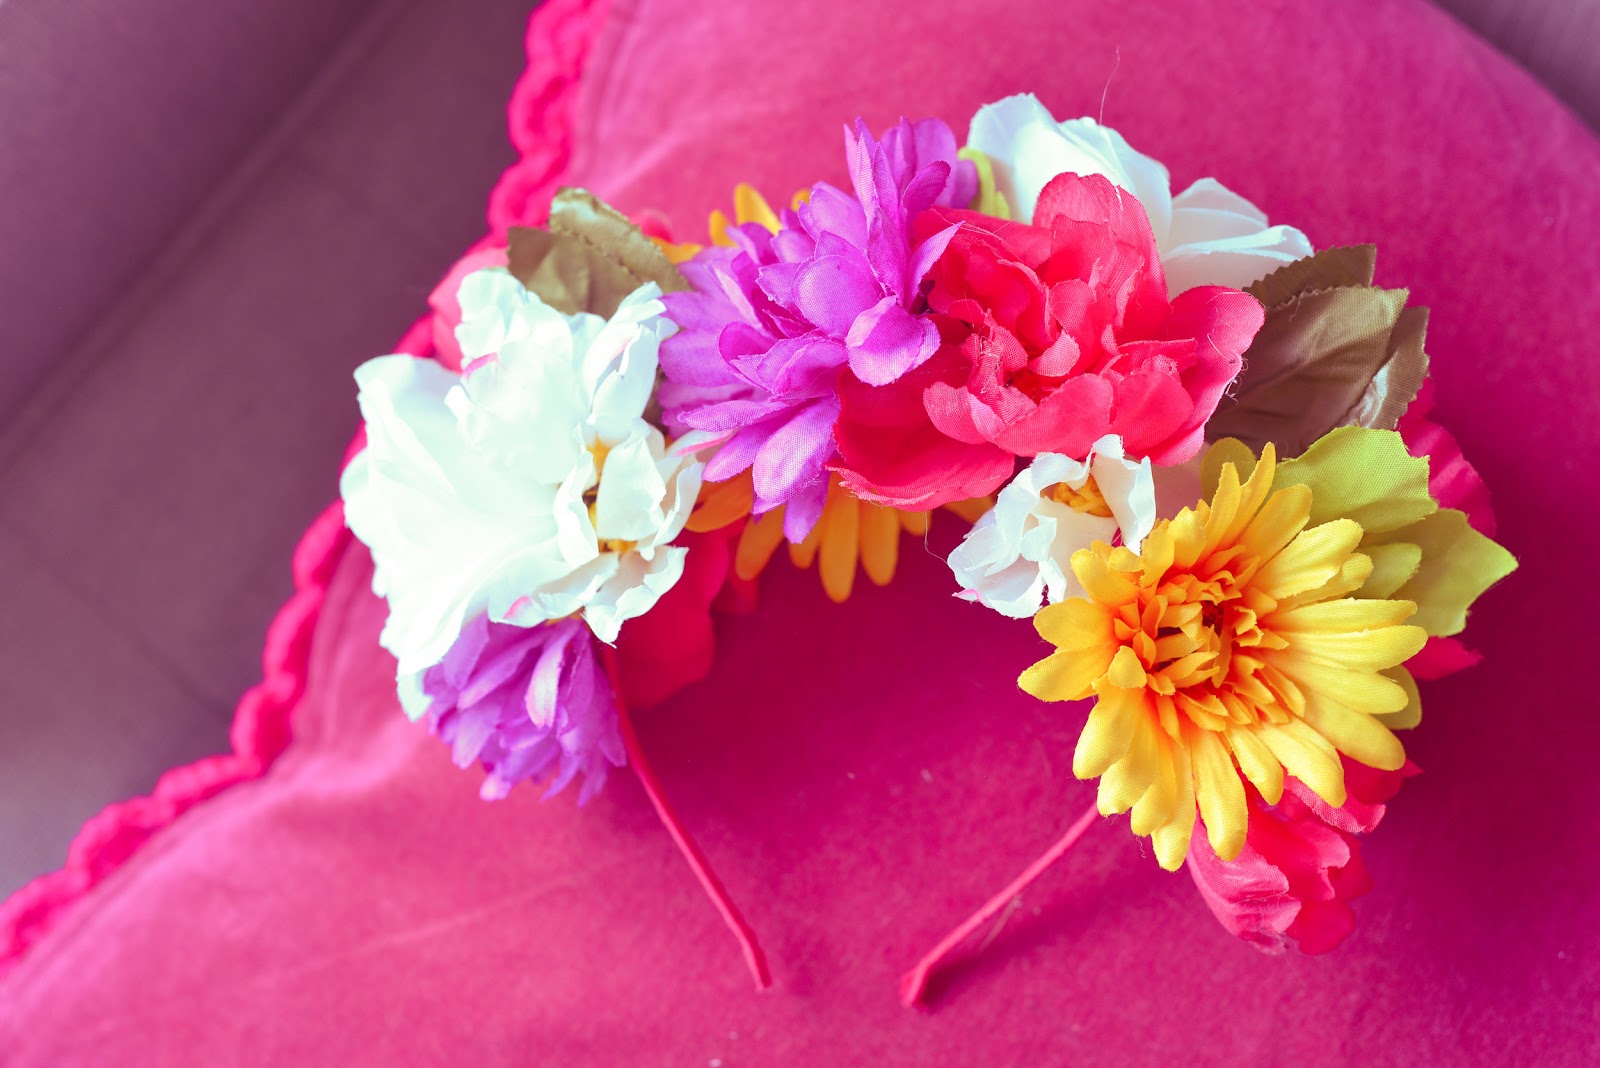
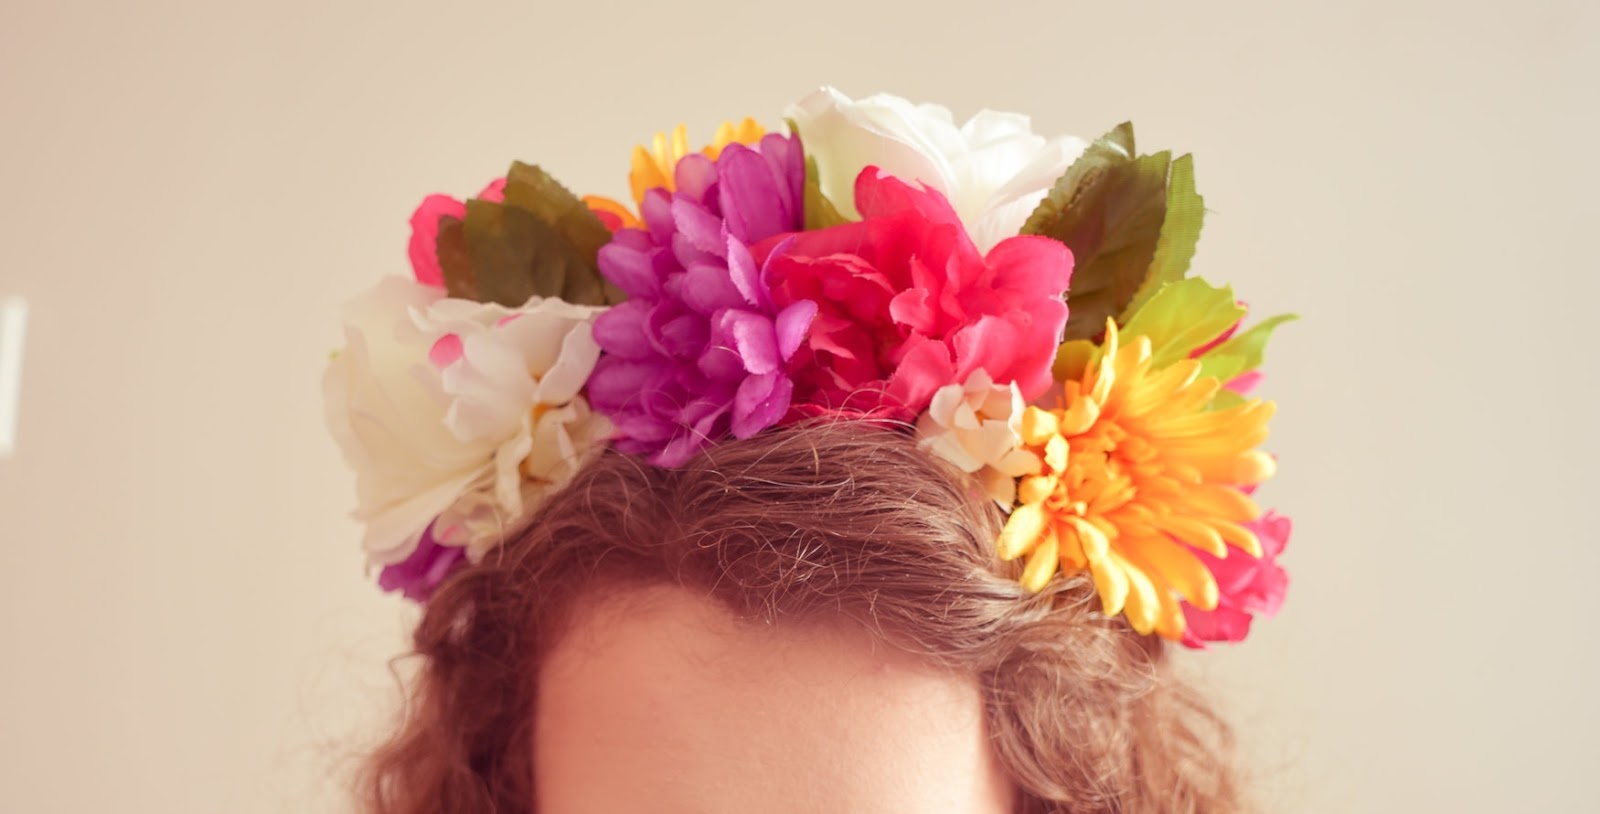
In the past, I’ve found it pretty difficult to find the right kind of flower headbands. They’re usually sparse, muted in colour and have tiny little buds. Which would be a great option for Coachella, but for a full force, blooming flower crown I turned to my glue gun to make my dreams a reality.
What you’ll need:
- hot glue gun and glue
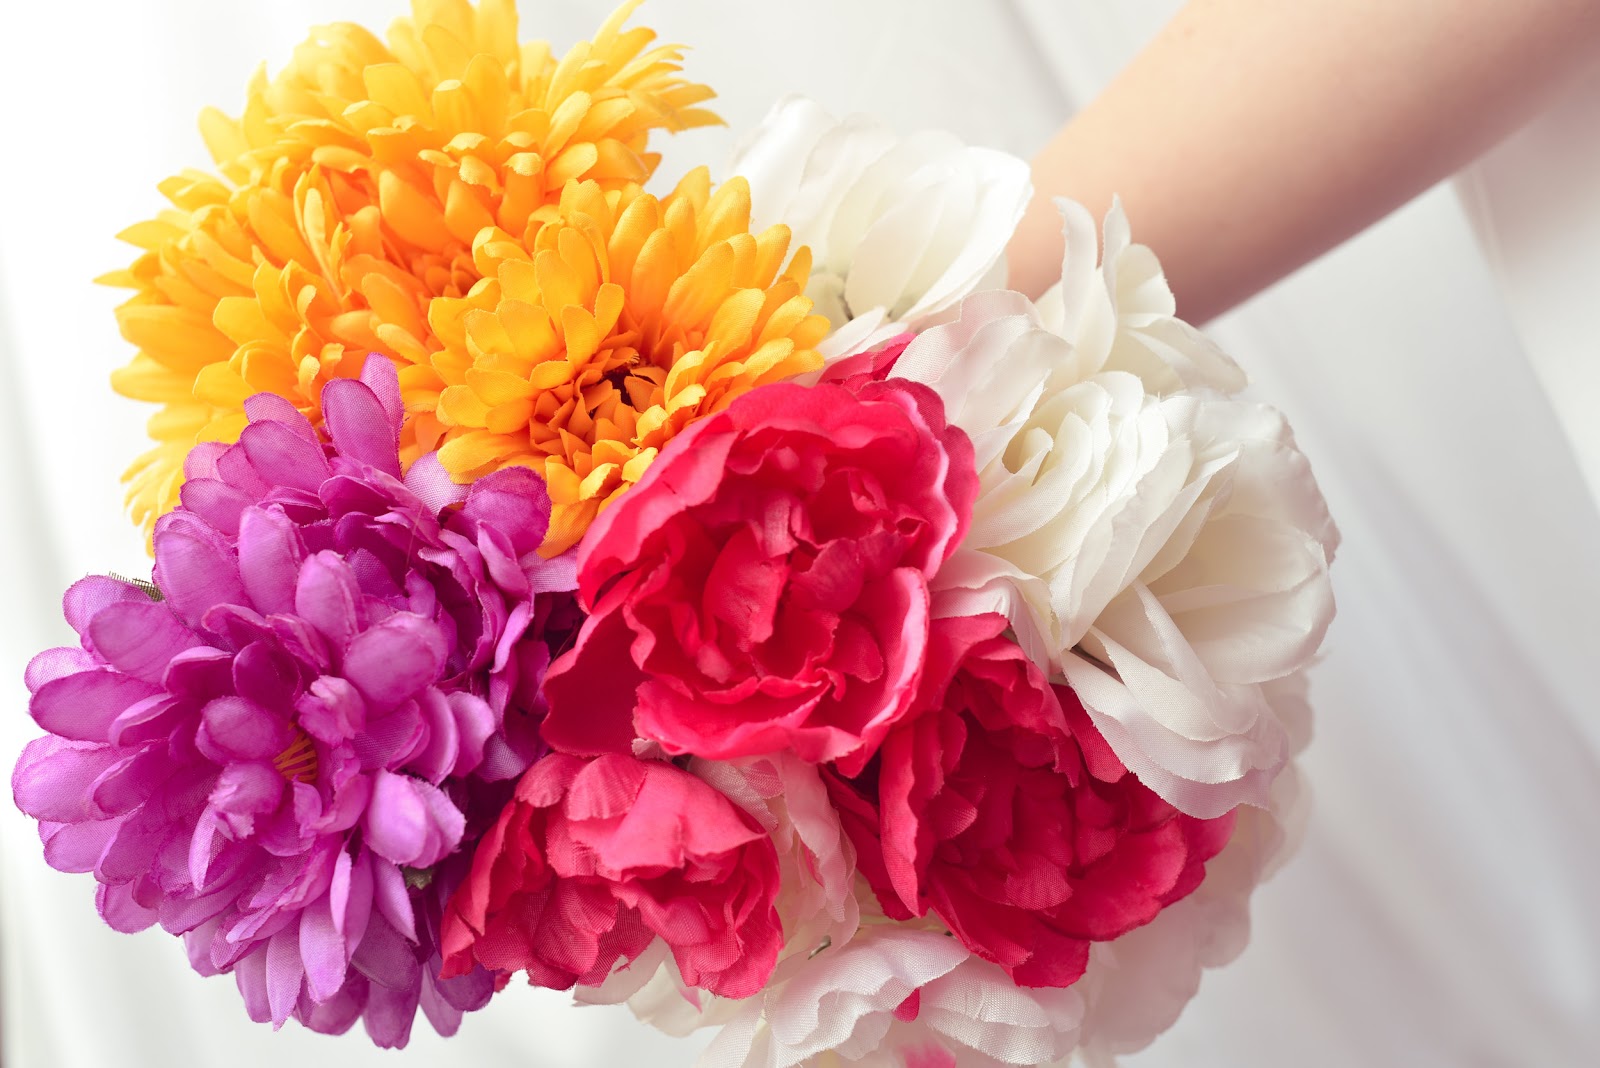
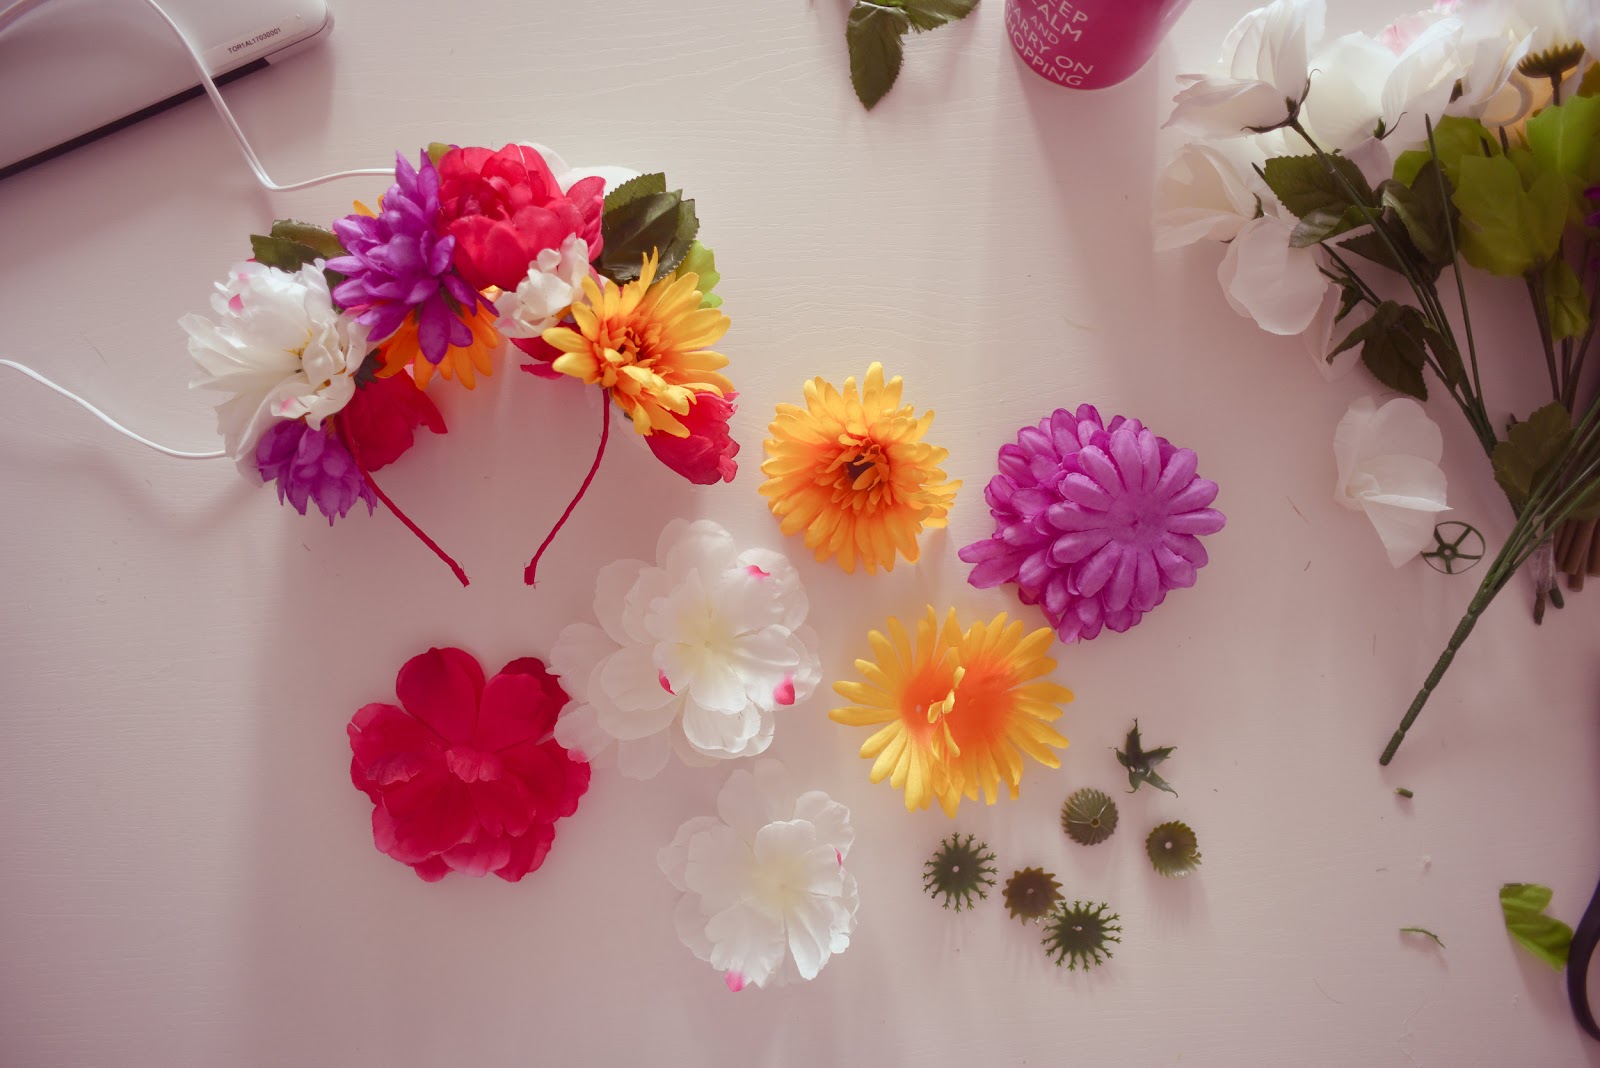
- silk flowers (I bought mine at the dollar store since these bad boys are ‘spensive!)
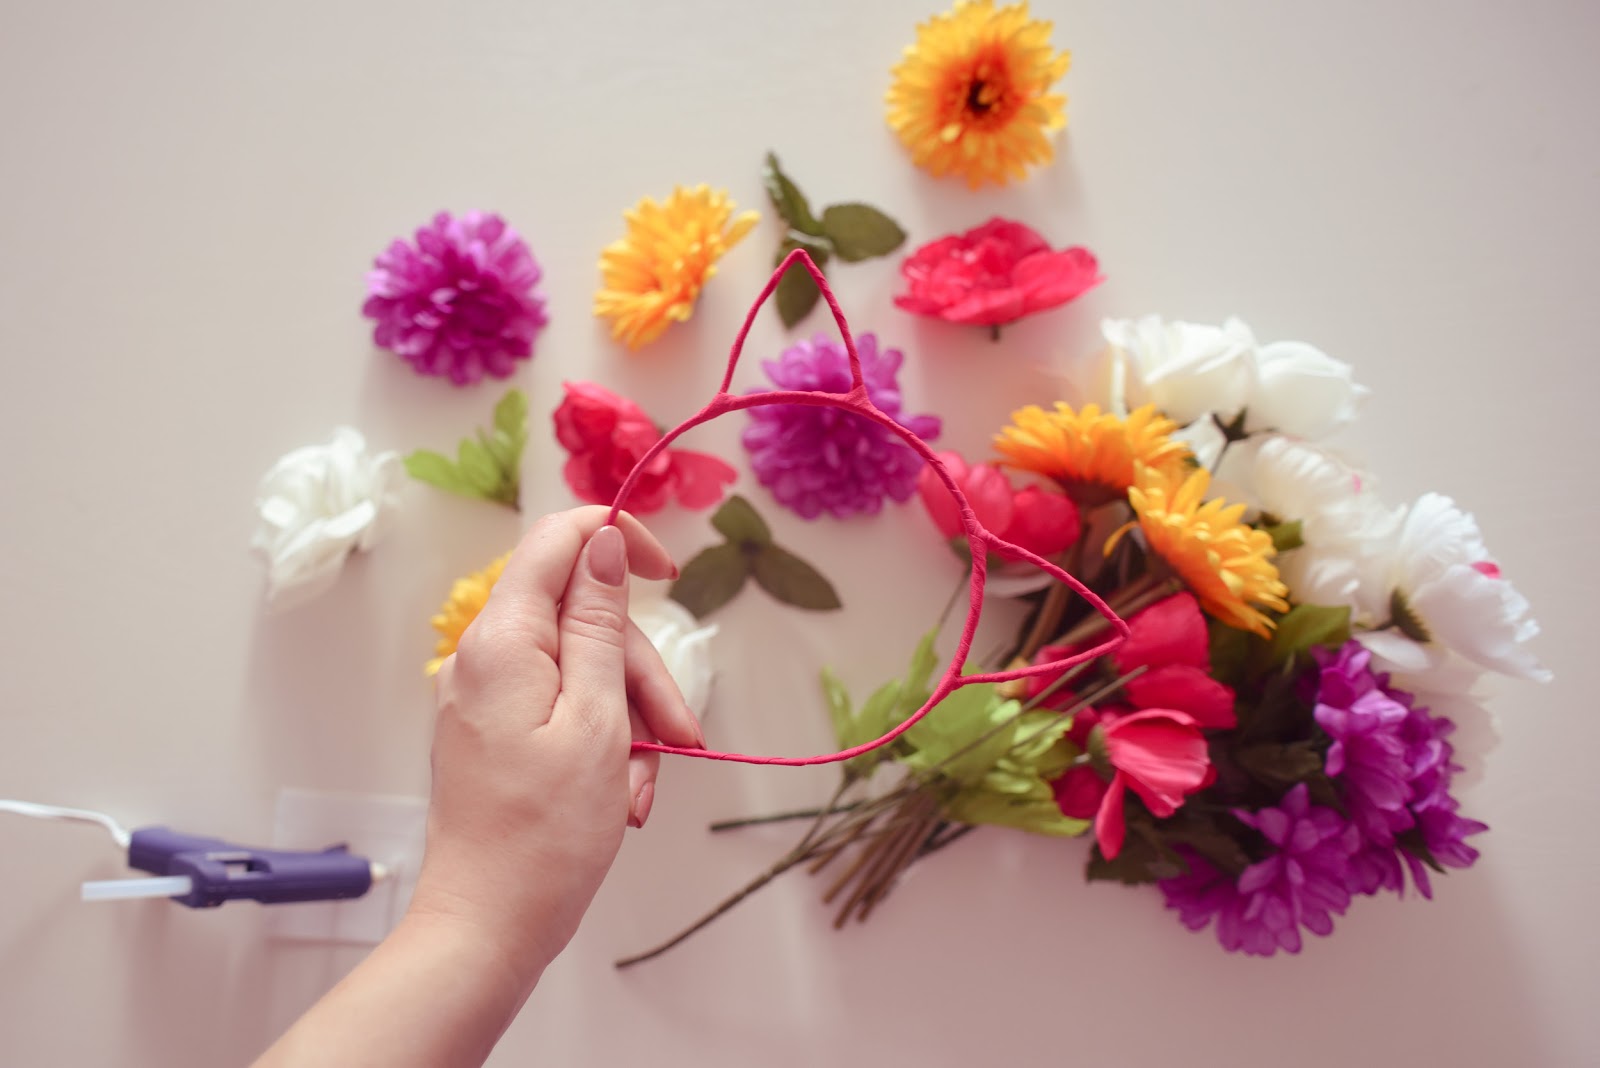
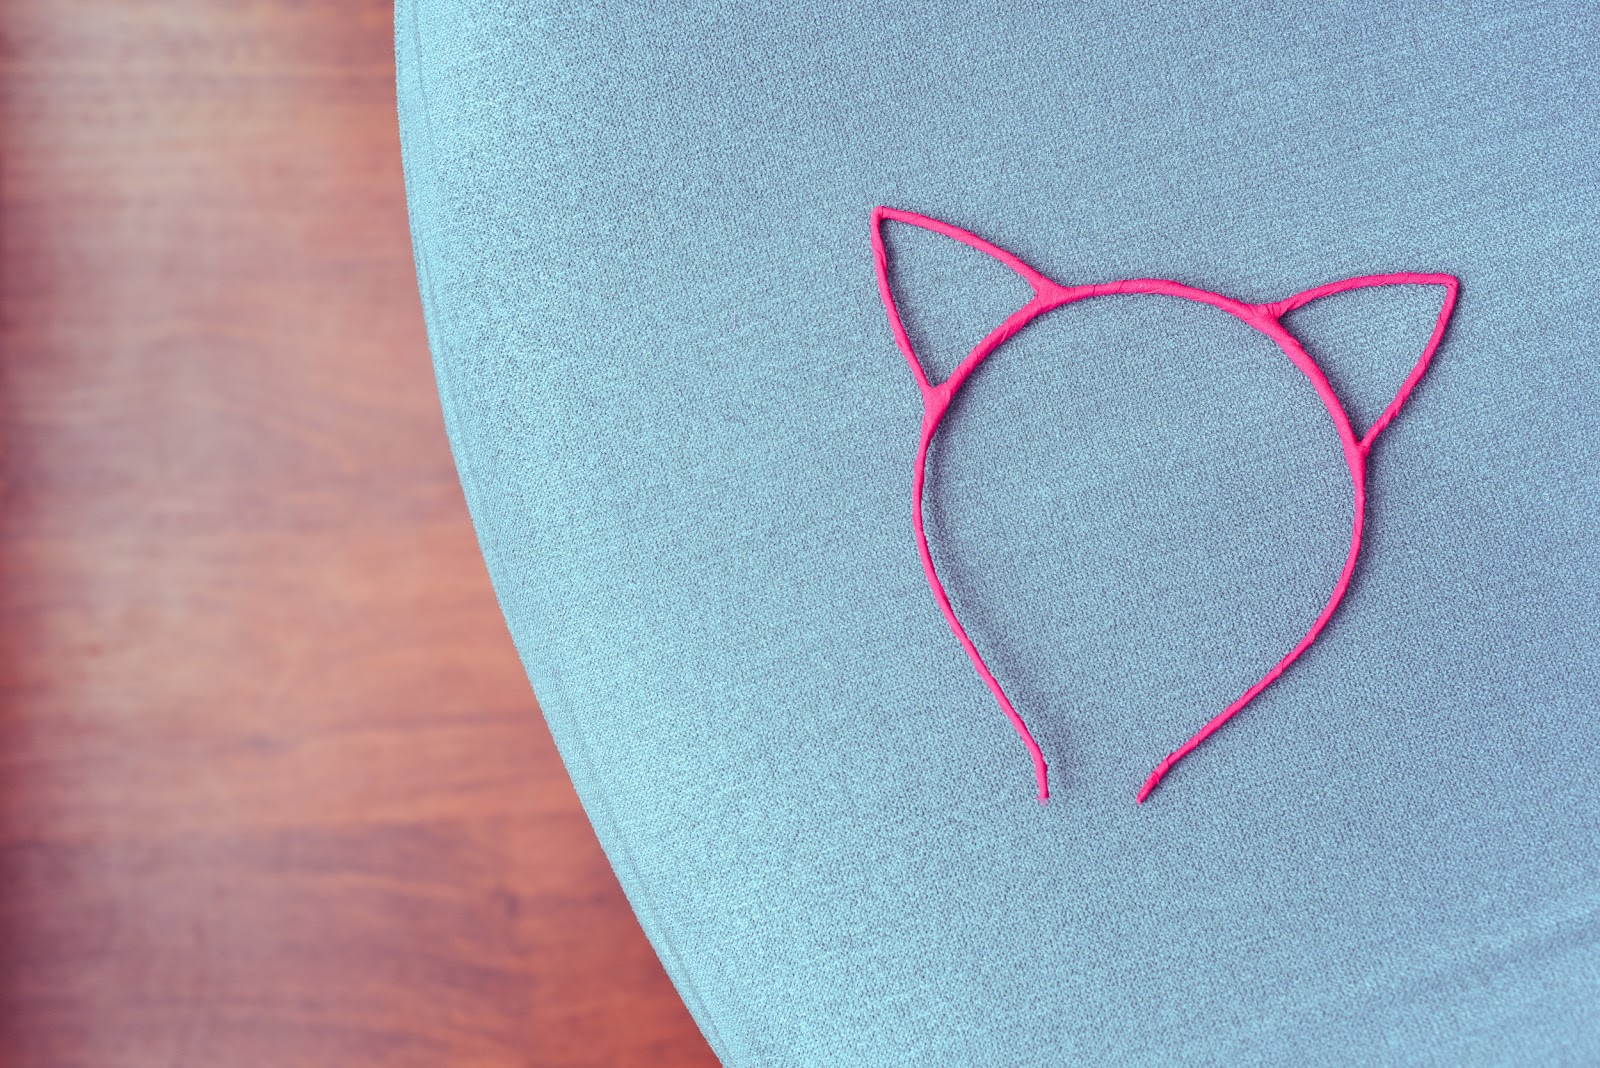
- headband, preferably not metal (also got mine at the dollar store)
- scissors (optional)
Directions:
You first will need to dismantle the flowers from their stems. I discovered that the buds will pop right off off you pull the bloom and stem in opposite directions. This makes things faster, strains your hands less from having to cut through wire and it means you won’t need scissors.
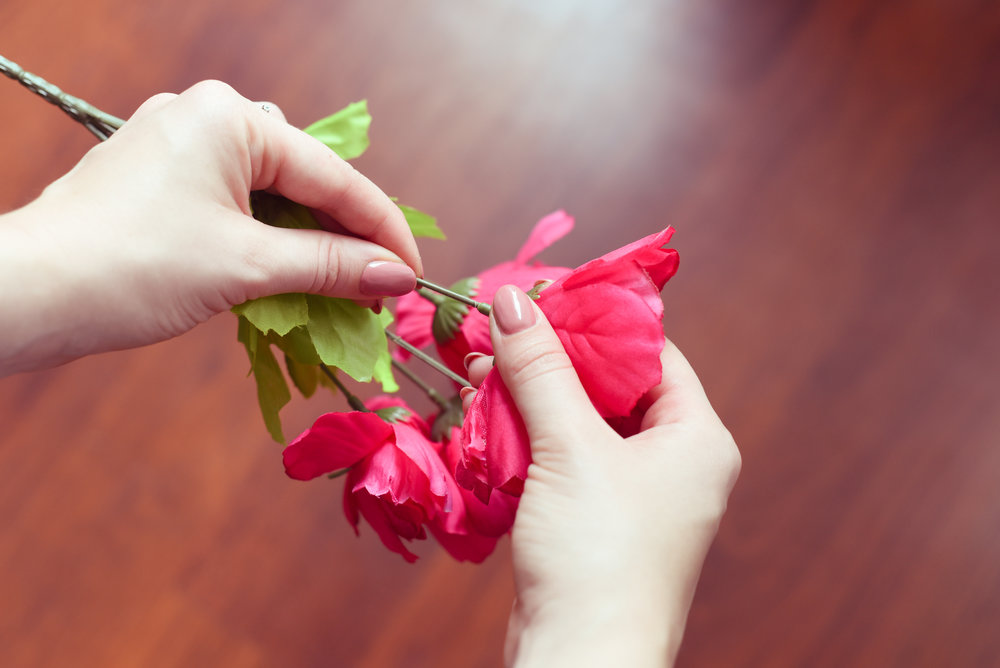
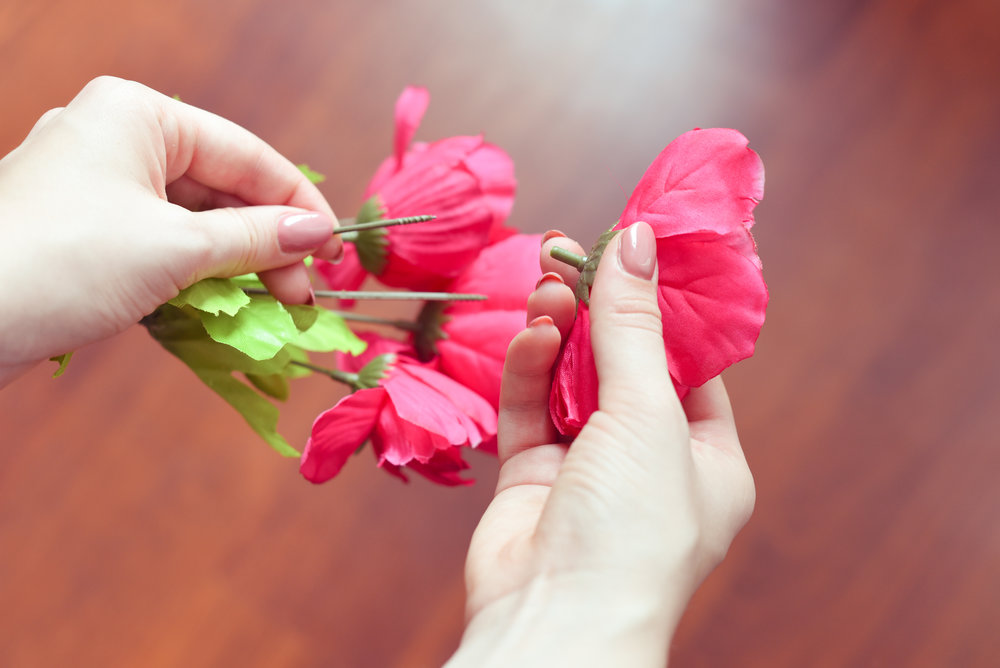
If you do end up cutting the stems, be sure to leave a nubbin under the bloom for gluing. This will make things easier at the hot glue stage.
Once the blooms (and leaves) are separated from the stem, you can discard the stems. The leaves will add a nice touch of greenery to breakup the colours in the flowers on the crown.
Fire up the glue gun and begin by adding blooms one at a time. Begin 3 to 4 inches from the end of the band rather than right at the end. (You’ll need this space to tuck into your hair. )
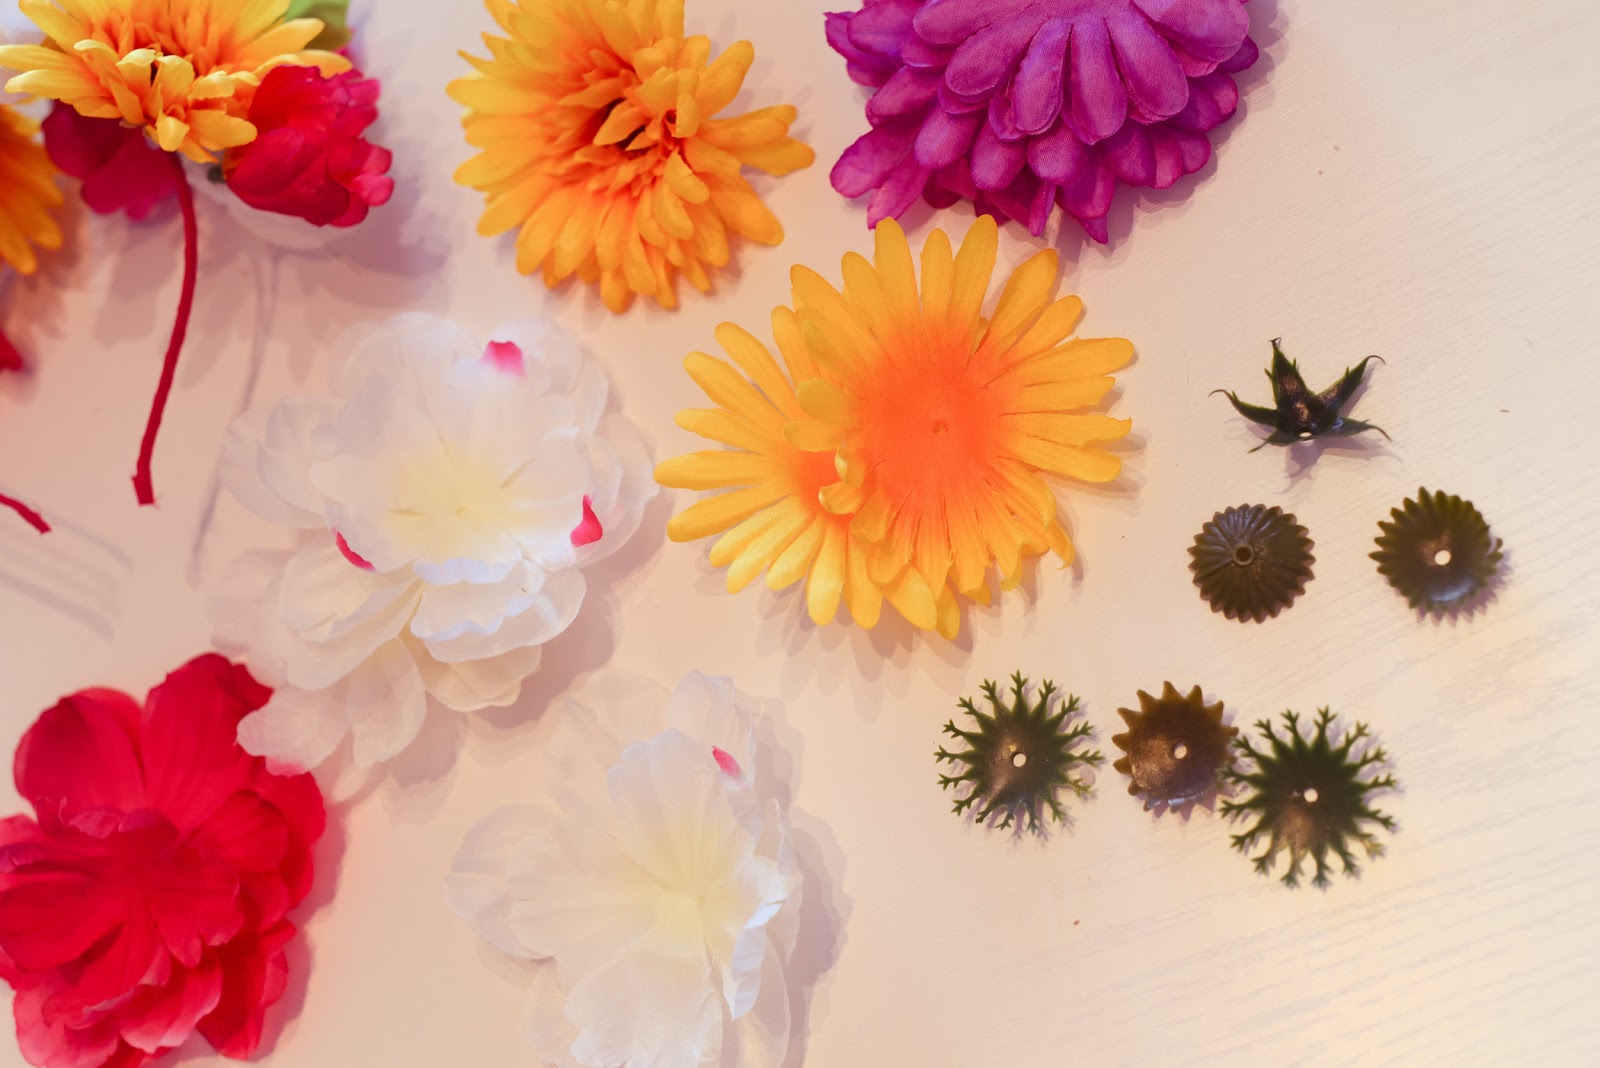
To avoid repeating blooms side by side, I alternated colours, angles on the headband and used the green leaves to add differentiation throughout. More than one kind of green leaf? Even better.
I used 10-ish blooms for a regular sized headband in total. You’ll have the creative freedom to fill it out or pair it back as you desire. That’s what I love about DIY, the ability to have full control over a project.
Place the flower band on your head and judge the amount of volume. Is it sparse in areas? Add more flowers or greenery.
One of my tricks is to remove the outer petals of flowers to make smaller blooms for those areas that need a little bit of flower power. Rounds are separated by green plastic spacers, so downsize to where you need. Simply remove the green plastic, then remove a petal round. Repeat until desired size and glue mini bloom to band.
When you’re finished, try the crown on again. You’ll quickly see that the blooms atop crouch into the space at the crown of your head, leaving the ends of the band slightly raised to where they usually lay (behind the ears). Bobby pins are a great solution to hold things in place.
Unplug your glue gun and enjoy!