Welcome to 2020, a fresh and crisp new decade is upon us. If you’re the type of person that makes resolutions at the start of each year, I encourage you to add learning how to be eco-friendly in the kitchen.
If you’ve been anywhere on the internet in the last year, you would have noticed the explosion of interest in eco-conscious living.
It’s rare to see a traditional plastic straw at a fast-food chain in Canada any more. Sobey’s is even removing plastic bags from their shops entirely. Everyone is moving toward eco-friend living and lifestyles. Even if you’re only willing to commit to a small swap at the start of this year, you’ll make a huge impact.
Personally, I wanted to commit to less-wasteful consumption when grocery shopping and buying more in bulk with reusable containers.

Another resolution that I set was to reduce the frequency of ordering food delivery (UberEats, Foodora, Dominos, etc) and get back to cooking at home in my own kitchen.
Somehow in the past year, I spent a significant amount of time outside of the kitchen and I wanted to get back into the groove of all things culinary.
As a small step in motivating me to cook more, I knew a well-organized cabinet with a beautiful set of spices would entice me to use them. Plus, I’m setting up my cupboard with a zero-waste solution to take with me into the future of my culinary adventures. Such a glorious future to wander in to.
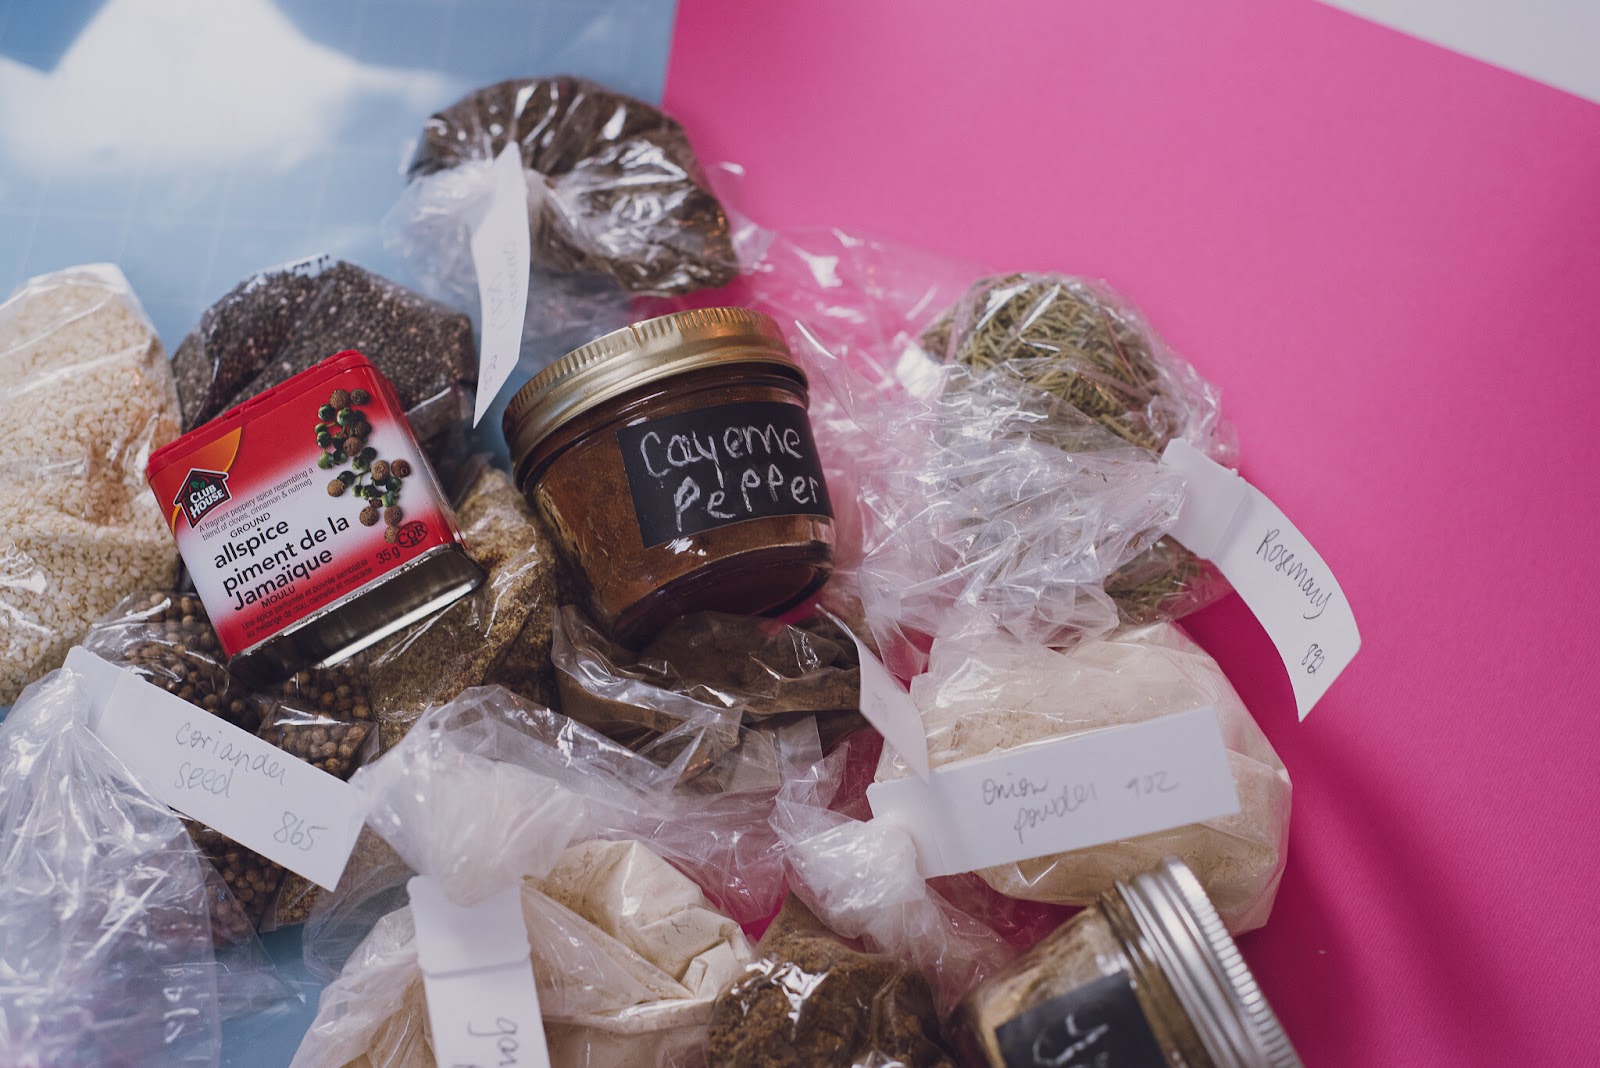
Before this DIY project, I had a few small mason jars with chalkboard labels that I kept most of my spices in.
But as time has gone on, I ran out of jars, then out of chalkboard labels, and rather than buying more of each I wanted a more effective spice organization system for our small space. Taller, slimmer bottle-like jars use our vertical cupboard space more effectively than wider, flat jars. They also stack neatly on risers so finding a spice is easier.
Cooking made easier is a must if I stand any chance of keeping this new years resolution!
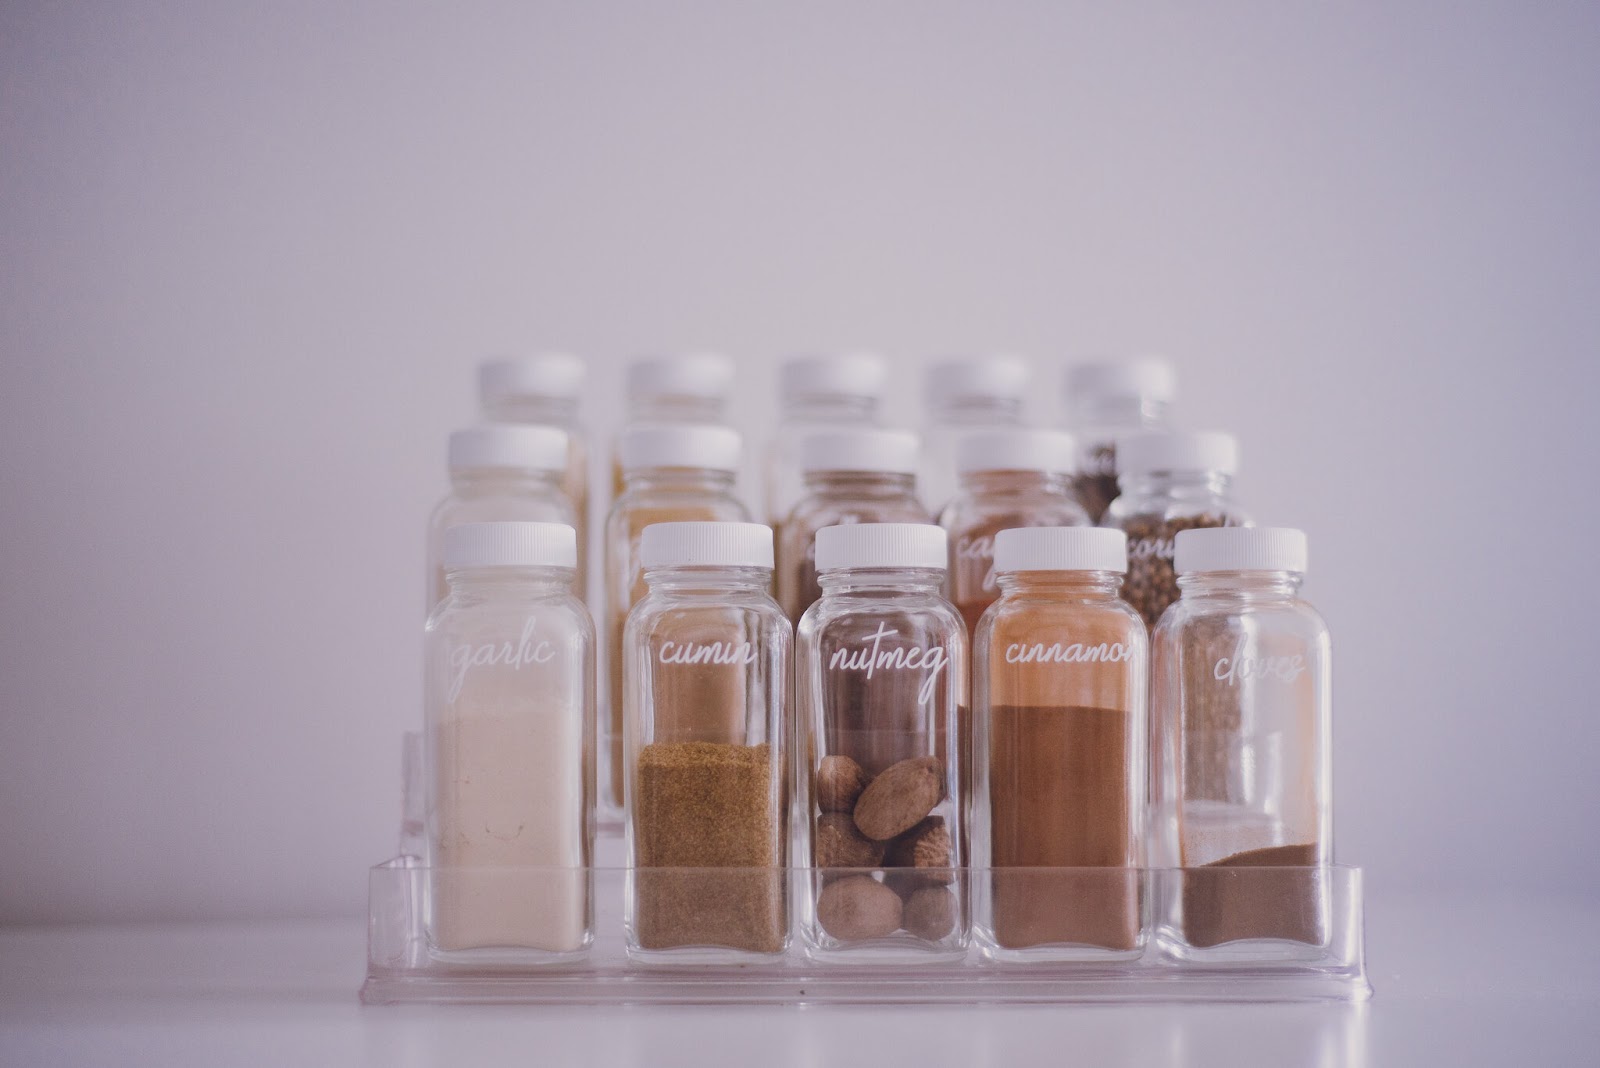
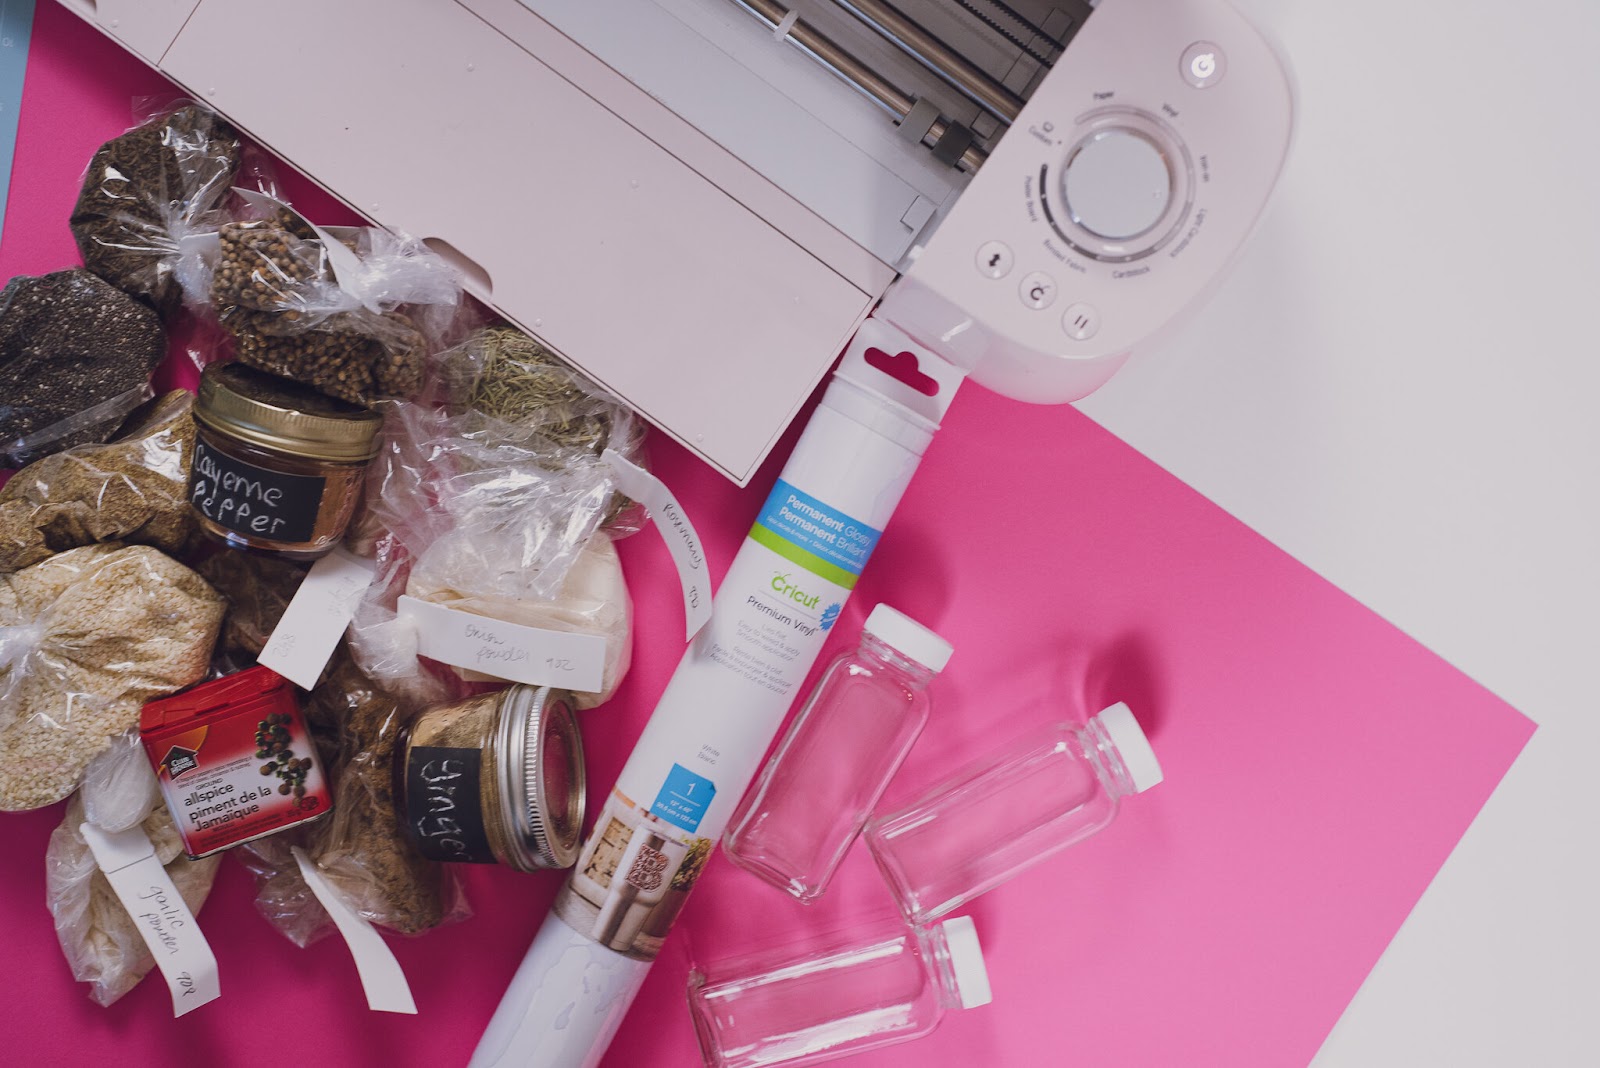
I decided I wanted a proper collection of spices, but buying a set of spice jars didn’t seem as lucrative as creating my own personalized set. So I picked up a box plain of “French” glass jars from Uline and set out to create a set of vinyl spice jar labels on my Cricut.
You’ll Need:
- Cricut machine (I use the Explore Air 2)
- Permanent-stick vinyl (in either black or white)
- Transfer tape
- My Spice Jar template, to upload to Design Space
- Glass jars, washed and dried
- Weeding tool (I use a pin)
- Scraping tool
To Get Started:
Whether you’re starting fresh with shiny new jars or you’re simply refacing your old set, you’ll want to start with a washed and dried outer surface. This will ensure the vinyl can properly adhere to the glass you’re working on. Be sure to clean away any grease, dust or residue before starting.
Once your jars are prepped, you’ll create the handwritten spice labels for your Cricut. I’m sharing a template almost identical to the one I used. You’ll need to adjust the size to fit your specifications.
To change the size, use the Design Space grid for the scale. Paying attention to each rectangle (my built-in weeding box for each label), shrink the image to the size labels you need for your jars. For my labels, each rectangle was about 1.5in.
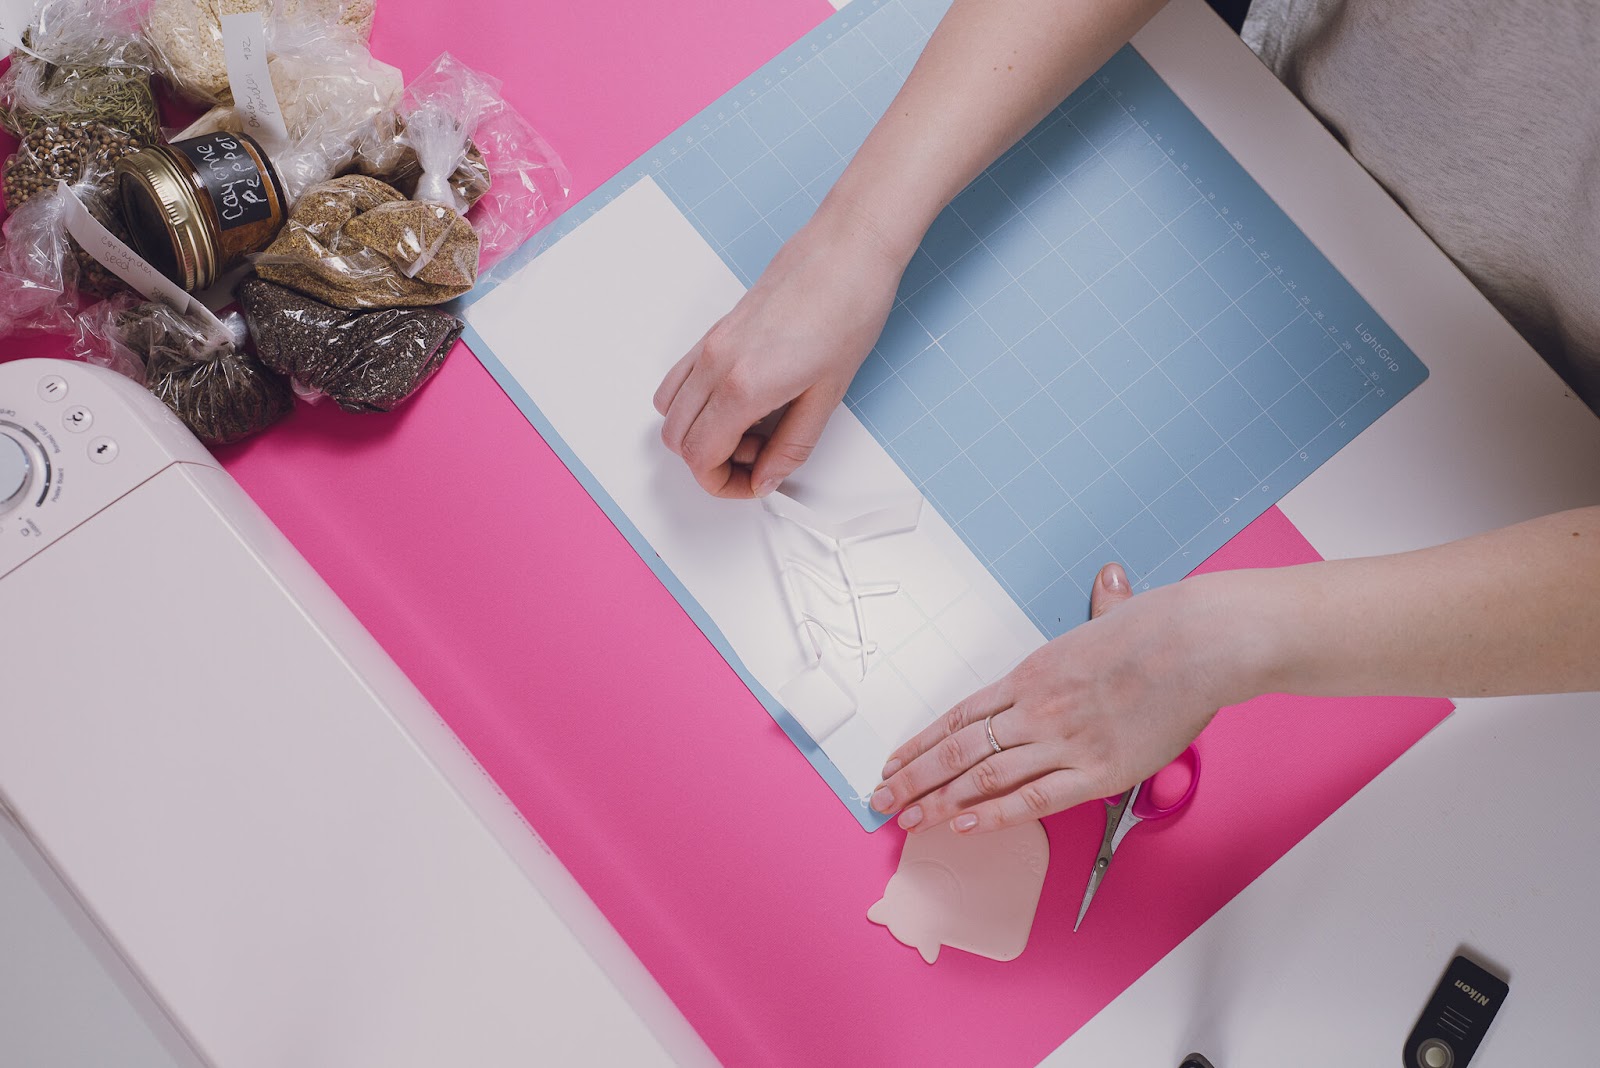
I’ve created weeding boxes within the design itself, one for each spice jar label. This makes weeding the tiny letters much easier and my tool of choice is a simple straight pin, because it’s small enough to prick the tiniest details without too much fuss.
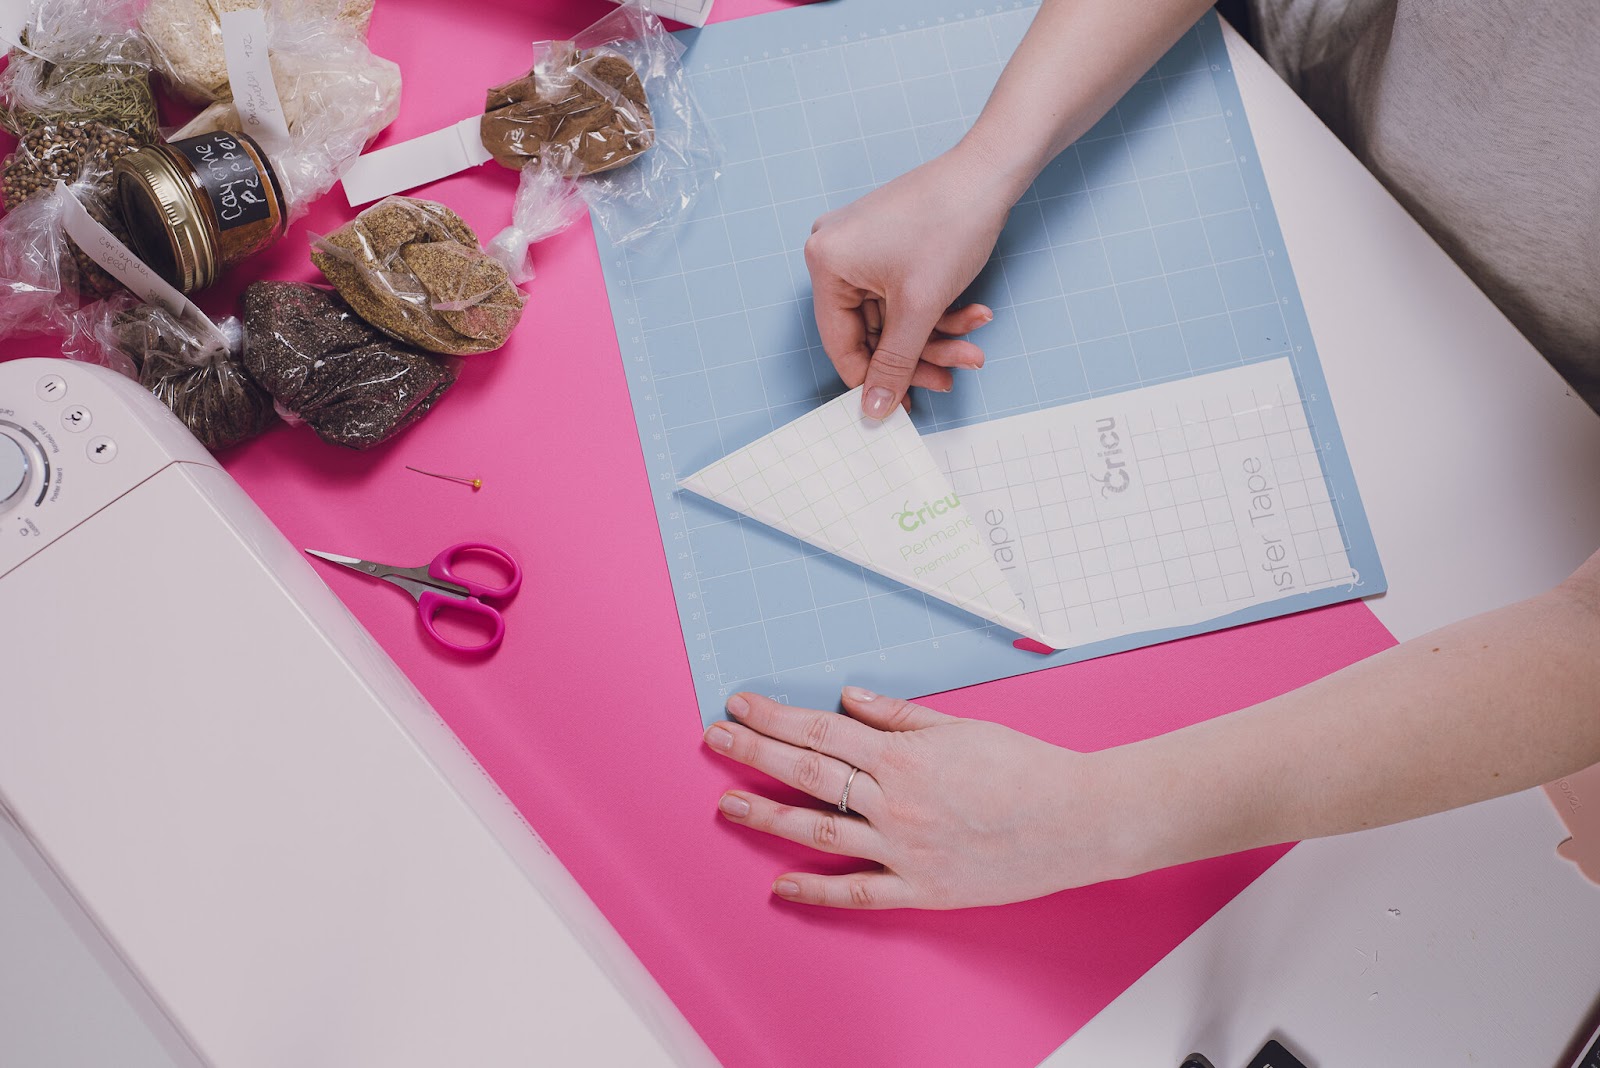
Once you’ve cut and weeded your labels, use transfer tape to pick up each label. You can do this individually or in one large piece and cut each label from the transfer tape. You’ll want to work with individual labels to properly align and apply each label to your jars. If you’re working from my template, you’ll have 22 labels total.
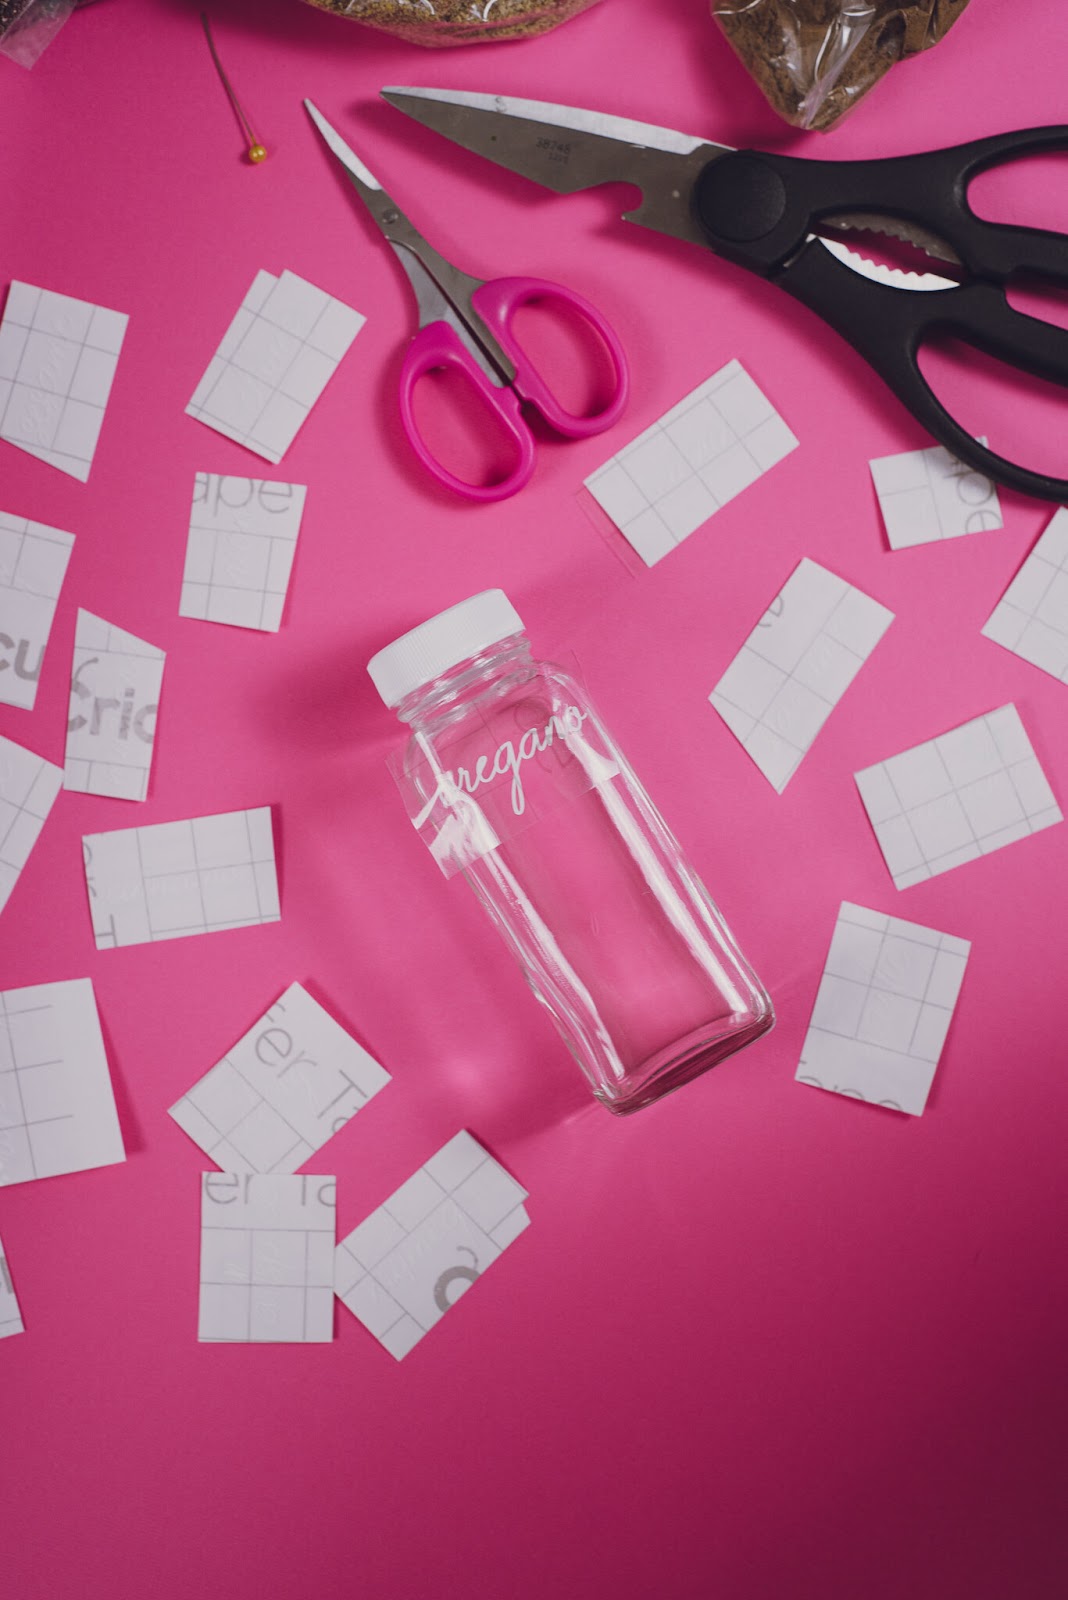
To affix the labels to your jars, align the first label in the top, middle of your jar. I placed mine about a 1/2 inch from the top to leave flexibility for the different heights of labels (ones with t’s or h’s or y’s) so the labels appear to be aligned when finished.
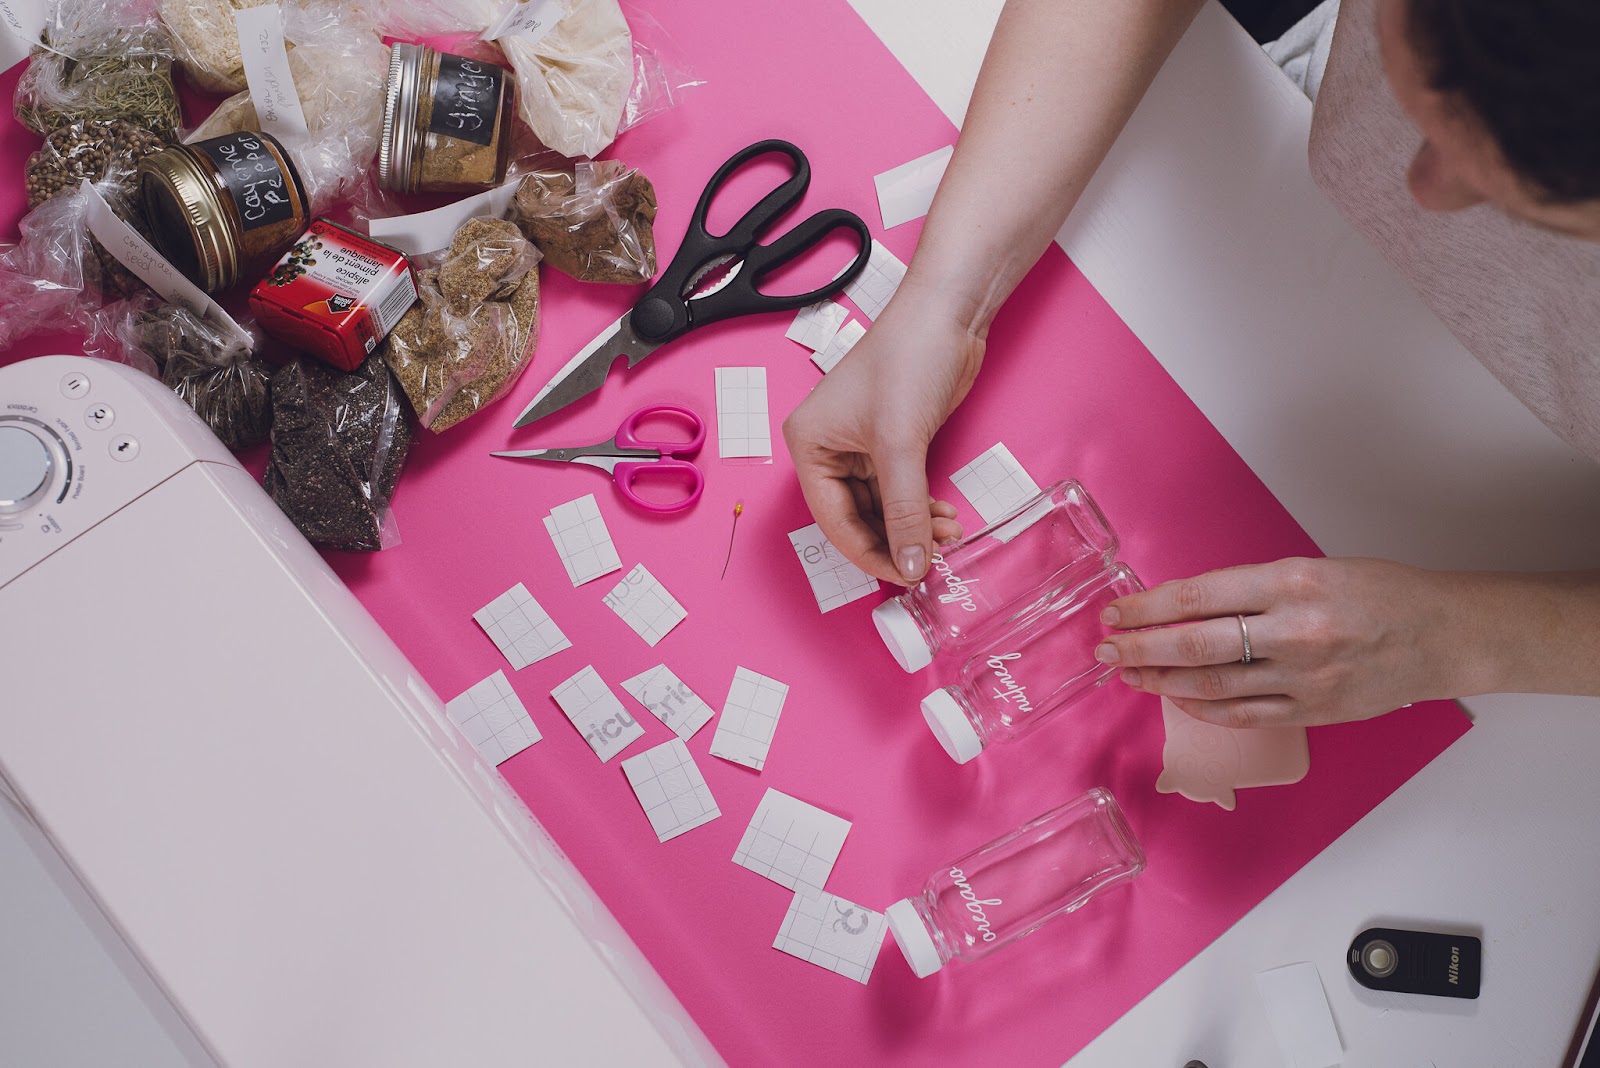
To keep a consistent alignment across all labels I used my first jar as a reference next to the jar I was working on, aligned the label with the first and pressed down to adhere. I continued this for each jar and the result was a beautifully uniform line of text when they were all rounded up.
Tip: Put your new spice jars to use by taking them along on your next trip to the bulk store. If your local store participates in a reusable container program (my local shop is Bulk Barn).

I absolutely love the way my small spice jar labels turned out. I’m already planning to make larger labels for other ingredients like cocoa, nuts, quinoa and everything else I already keep in jars.
Let me know your favourite spice jar organization or storage ideas below or your other eco-friendly resolutions in the comments. And as always, be sure to tag me on IG (@lilymuffinsblog) to show off your project inspired by this post! I can’t wait to see how your spice jars turn out.