Last year, there was a worldwide shortage of conversation hearts. The company that makes these confections changed owners and long story short, things fell through and there wasn’t enough supply for the 6-week lead up to Valentine’s Day in 2019. But thankfully they are back this year, and I’m celebrating their return with conversation heart sugar cookies which are a perfect treat for your Galentine’s brunch party.

Now I’m going to preface this post, knowing that decorative sugar cookies require a certain skill. Prepping and piping royal icing is definitely something that gets better with practice. It’s been years since I’ve flooded a cookie, but by the end of this DIY I finally figured my way around things and nailed the best icing for flooding.
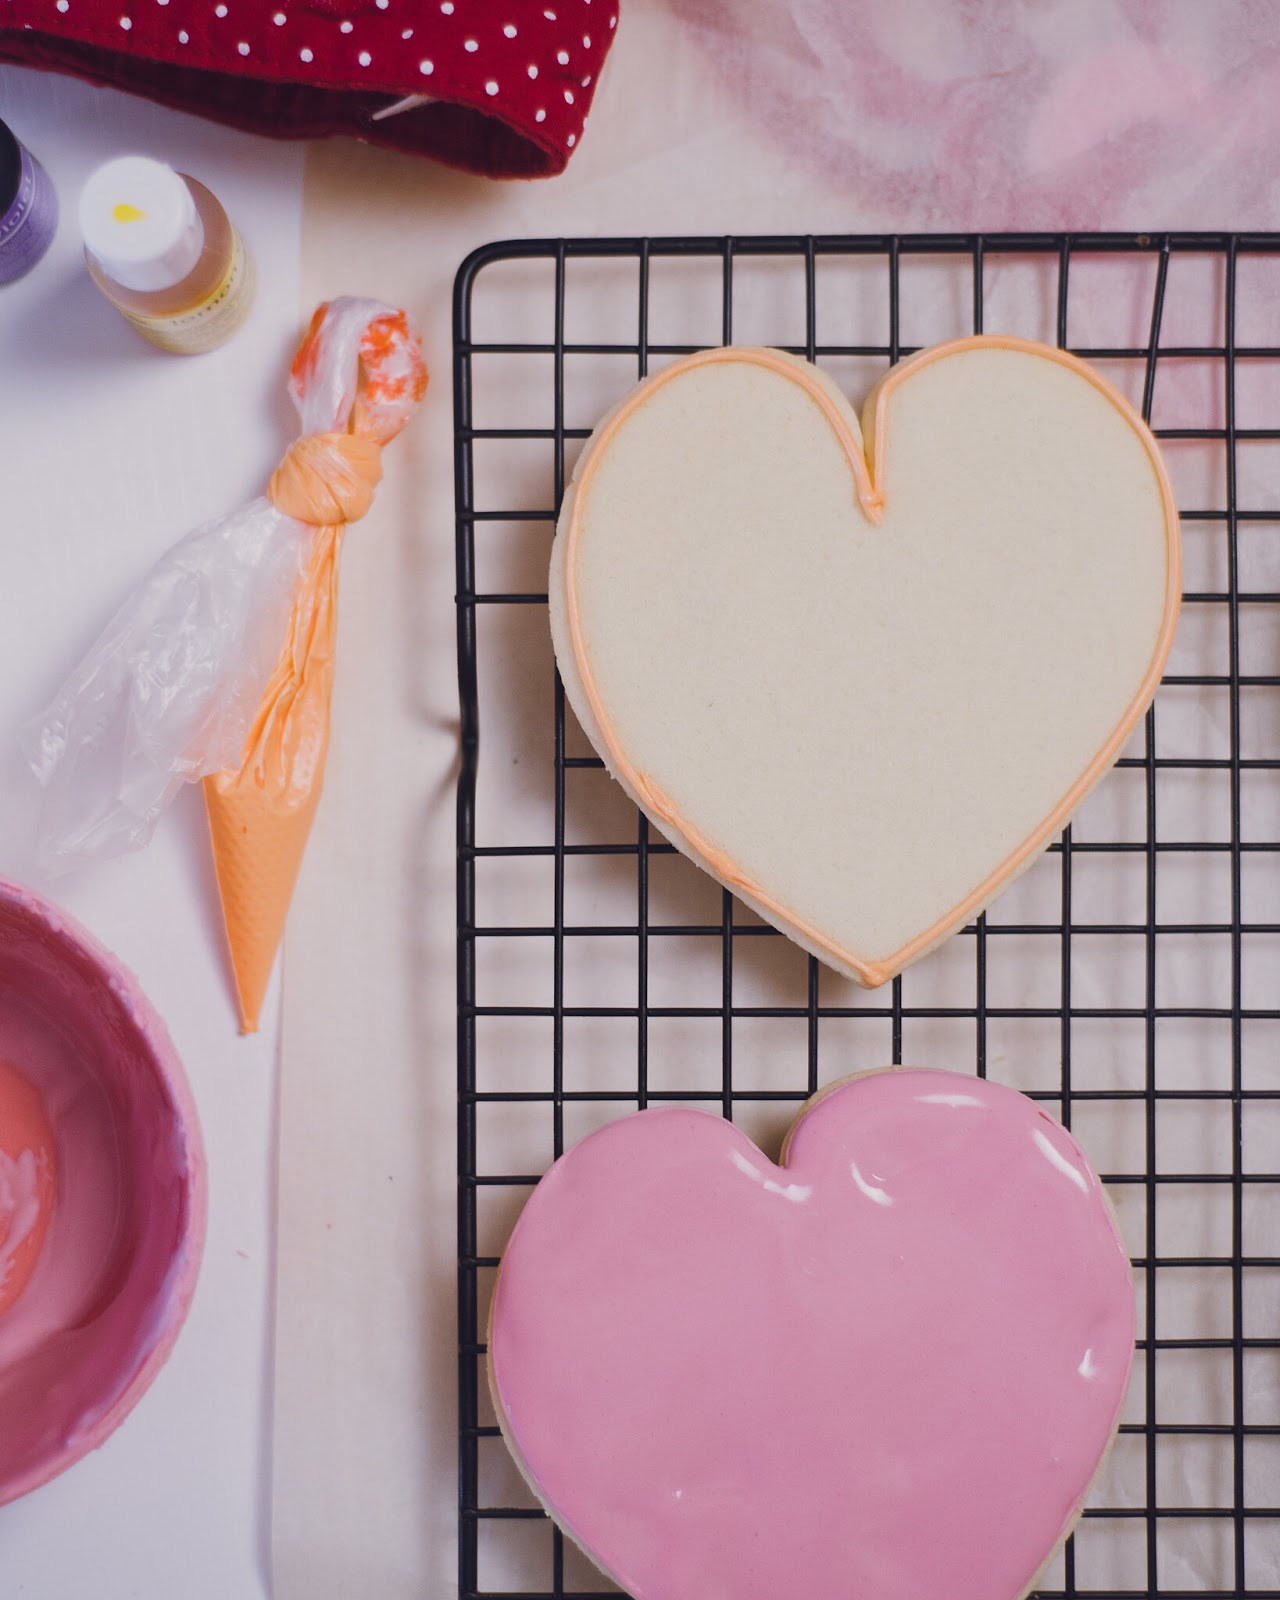
Below, you’ll notice the smoothness of the white hearts contrasts with the thick consistency of the orange icing. This was a valuable learning lesson in cookie flooding. Imperfection still tastes sweet!

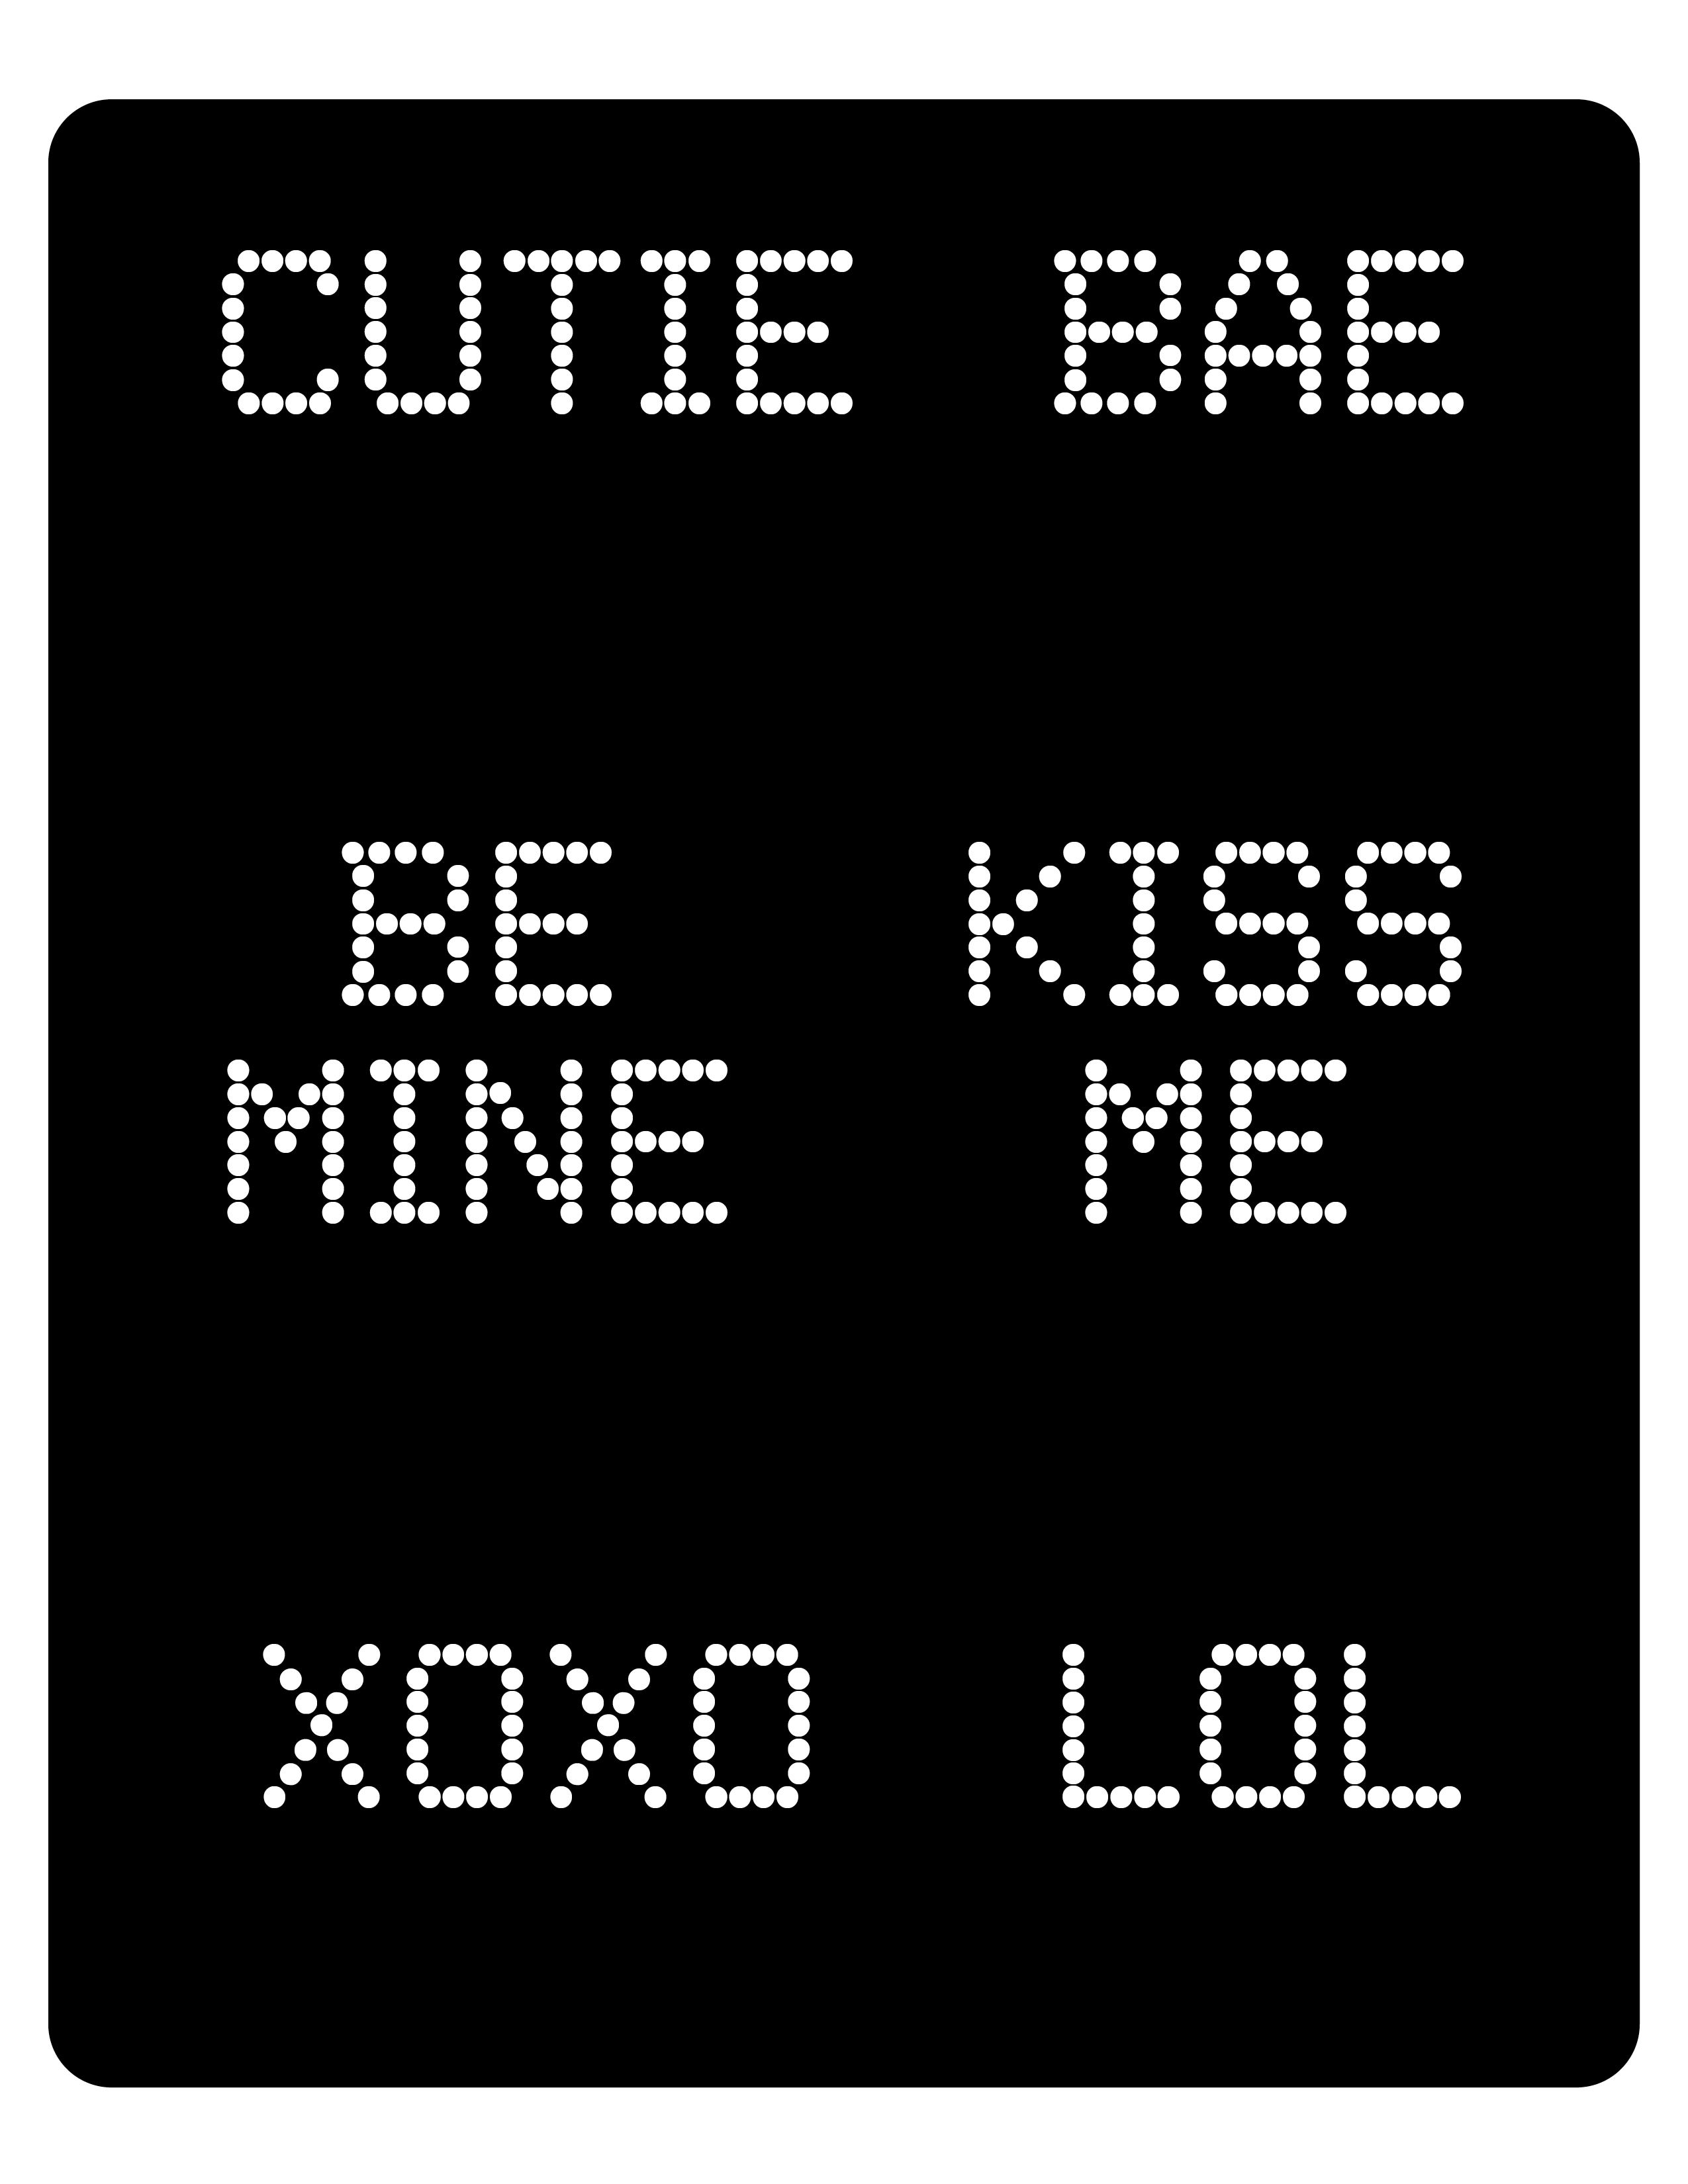
Of course, I first took to Pinterest to see what was out there. Most conversation heart cookies with royal icing had hand-piped lettering or were written with an edible marker. But whilst I was gazing at the confection that I had finally been reunited with after two years, I noticed that the fragmented lettering was in a specific font. A dotted font in fact. It turns out the letters aren’t even solid. So I wanted to mimic this dotty-ness with my own version of sweetheart sugar cookies.
Download the font I used for free.

Making your own sugar cookie stencil is really simple, provided you have a laminator and a Cricut machine. The benefits of making this stencil with plastic laminator and laminate sheets means that it’s completely washable. You’ll be able to use it year after year, even if the real conversation hearts aren’t available.

What You’ll Need
- Piping bags (I used Master brand)
- Heart-shaped cookie cutter
- Ingredients (cookies + royal icing)
- Plastic food-safe scraping tool
- Cookie scribe tool (or toothpicks)
- Cricut machine
- Laminator and plastic lamination sheets
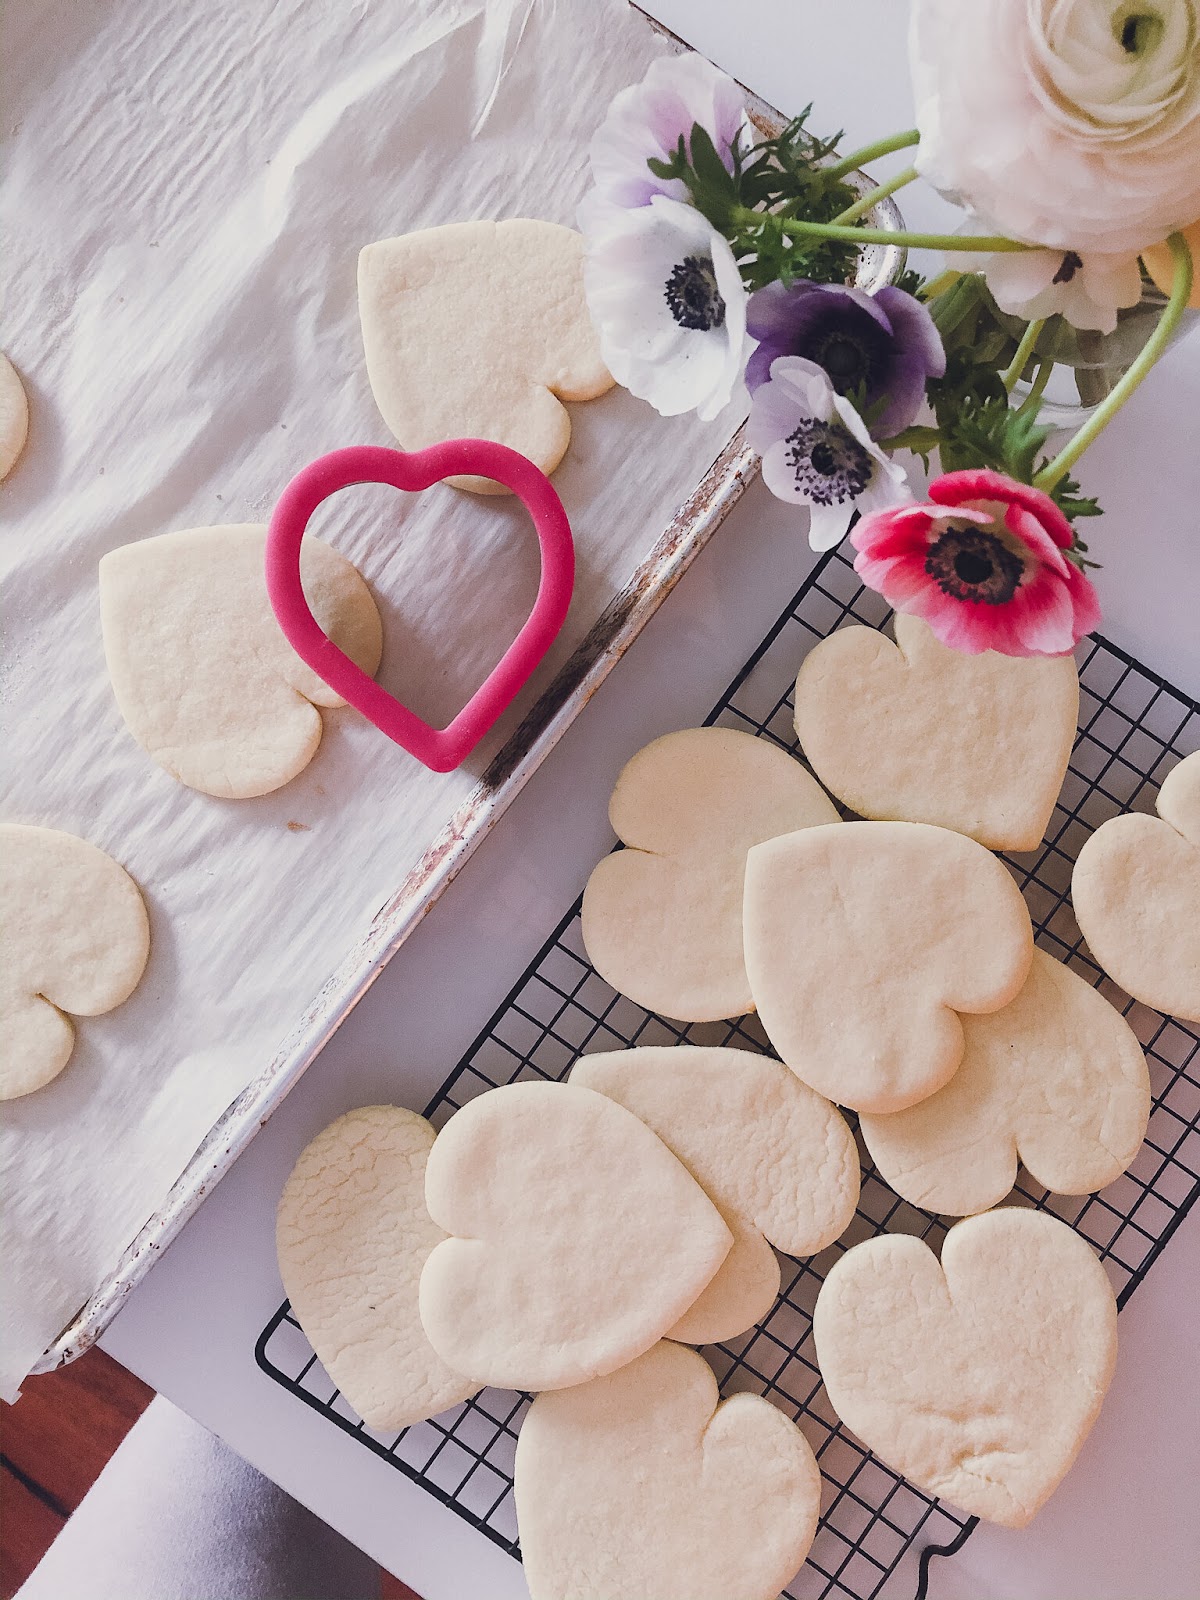
Make the Sugar Cookies
My ultimate sugar cookie recipe is the Wilton classic roll-out cookies. Feel free to substitute in your own recipe and cookie cutter shapes for this method. Let the cookies cool completely before adding any icing or decoration.
Tip: I roll my cookies between ¼ and ⅓ in thick. The heart-shaped cookie cutter I used was 4.5in in diameter and I baked my hearts for exactly 10 minutes at 350°F. Once they come out of the oven, I let them cool for about 10mins on the cookie sheet, then transferred onto a wire rack to cool completely.
Make the Stencil
- First using a laminator, place an empty lamination sheet into the machine and run it through. The end result should be a clear, perfectly sealed sheet of thin plastic.
- Optional, trim that piece by a 1/4in on each side. Place the already laminated sheet into another lamination pouch and place it into the machine. The end result will yield a sturdy, crystal clear blank stencil sheet. (you can omit this step if you prefer)
- Using your Cricut, and this free template that I made, cut out the stencil on a very thick setting (poster board + or higher). This will ensure the stencil is cut all the way through and no additional trimming is necessary.
- Note: the first time I tried the stencil, I used the cardstock + setting and it didn’t even reach the back of the stencil sheet.
- Once your stencil is ready to go, set aside until needed.

Make the Royal Icing
For these cookies, I wanted a royal icing that dried hard with a crunch. After some research, I landed on this recipe, which coincidentally was used for a similar cookie idea to this one. Be sure to keep your royal icing covered with a damp cloth when not in use, otherwise it will harden.
Tip: It will take practice to get the right consistency for your flooding. I’ve read that anywhere between 12-20 seconds is what you want for consistency. This is counted from pulling a toothpick through the icing and it returns back to a flat surface within this time frame.

Putting it all Together
Color your royal icing in your desired colors (including the red for the sugar cookie stencil letters). To frost the cookies, start with an outline of thicker icing, then flood the cookies with the thinned version of the same color. Let the cookie dry until the royal icing is hard (I let mine sit overnight).
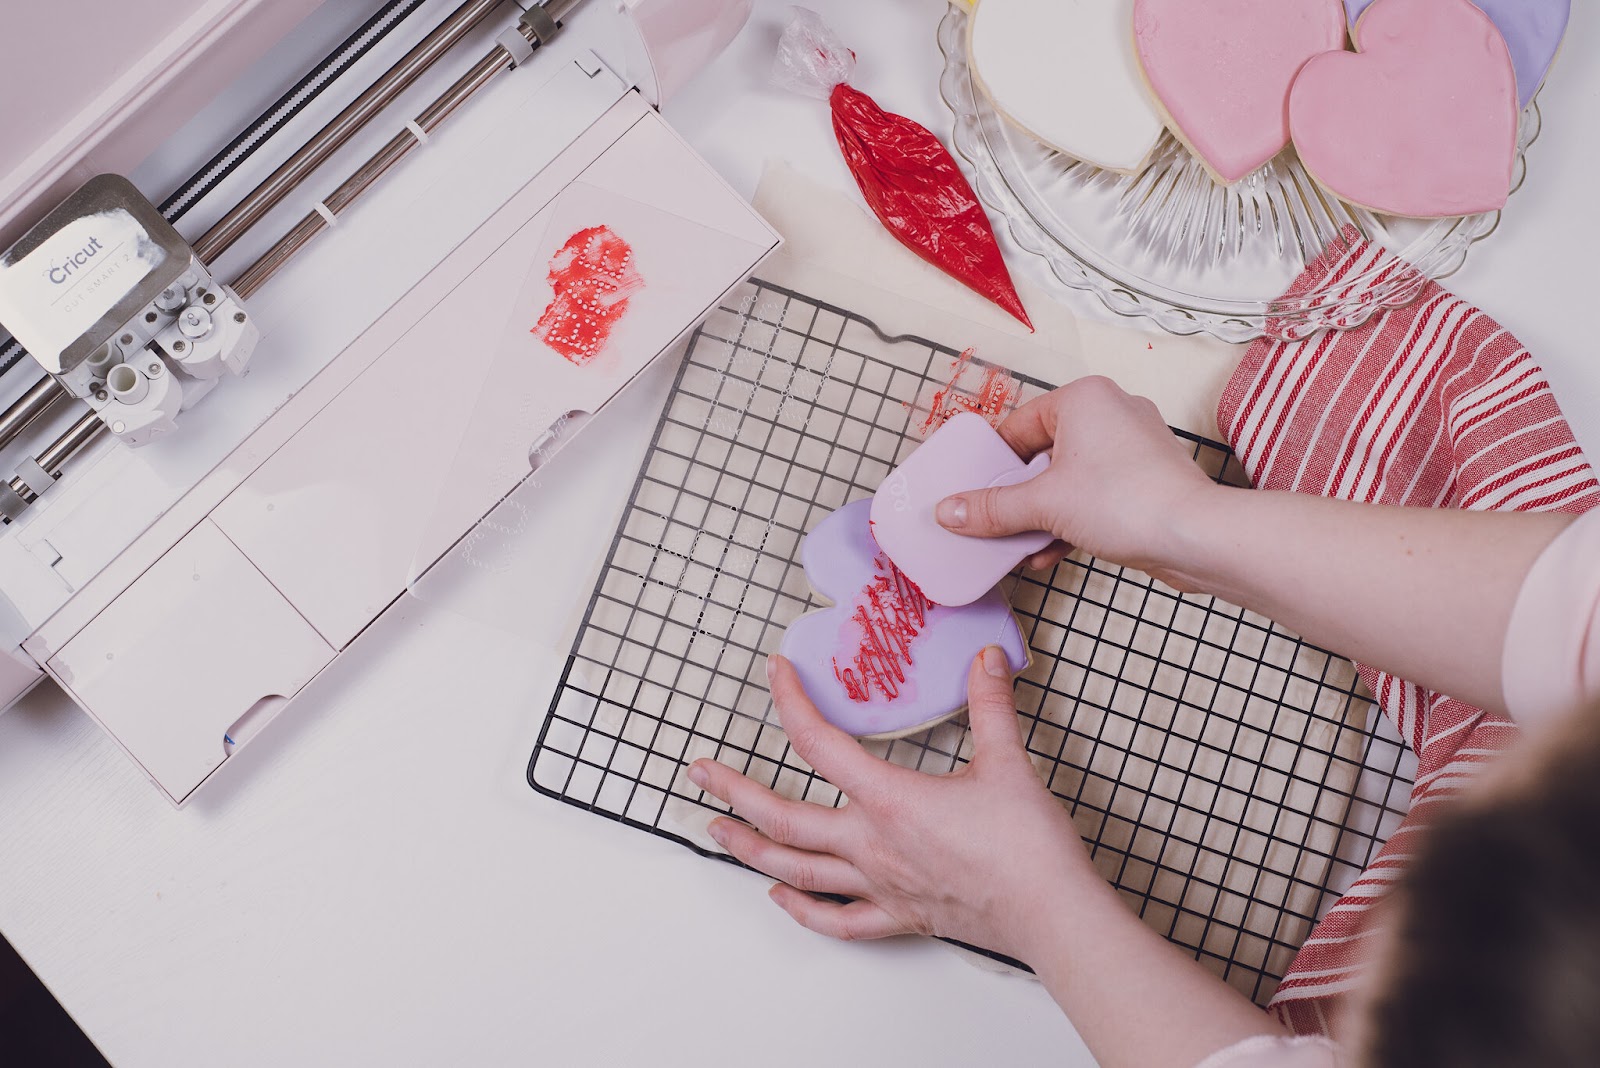
Using your stencil and red colored icing in a piping bag (do not thin), place your stencil in the center of the cookie. Pipe a scant amount of red frosting on top of the stencil and scape without moving the stencil. A steady hand and quick, firm scrapes will result in the cleanest letters. Continue scraping your letters onto the sugar cookies and let dry (about an hour).

Whether you share these as a valentine’s treat in a classroom, serve them as favors at a Galentine’s brunch or eat them all yourself, may the fact they’ve been made with love make your Valentine’s Day a special one.
If you’re planning a Valentine’s brunch or a Galentine Party to celebrate the love, head over to my Pinterest page for all the inspo you’ll need to get started!
